Scheduling CLI Execution Using Windows Task Scheduler
You can schedule the execution of your batch file using the built-in Windows Task Scheduler. This is useful for triggering automation at specific times or intervals.
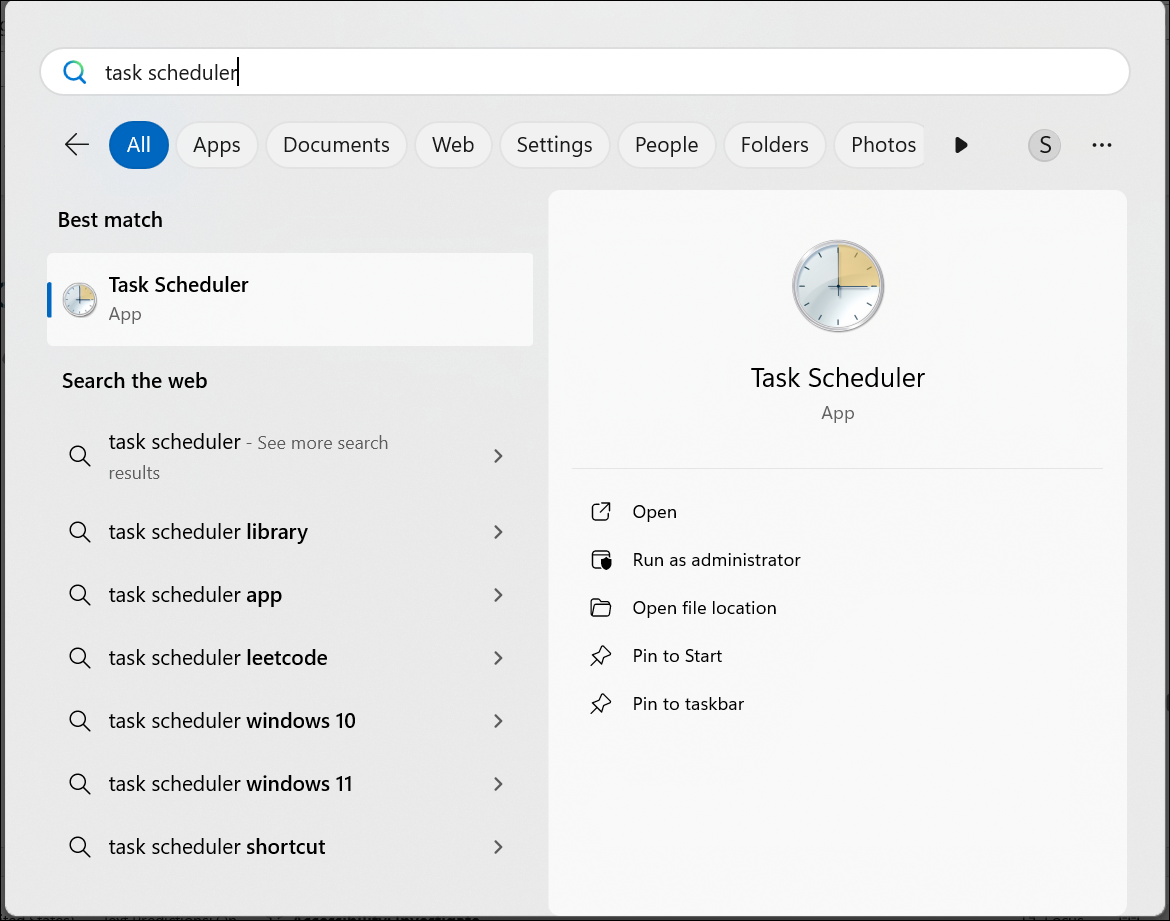
- Open Task Scheduler from the Start menu.
- Click Create Task from the right-hand panel.
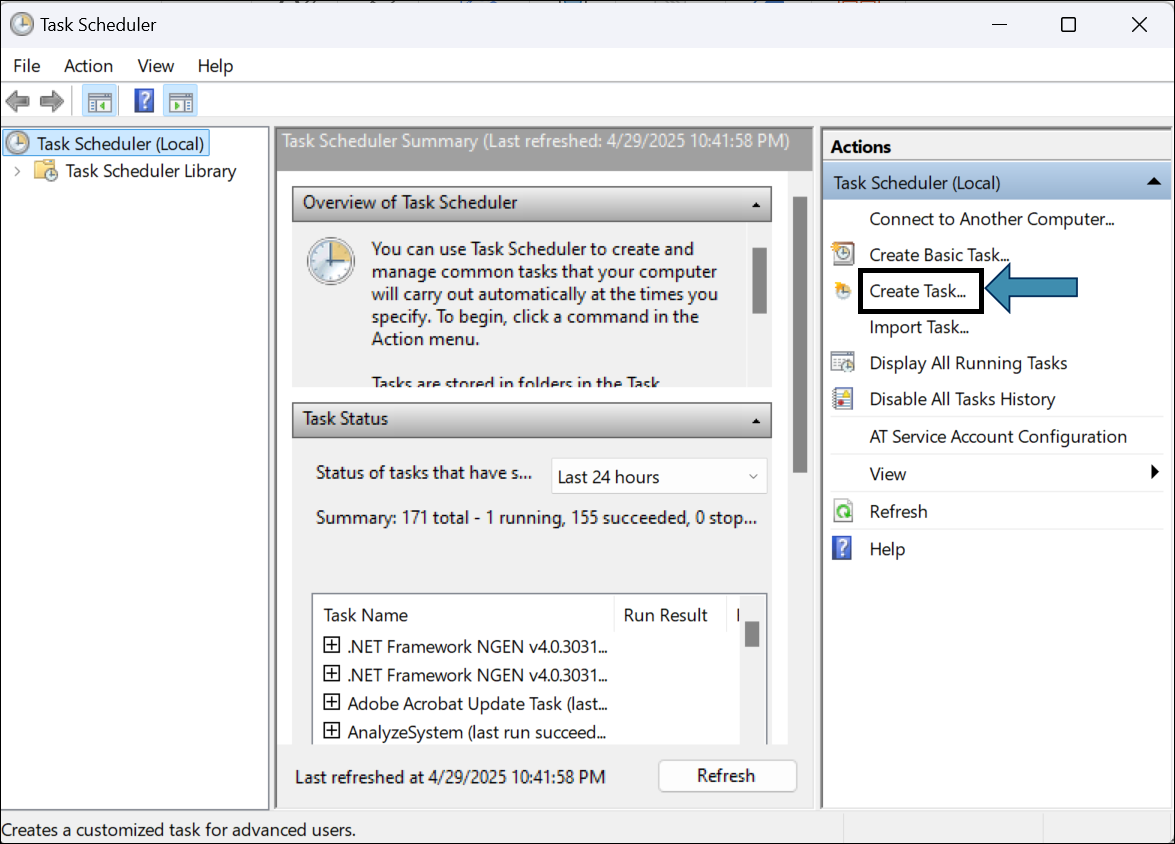
- In the General tab, name the task (e.g., Run HuLoop Automation).

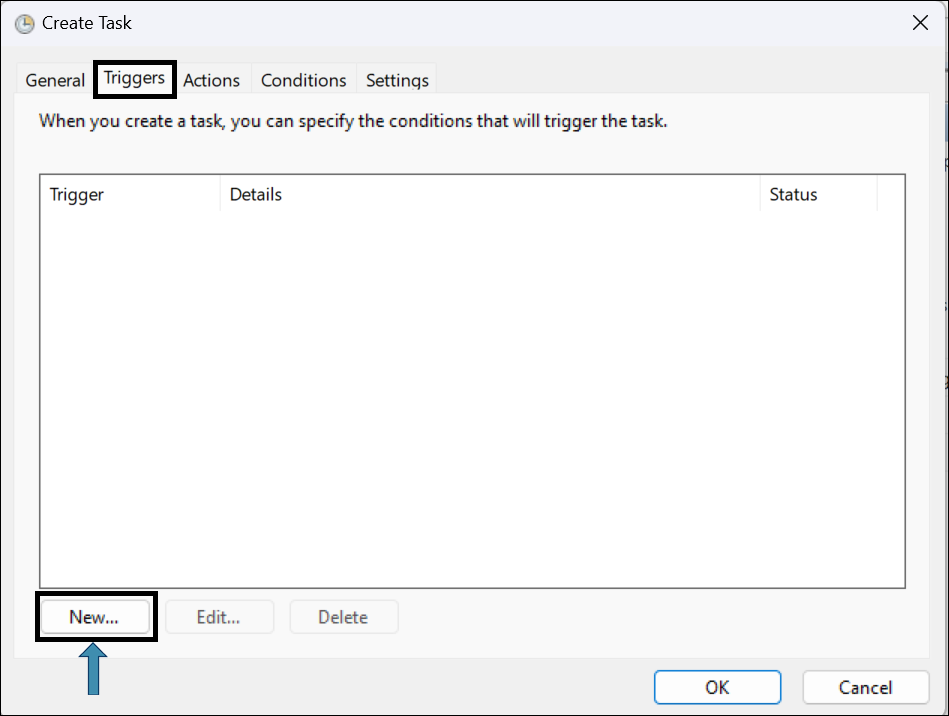
- Go to the Triggers tab:
- Click New…
- For the Begin the task, select On a schedule.
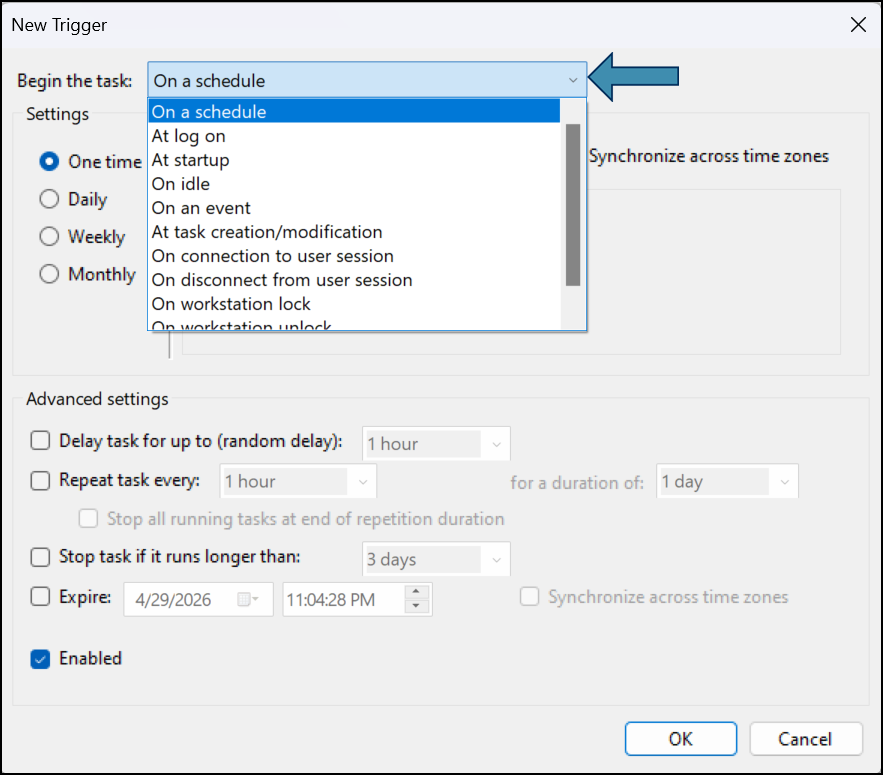
- Under Settings, choose the frequency (One time, Daily, Weekly, Monthly) and set the time and date.
Note: Additional fields may appear based on the selected frequency. Fill them out accordingly.

Enable Synchronize across time zones if your machine or scheduled task needs to run at a consistent local time, regardless of time zone differences. This is especially useful if the automation will run on machines in different regions or if the system time may vary.
- Under Advanced settings, check Repeat task every and define the repeat interval (e.g., every 1 hour).
You can also configure additional options here based on your scheduling needs.

- Click OK
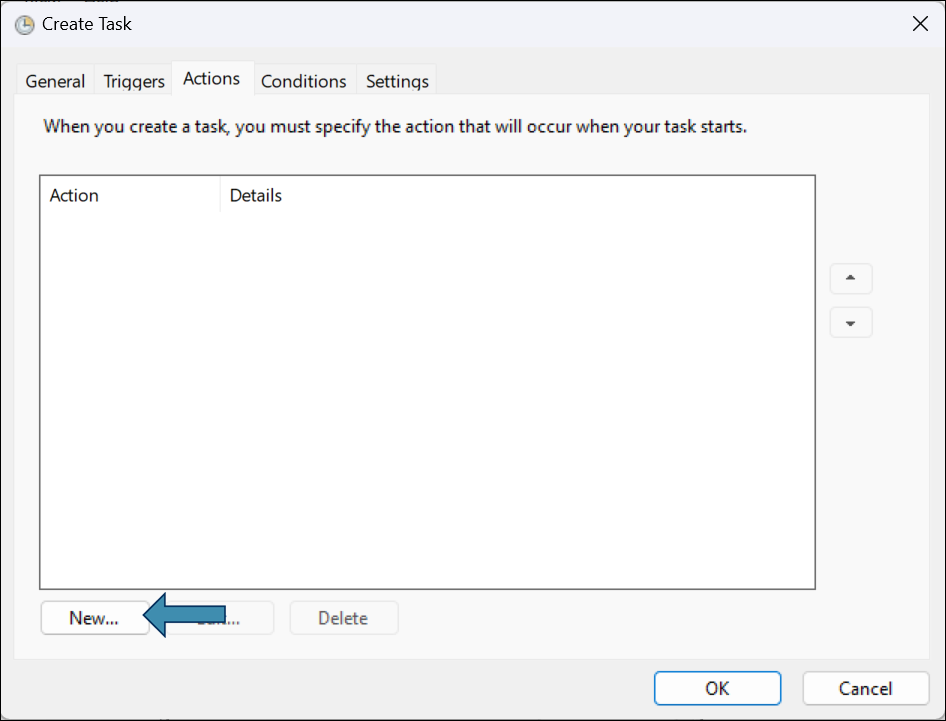
- Go to the Actions tab:
- Click New
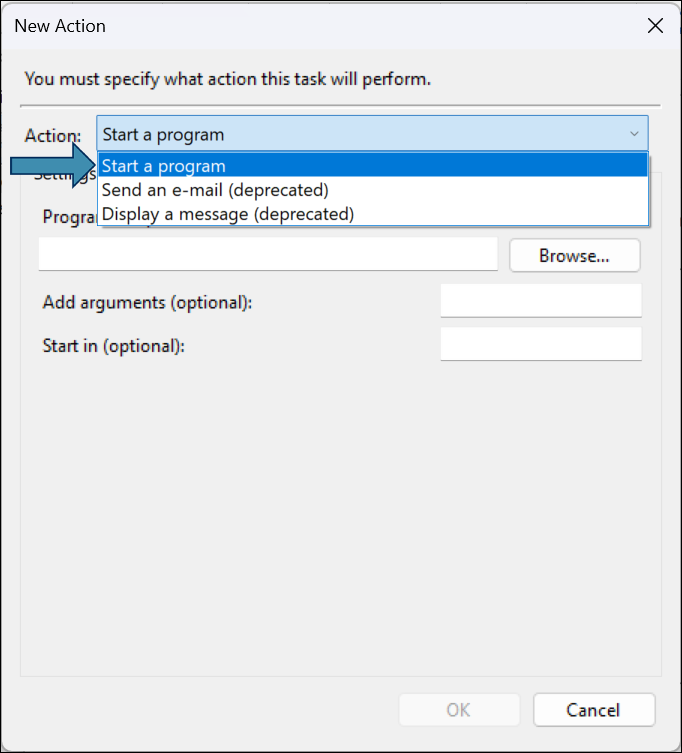
- Select the Action as Start a program (if not already selected).
- Click Browse and select your batch file created earlier.
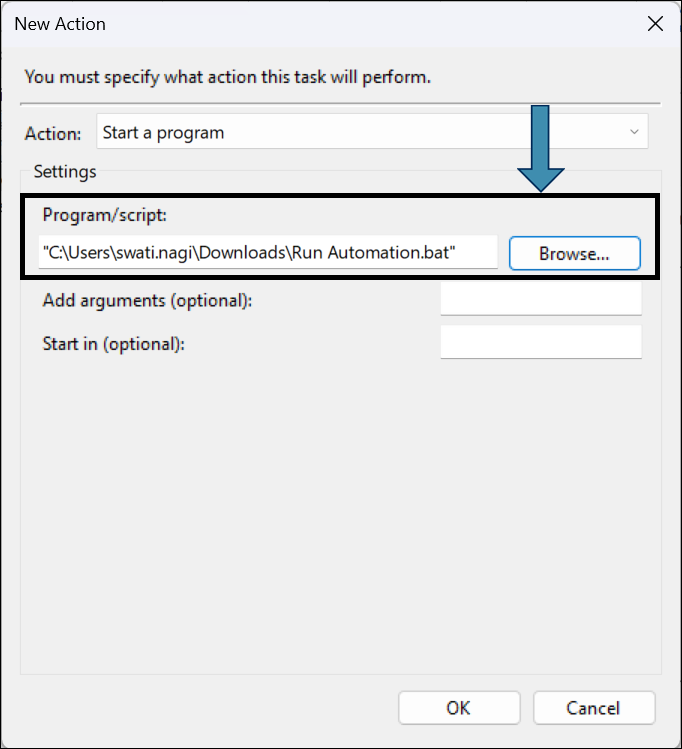
- Click OK
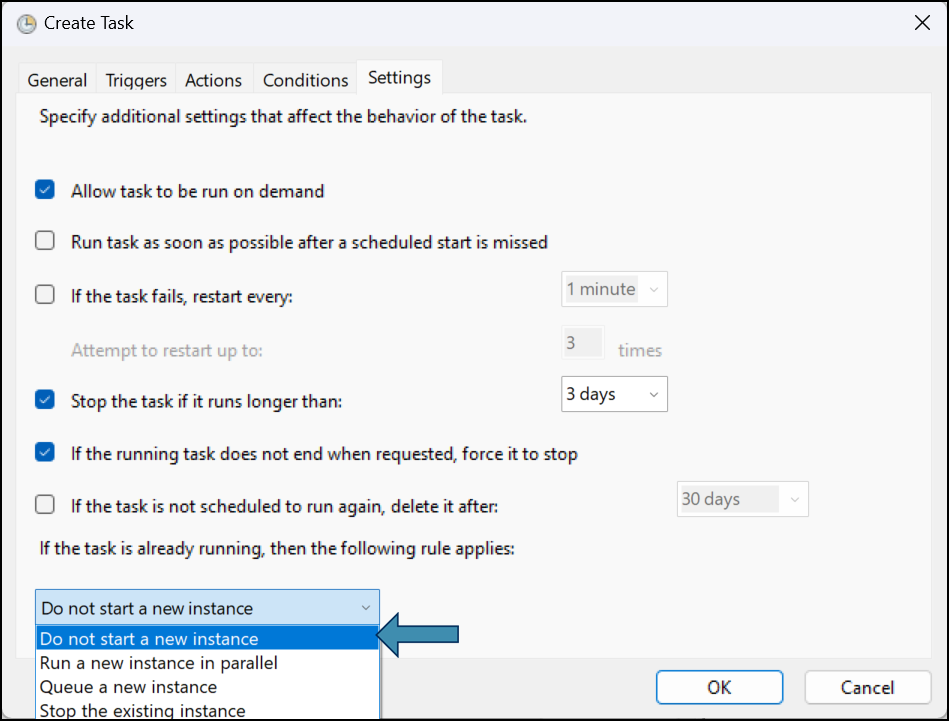
- Go to the Settings tab:
- Set how the task should behave if it’s already running: You can choose an execution rule to define what happens if a previous instance is still running.
- From the dropdown, select Do not start a new instance.
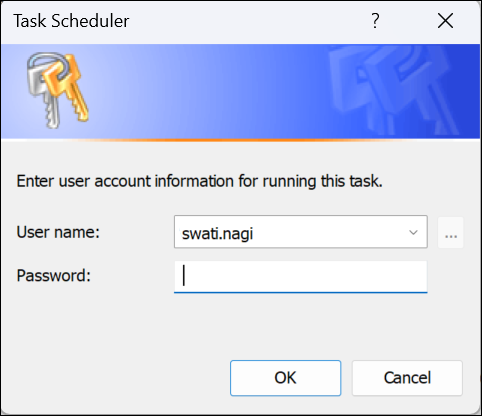
- Click OK. You may be prompted to enter your system credentials to run the task.
- Enter your credentials and click OK.
- Follow any onscreen instructions.
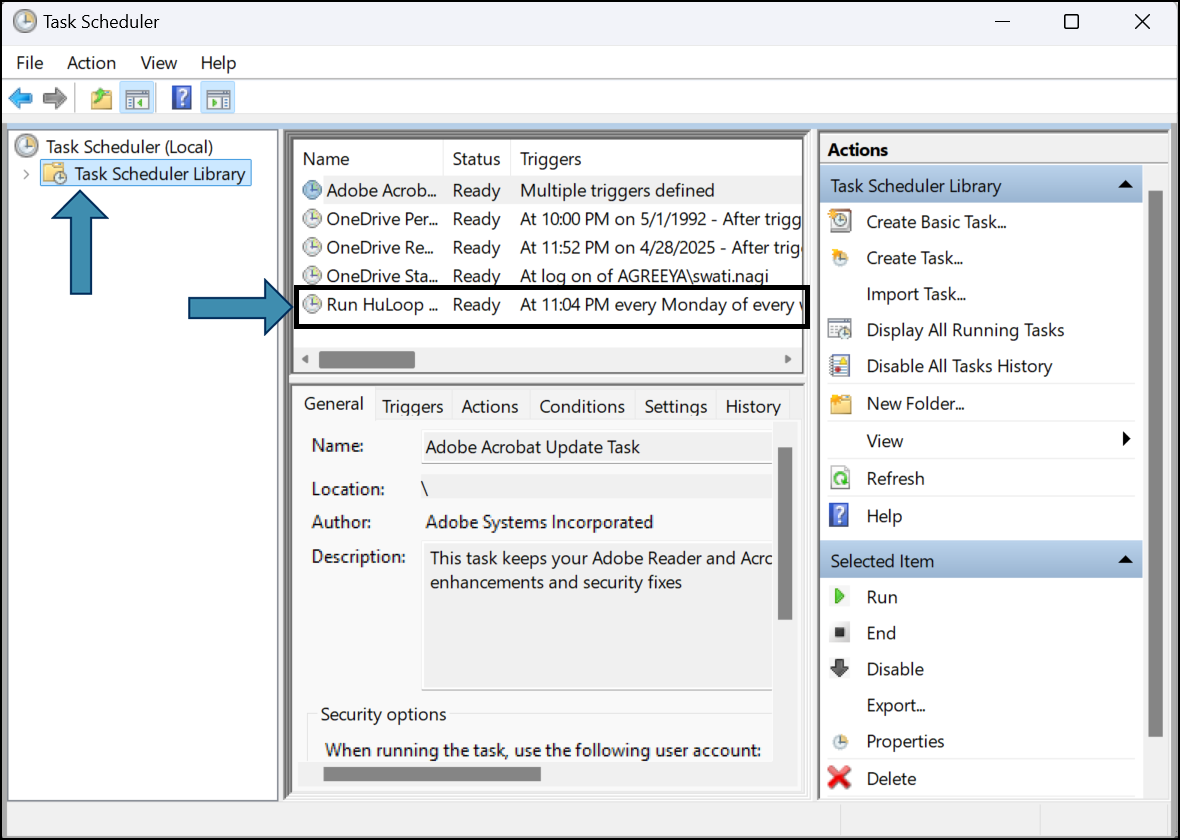
- To verify your scheduled task:
- Select Task Scheduler Library from the left panel
- Locate your task by name and confirm the configuration
Note: Ensure the machine is powered on and connected to the HuLoop server at the scheduled time to allow successful execution.