Configuring the CLI
Before using the CLI, you need to connect it to your HuLoop server. This configuration step ensures the CLI knows where to send execution requests.
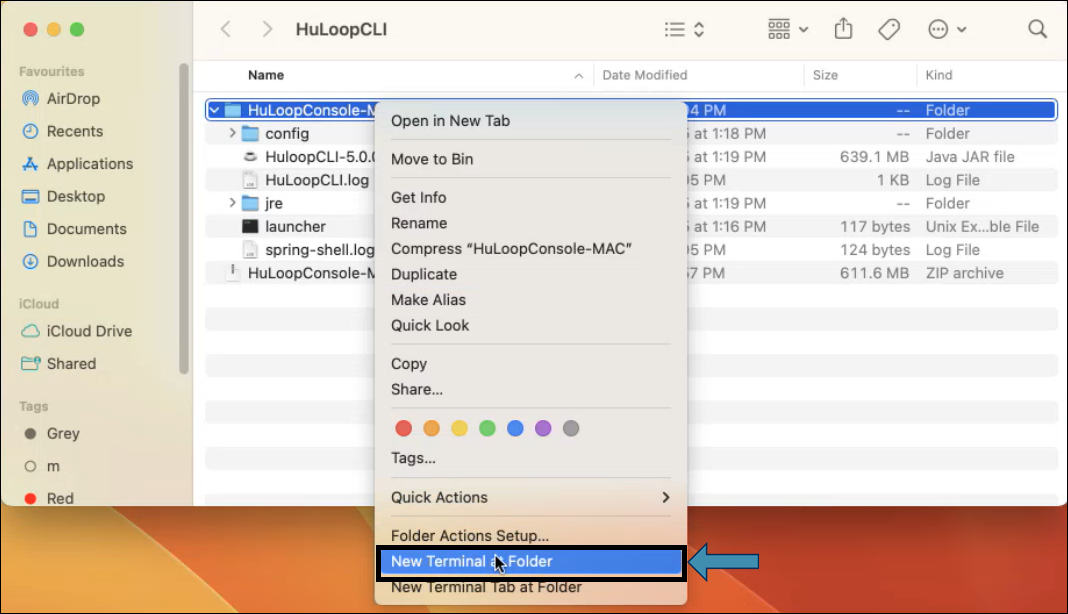
- From the extracted folder, open the terminal by right-clicking the folder and selecting New Terminal at Folder
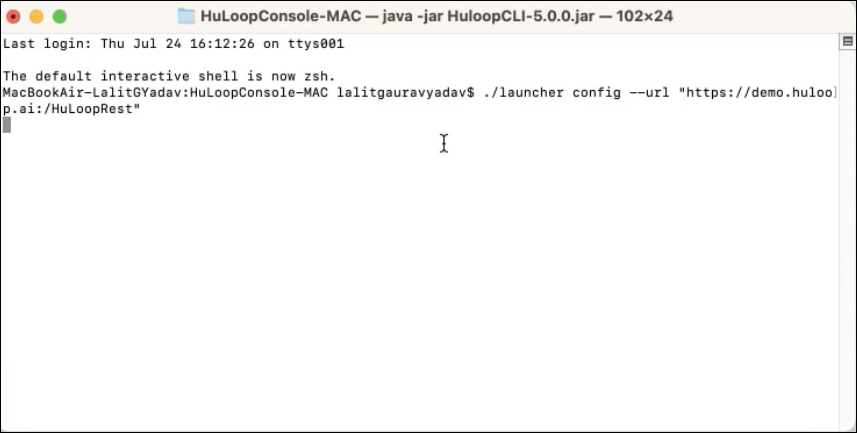
- On the cmd, you need to paste your REST URL in the following command:
./launcher<space>config<space>–url<space>”https://<your-server-url>/HuLoopRest”
e.g., ./launcher config –url “https://demo.huloop.ai/HuLoopRest”
Note: You can find the HuLoop server URL in the following ways:
Option 1: In the browser where you are logged into HuLoop, copy the URL till HuLoop as shown: https://demo.huloop.ai/HuLoop (this URL could appear different depending on your specific server URL) and append Rest. The final URL will look like: 
Option 2: You can also find the HuLoop server URL in the email shared by the HuLoop.
- Hit Enter key. A success message confirms the setup.
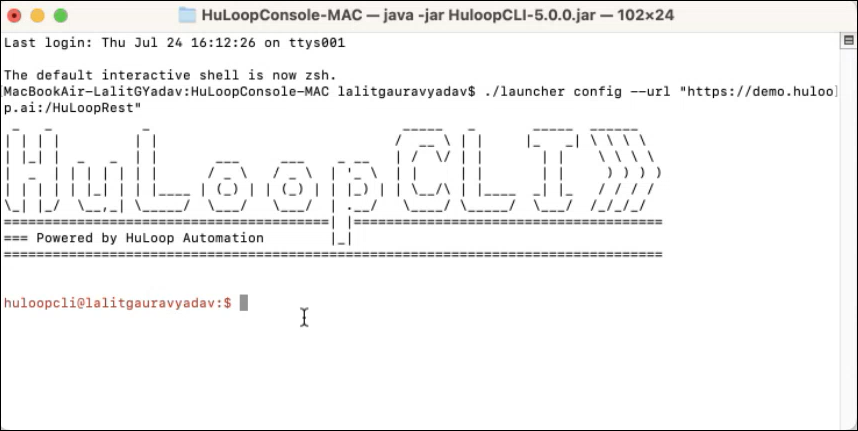
Note: Above configuration step is a one-time activity until you change/update the CLI Agent.
Executing Automation from the Command Line
Once the setup is complete, this step explains how to run your selected automation using the CLI command and Console Run ID.
- To execute a Run Setting, run the following command:
-open<space>”<Console Run ID>”
e.g., -open “E11GA7F”
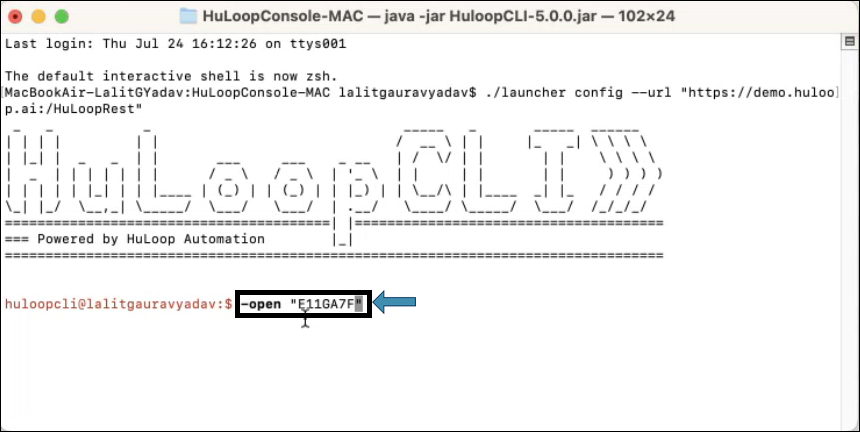
- Hit Enter.
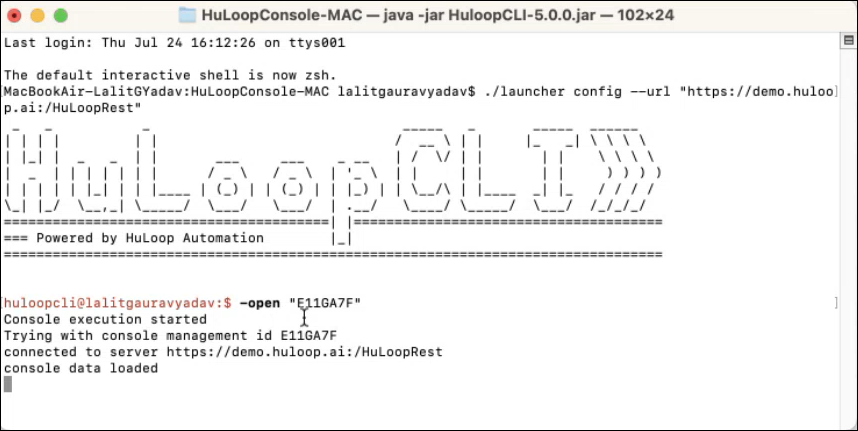
The selected test cases, modules, or project will start executing.
Note: macOS may prompt you with a security warning. If you encounter a “Java error” or an “unverified developer” warning, go to System Settings > Privacy & Security, then click Allow Anyway. Enter your password if prompted.
Last updated: Feb 03, 2026