Preparing for CLI Execution
Before installing and using the HuLoop CLI Agent, you need to complete a few setup tasks. These tasks ensure that you can run automation successfully from the command line.
Creating a Run Setting
A Run Setting defines what part of your automation project should be executed. Whether you want to run the entire project or just a few cases like regression cases, smoke cases etc. You need to create a Run Setting to capture that selection. To do create a Run Setting:
- Sign into your HuLoop account.
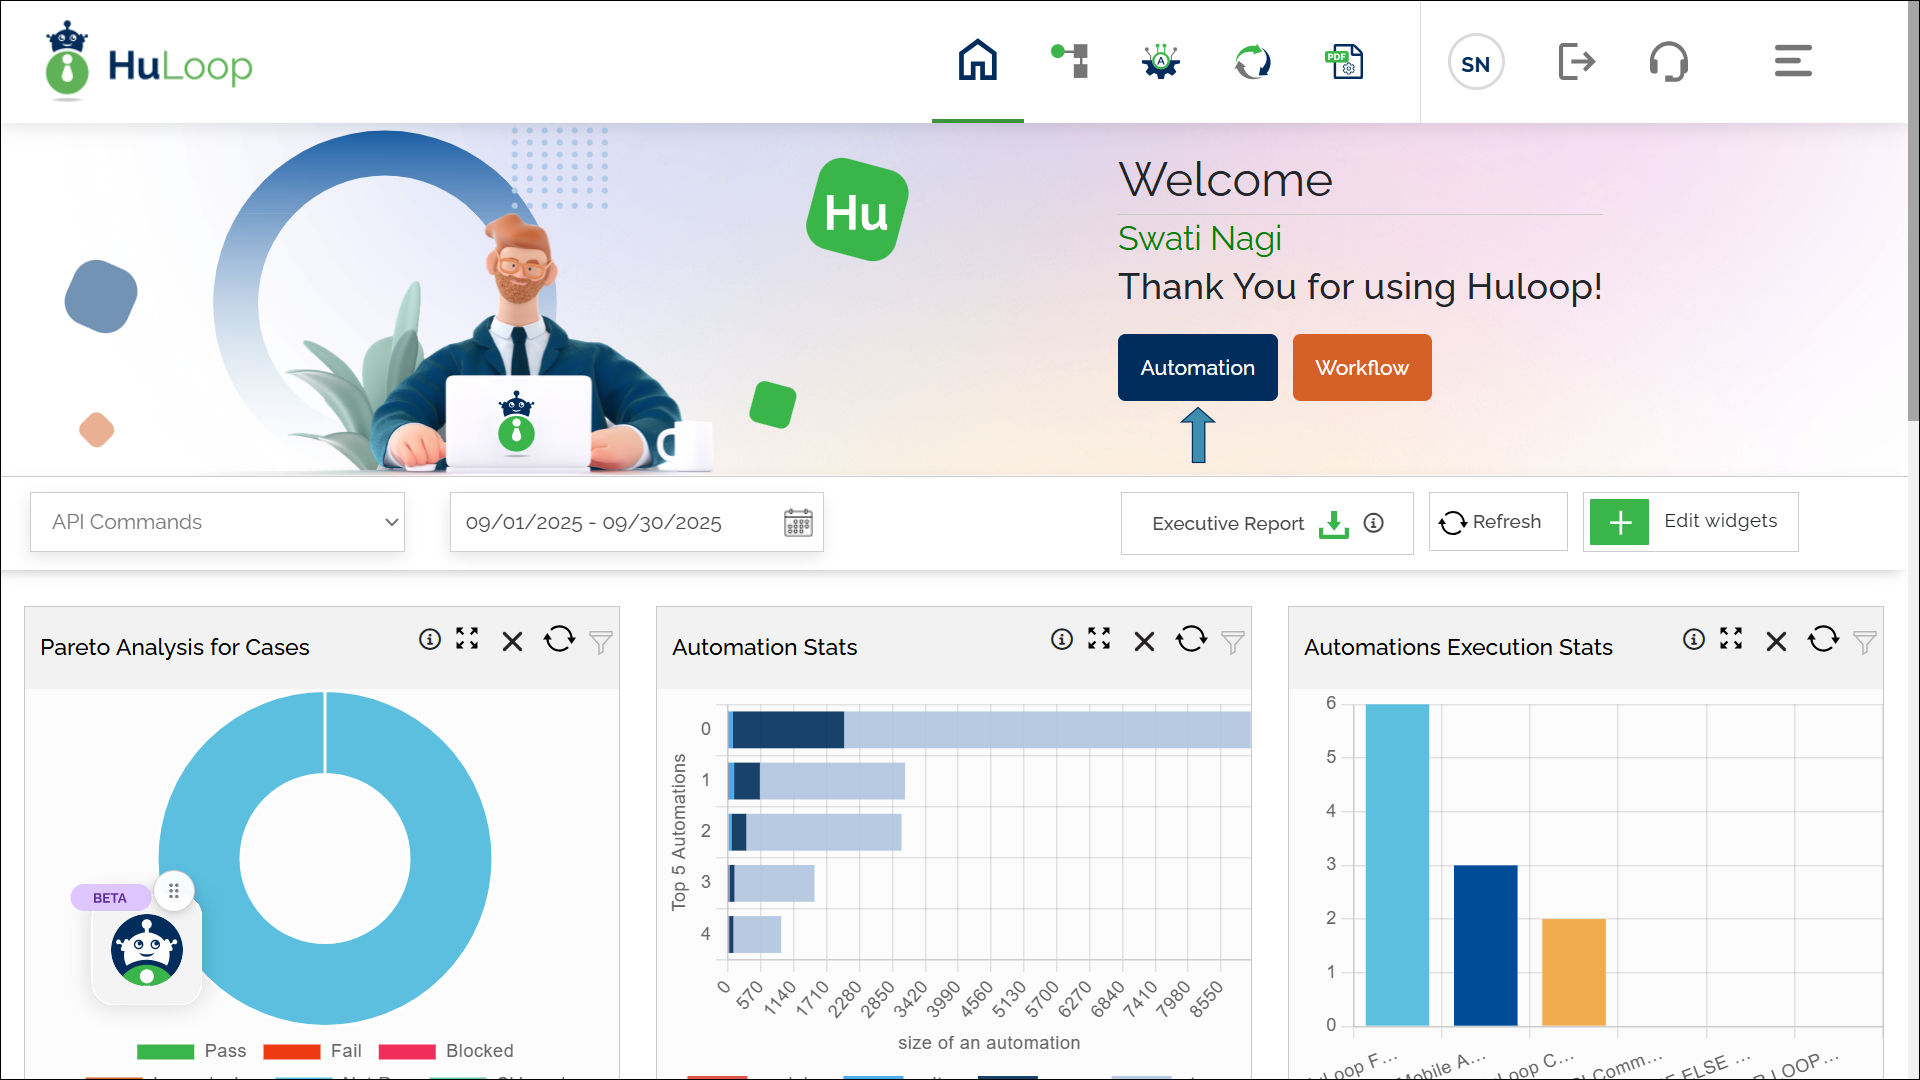
- You will be redirected to the HuLoop homepage. Select Automation.
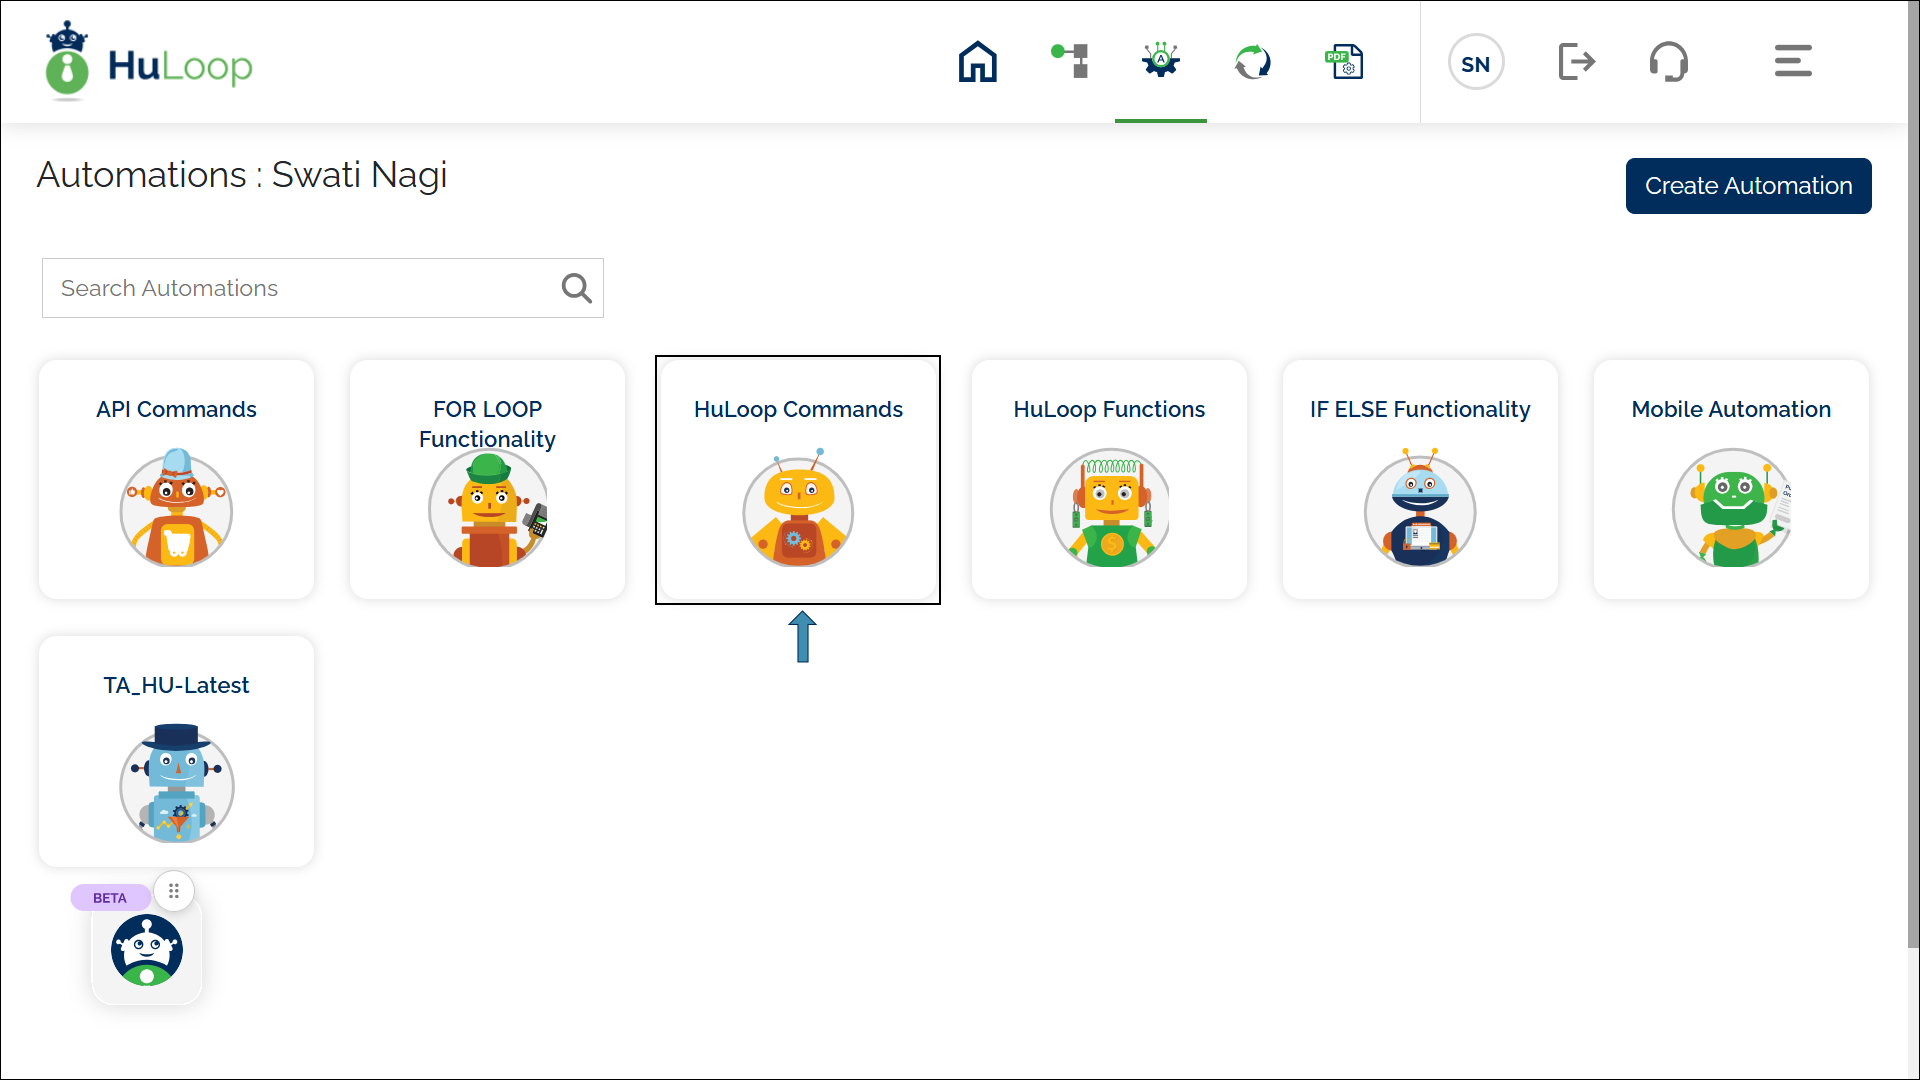
- Open the automation project where you want to create the Run Setting by clicking anywhere on its card, as shown:
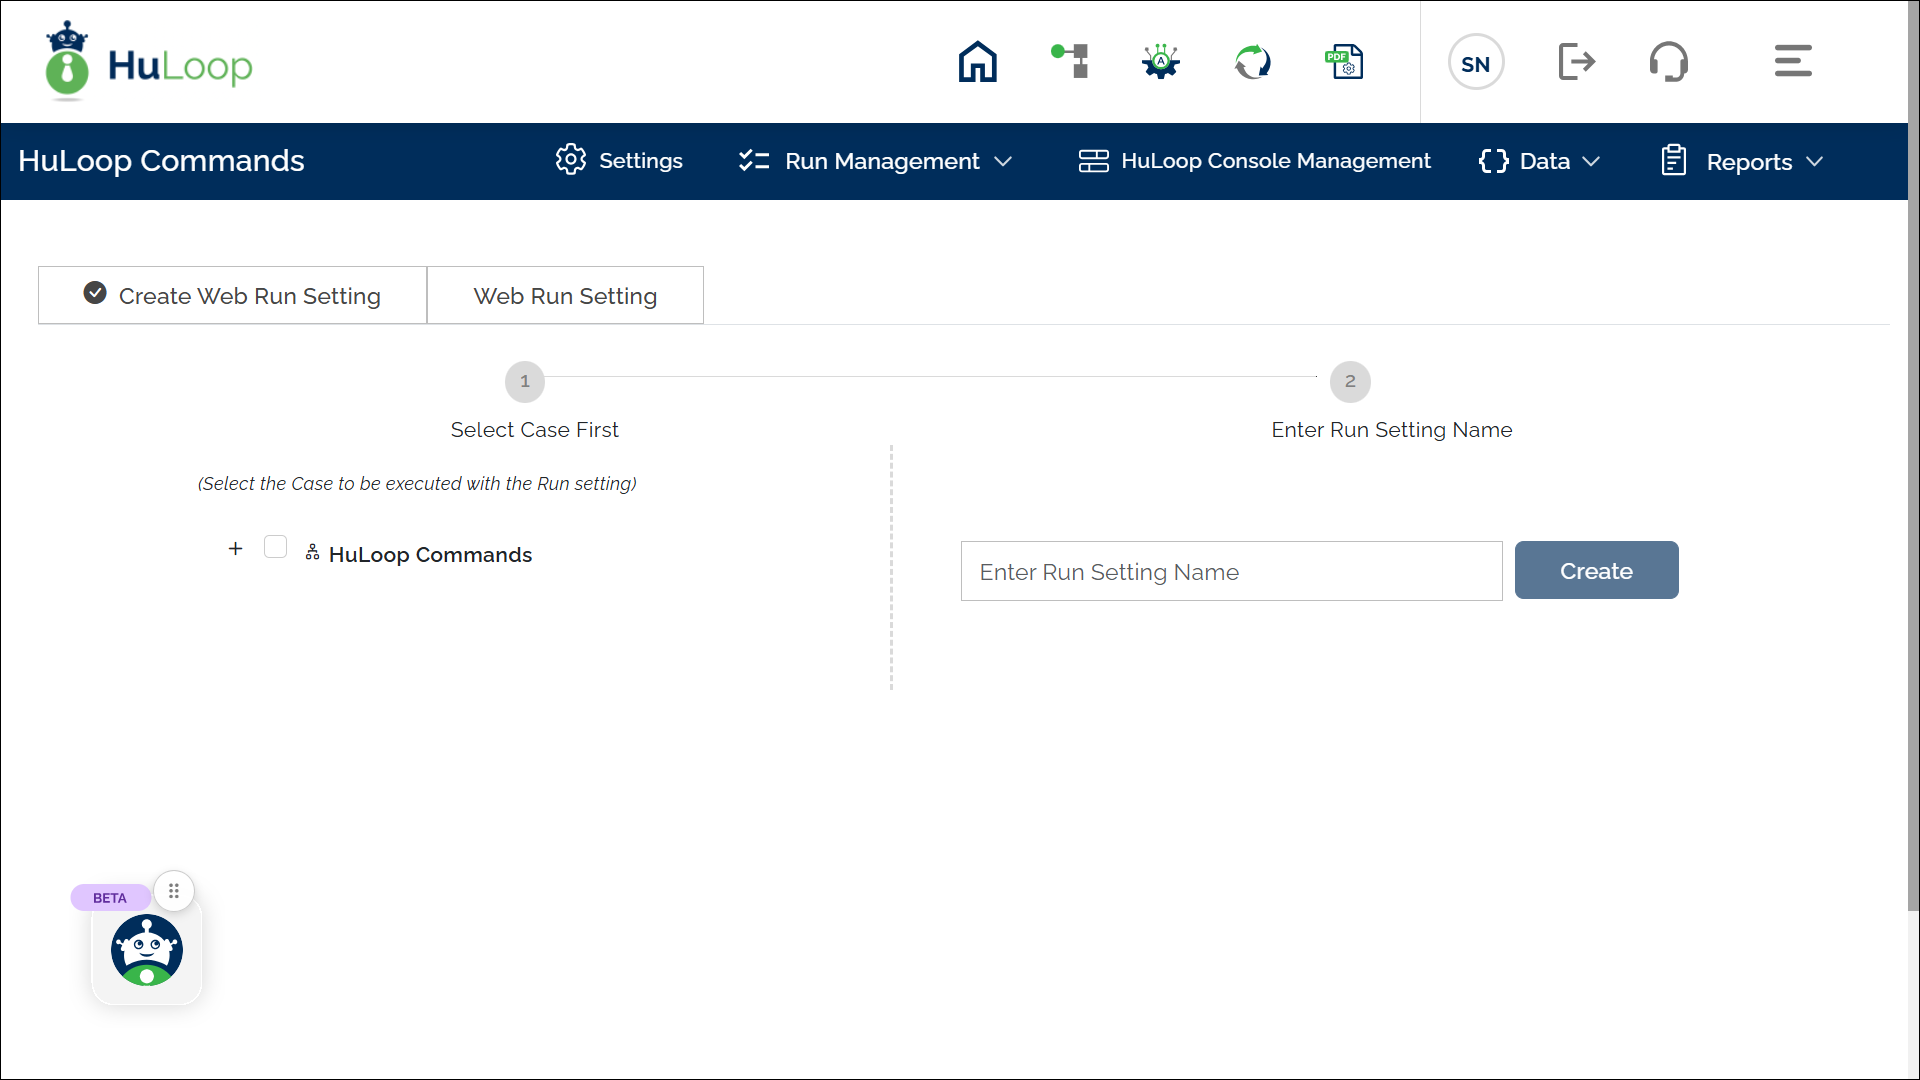
- Click Run Management as shown:
- You will be redirected to the Run Management page:
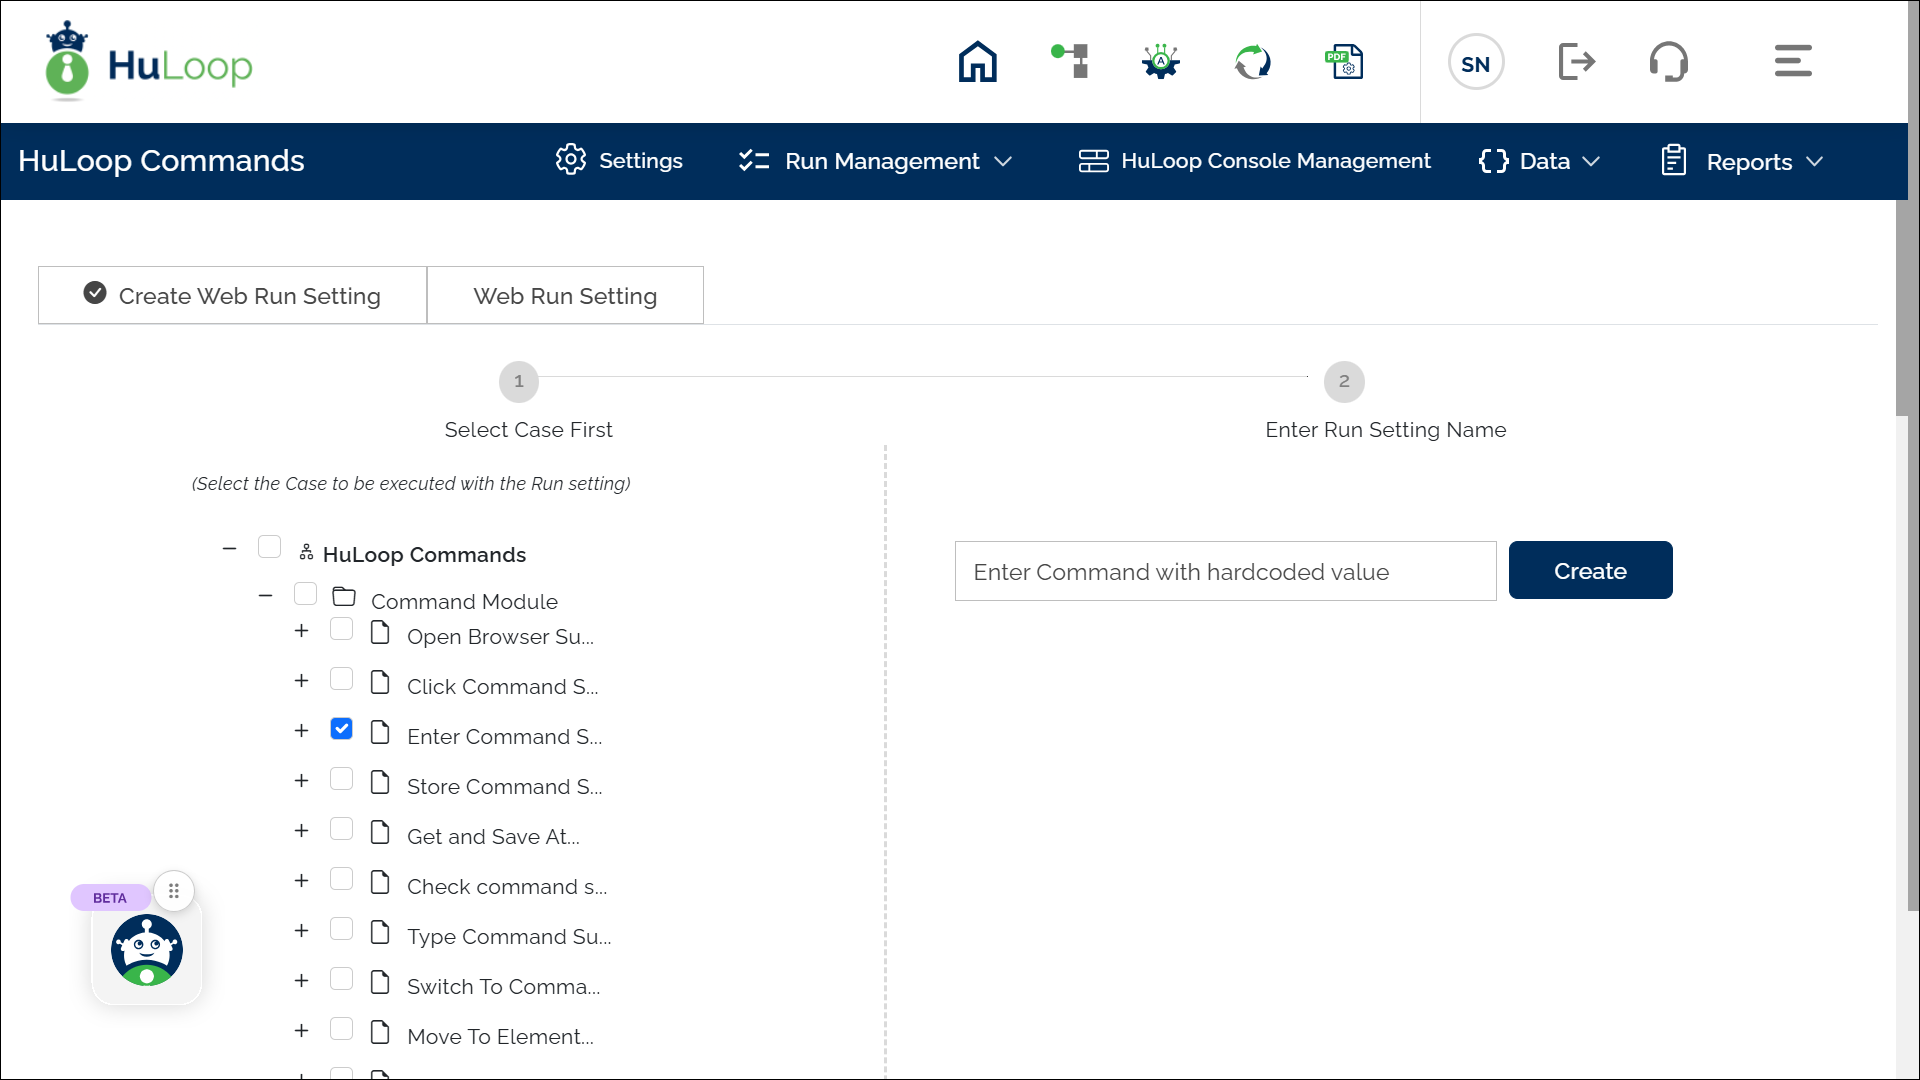
- Select the items you want to execute based on your requirements. Use the plus
 icon to expand each level of the project hierarchy and select the checkbox next to the item name you want to execute.
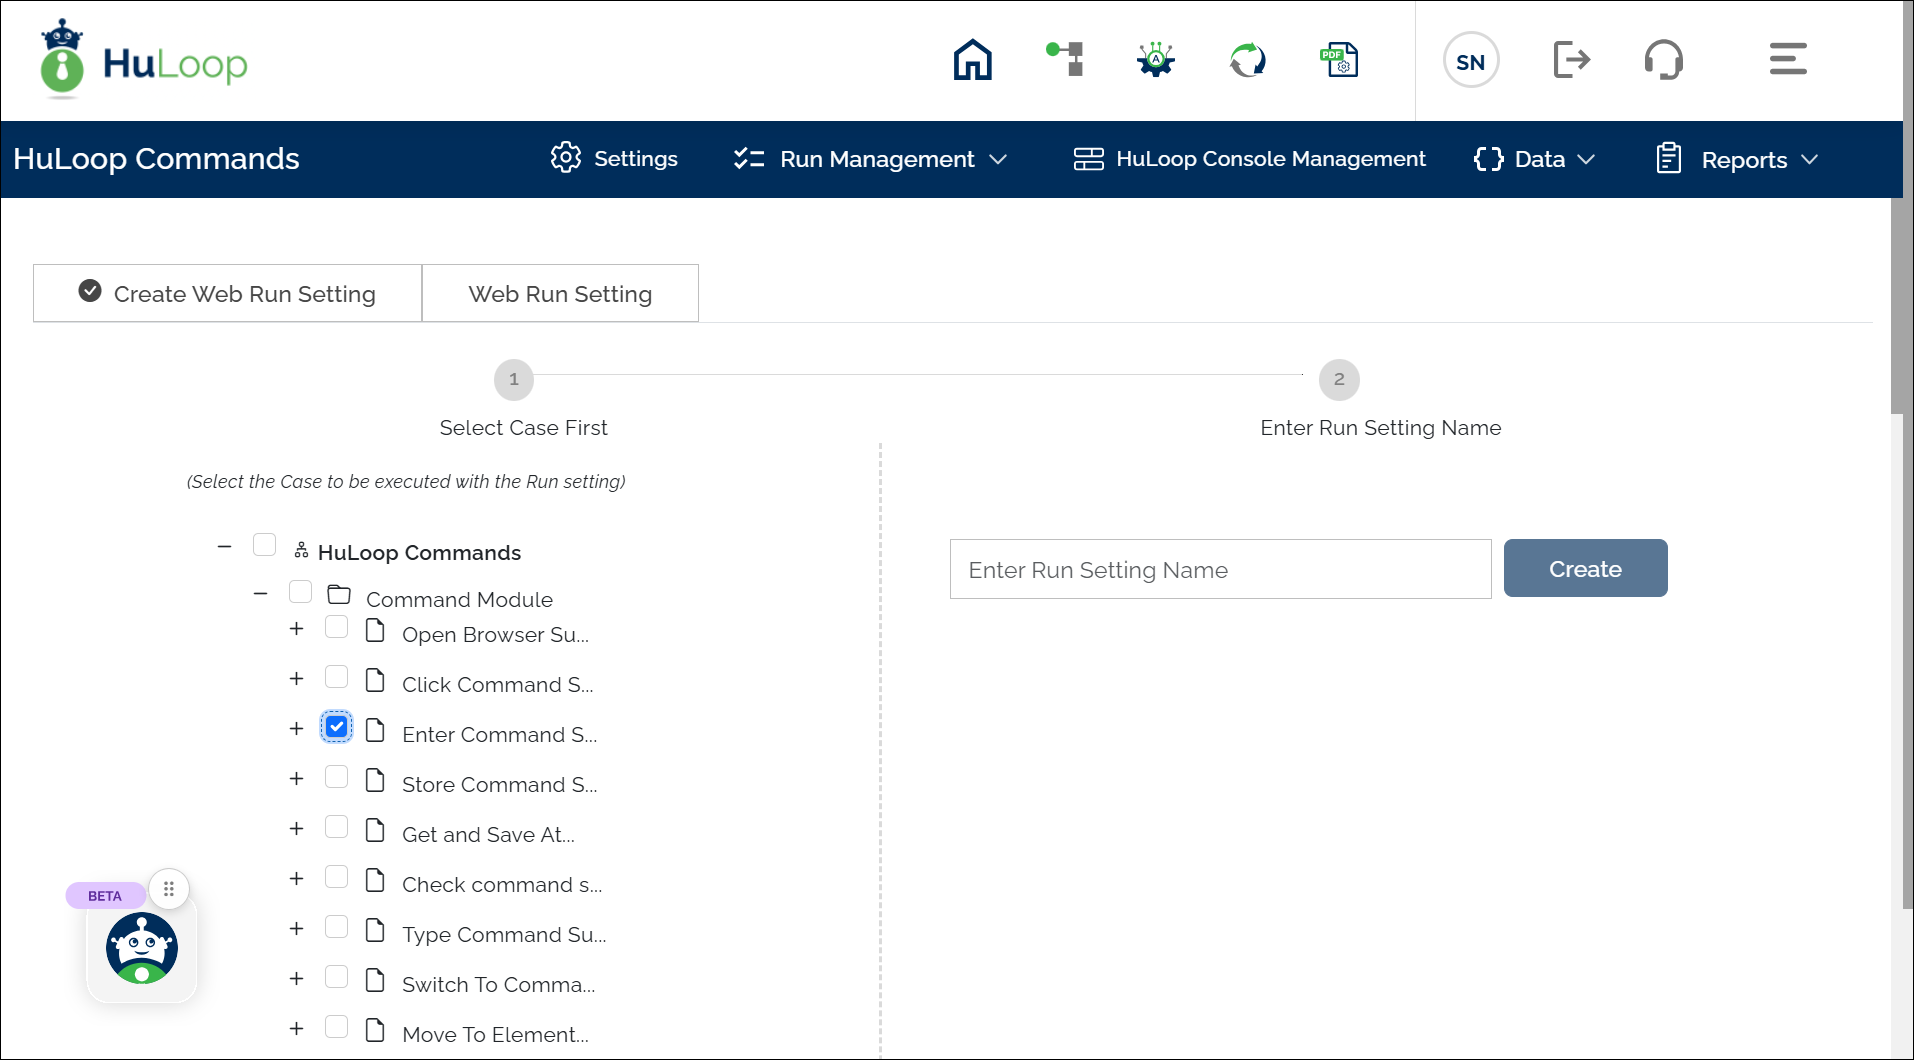
- Assign a Run Setting Name and click Create.
Creating a Run Setting Name for a Case execution
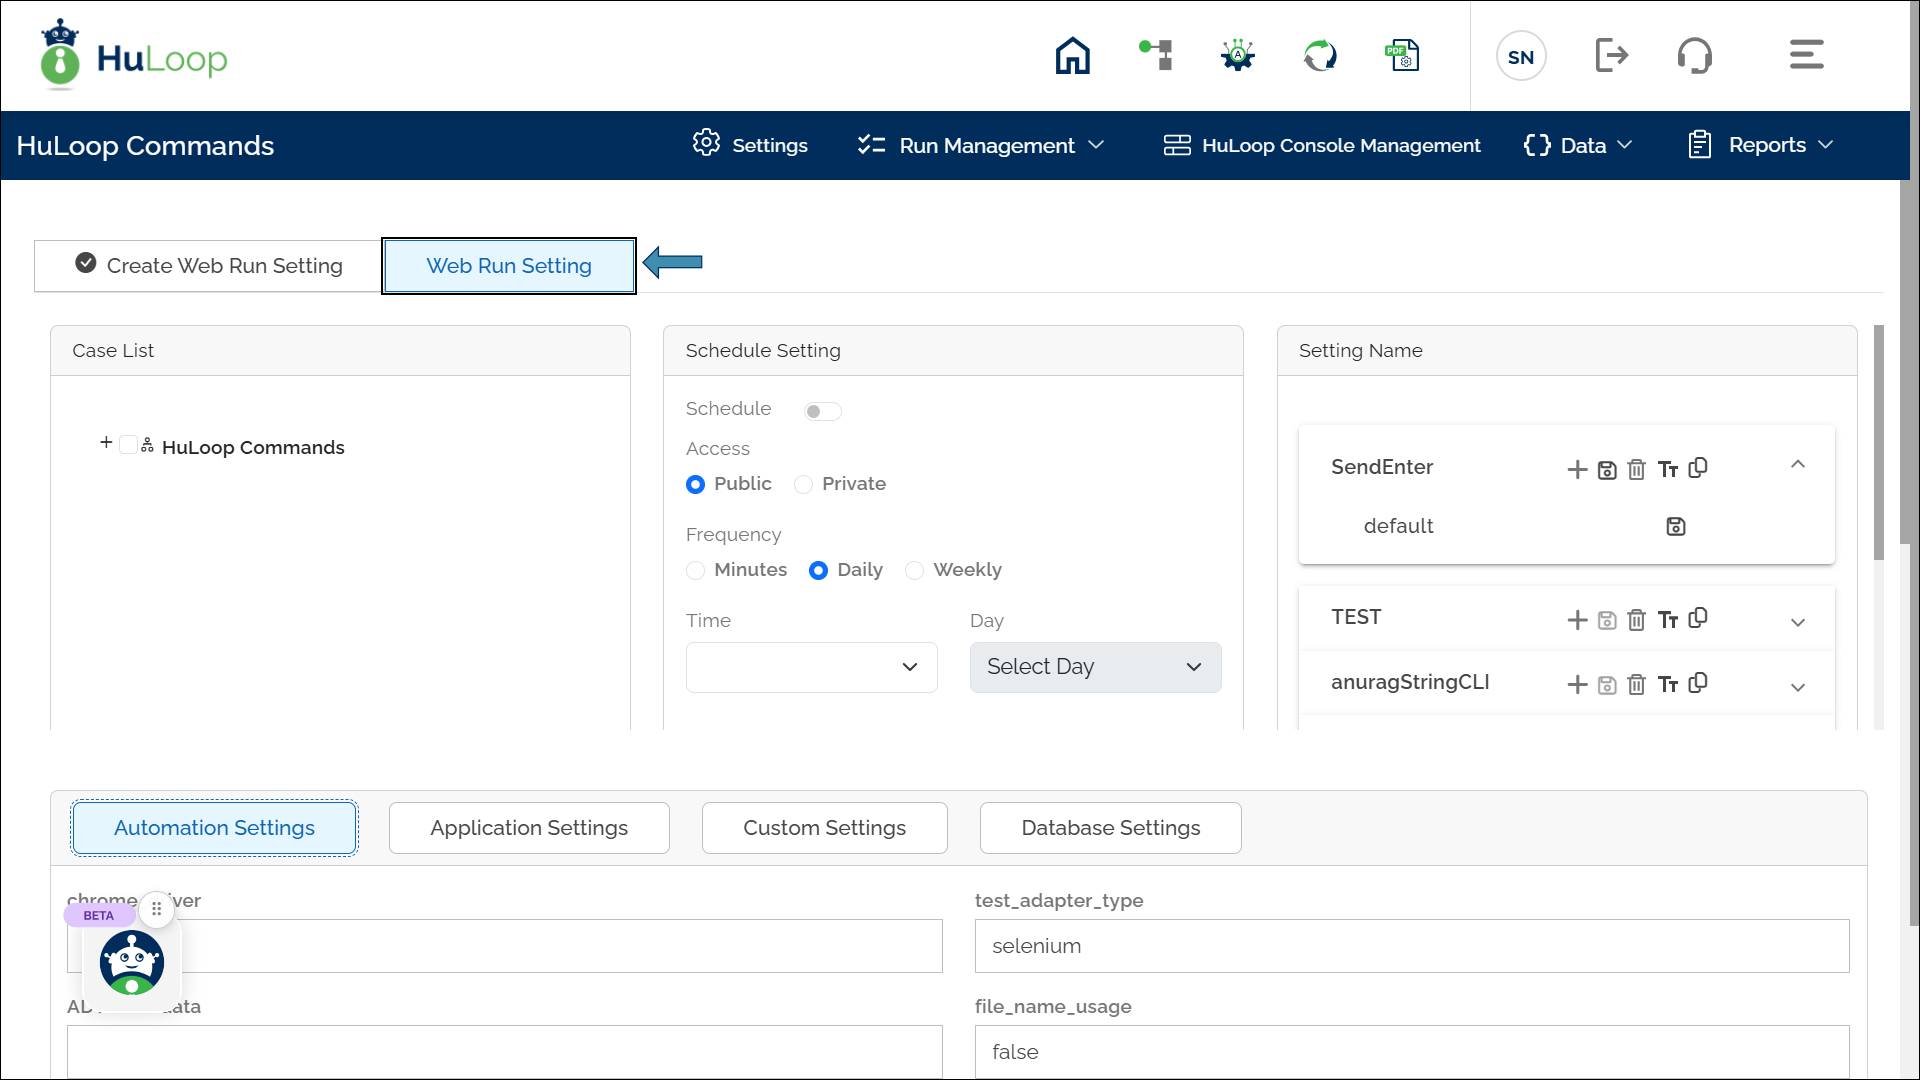
- Switch to the Web Run Setting tab:
- Update the Automation Settings, Application Settings, Custom Settings, and Database Settings if needed for this execution.
These settings allow you to modify specific configurations for this run.
Changes made here will apply only to this execution and will not affect the original project configuration.
Also, all these settings are mapped to the original project settings which user can change here if required.
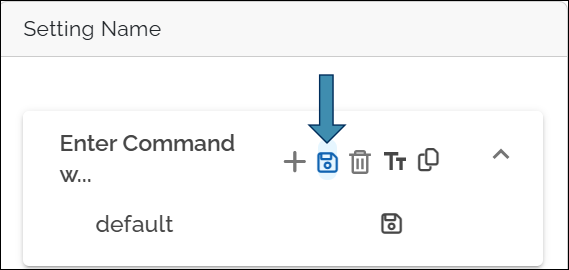
- Save the Run Setting by clicking the Save icon, as shown.
Generating Console Execution id
To trigger an execution from the command line, you need to create Console Execution id. This includes key details like the project name, Run Setting, and report preferences that the CLI tool will use during execution. Follow these steps to create Console Execution id:
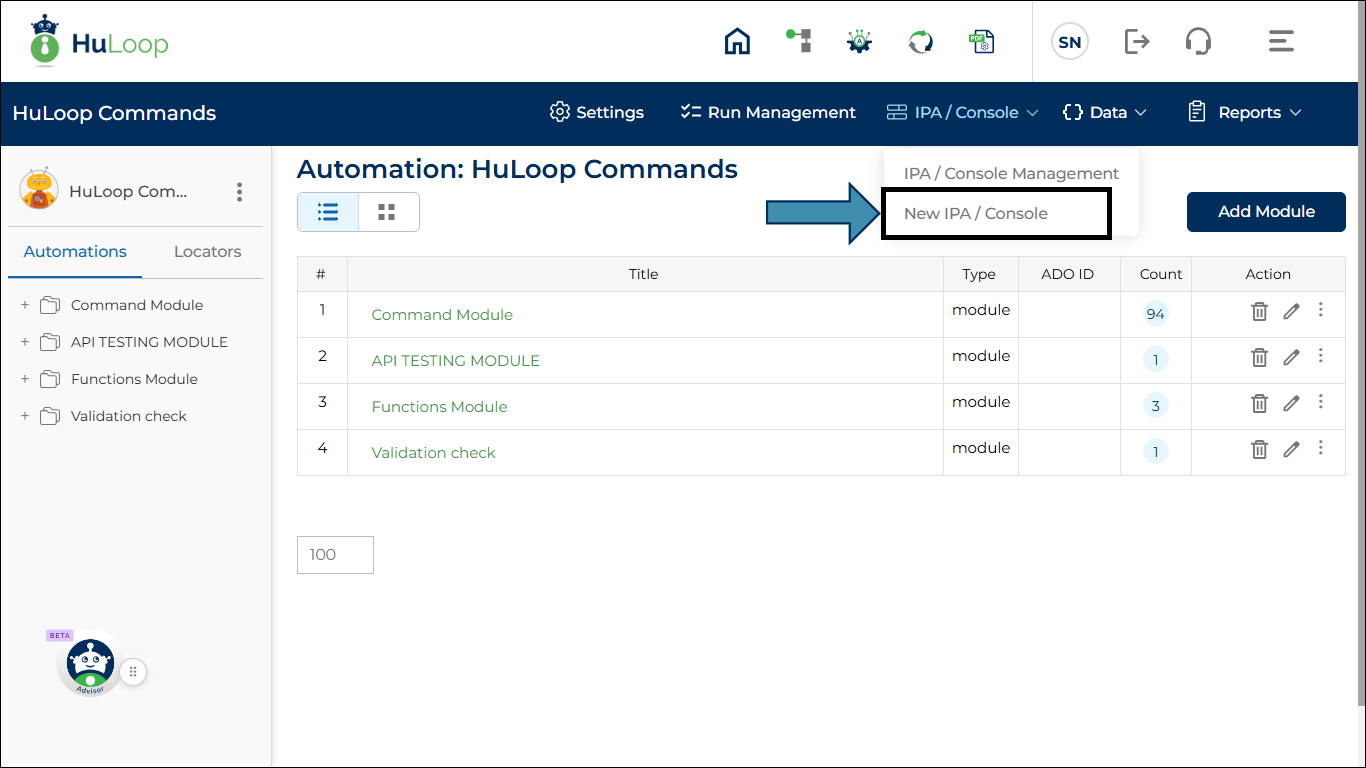
- Expand IPA/Console and click New IPA/Console as shown:
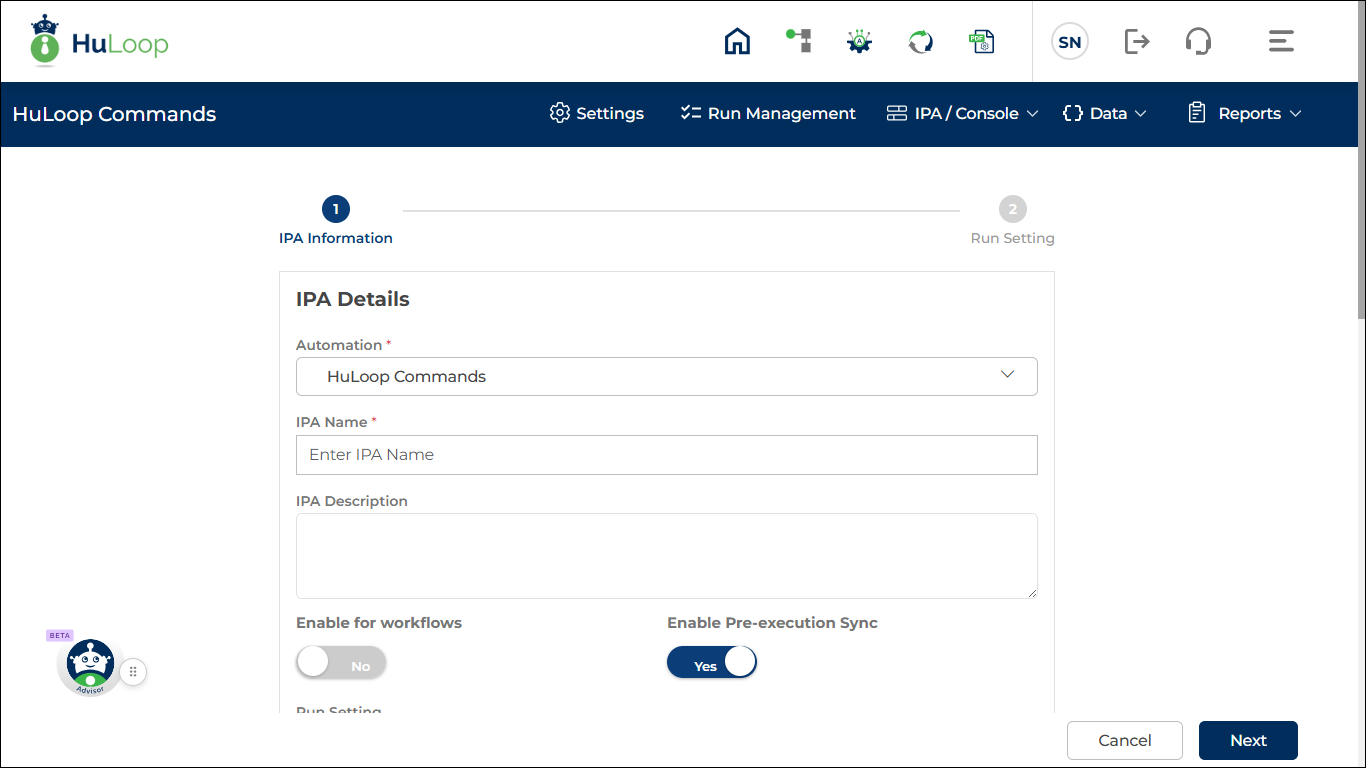
- You’ll see the following page where you can create and manage the console execution data. You will observe that some settings values are auto-populated, while you need to define the values for some.
- Automation Project: Displays the name of the automation project you opened in HuLoop.
This field is selected by default. - IPA Name: Enter a name for your new Console. This is a mandatory field.
- Description (Optional): Enter a short description to help identify the purpose of this console execution.
- Is Workflow Enabled: Keep this toggle set to No for CLI execution. When disabled, the configuration is treated as a console execution setup and can be used to generate a Console Execution ID for command-line execution.
- Enable Pre-Execution Sync: Keep this toggle set to Yes to ensure the execution uses the latest version of the automation. This ensures that any recent updates to the automation project are synchronized before execution.
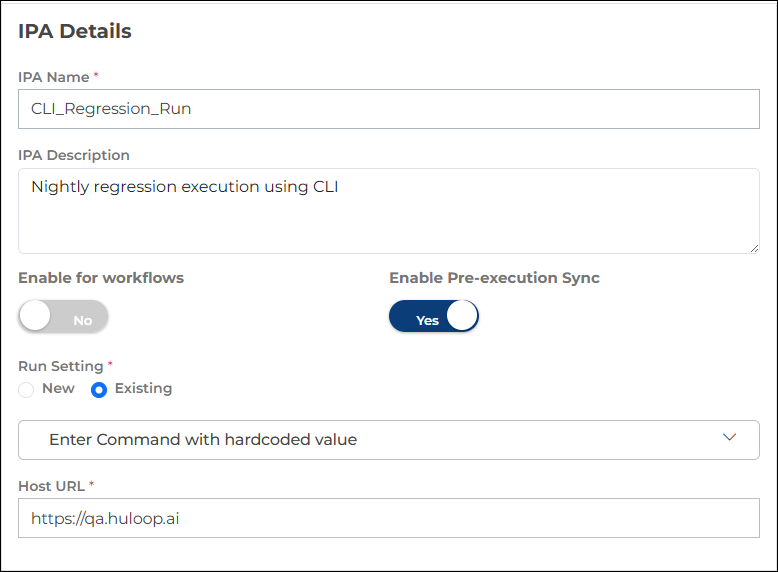
- Run Setting
Specifies which existing Run Setting will be used for CLI execution.- Select Existing.
- From the Select Run Setting drop-down list, choose the Run Setting that was created earlier for CLI execution.
The selected Run Setting defines which suites, modules, or test cases will be executed.
- Host URL
Auto-populated based on the selected Run Setting.
No changes are required.
- Authentication: Choose how HuLoop should authenticate the console execution.
- Basic
- Username: Auto-populated with your HuLoop username.
- Password: Enter your HuLoop account password.
OR
- Token
- Use a CLI access token for authentication.
- If a token already exists, it is auto-filled.
- If no token exists, a message appears prompting you to generate one from User Profile > Manage CLI Token. See here: Learn how to create and use an access token.
- Leave the password field blank when using a token.
- Reports: Configure how execution reports are generated.
- Show Detailed Report
Set to Yes to include step-level details in the execution report.
- Email Notifications: Specify who should receive execution results.
- Send Execution Reports To: Enter one or more email addresses (comma-separated) to receive the detailed execution report.
- Send Execution Completion Notification To: Enter one or more email addresses (comma-separated) to receive execution completion notifications.
Additional execution-related settings.
- ADO Sure File Path
Specify the file path where the Azure DevOps (ADO) report file should be generated. - Allow Escape Key
Set to Yes or No to control whether execution can be stopped manually using the Escape key.

Once all required details are entered, click Create to generate the Console Execution ID.
After Creating the Console Execution ID
A confirmation message appears indicating that the Console Execution ID has been created successfully. You are then redirected to the IPA/Console Management page, where all existing console execution configurations for the project are listed.
From this page, you can:
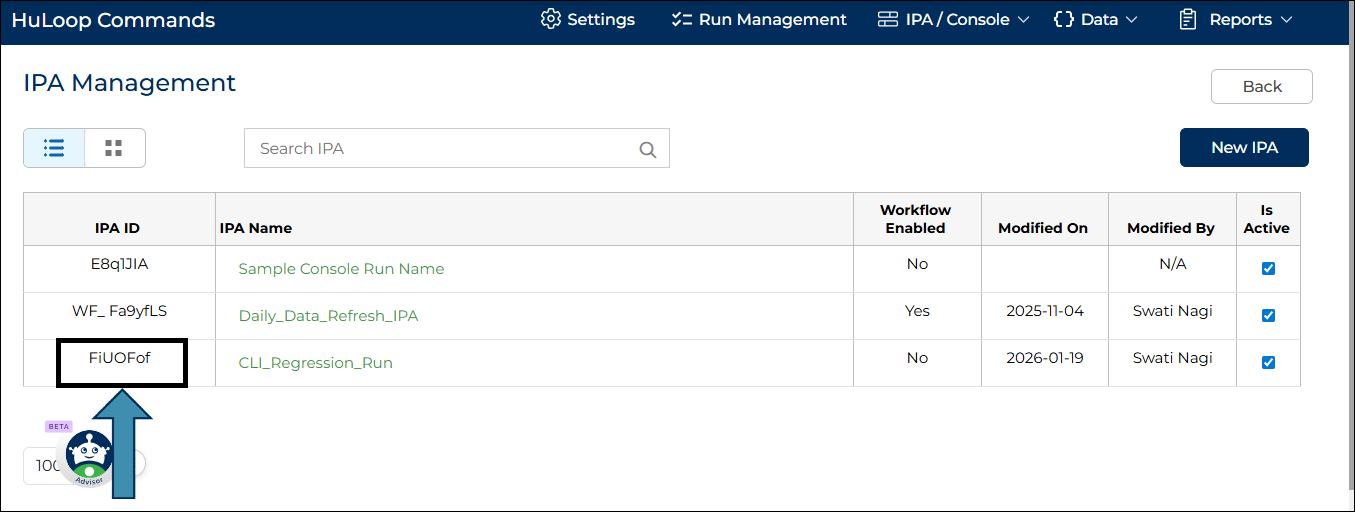
- View the generated Console Execution ID
- Search for a specific console execution by name or ID
- Reuse the same Console Execution ID for subsequent CLI runs
- Open an existing console execution configuration to update details such as authentication, reports, or notification settings
Creating a Run Setting and Console Execution Data is typically a one-time setup. Even if you update cases or automation content, those changes are automatically reflected in the execution.
Using Access Tokens for CLI Execution
HuLoop CLI supports authentication using an access token. This method is more secure and flexible than entering a password. When generating Console Execution Data, you can use an access token instead of filling in the password field.
Creating an Access Token
To create an access token for your user account:
- Sign in to your HuLoop account and open the Automation you want to work on.
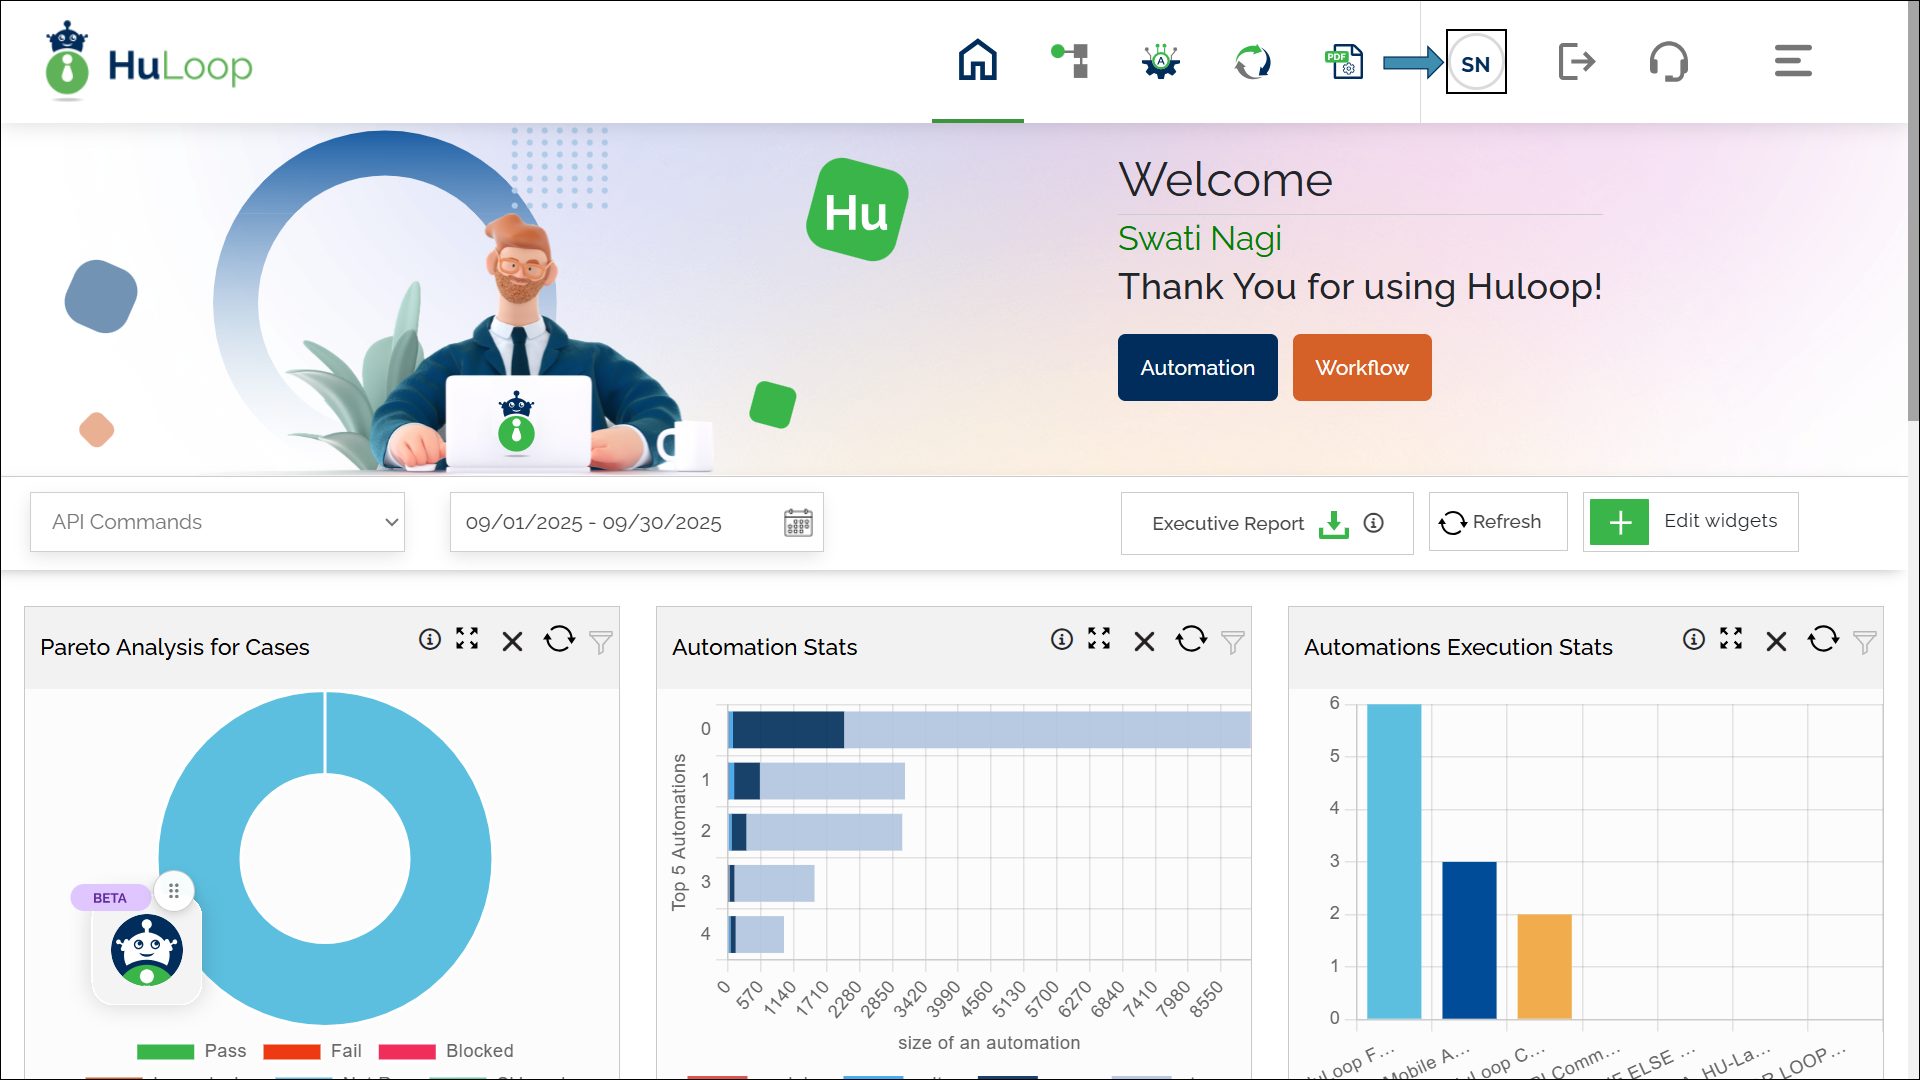
- Click your profile icon in the top-right corner of the screen.
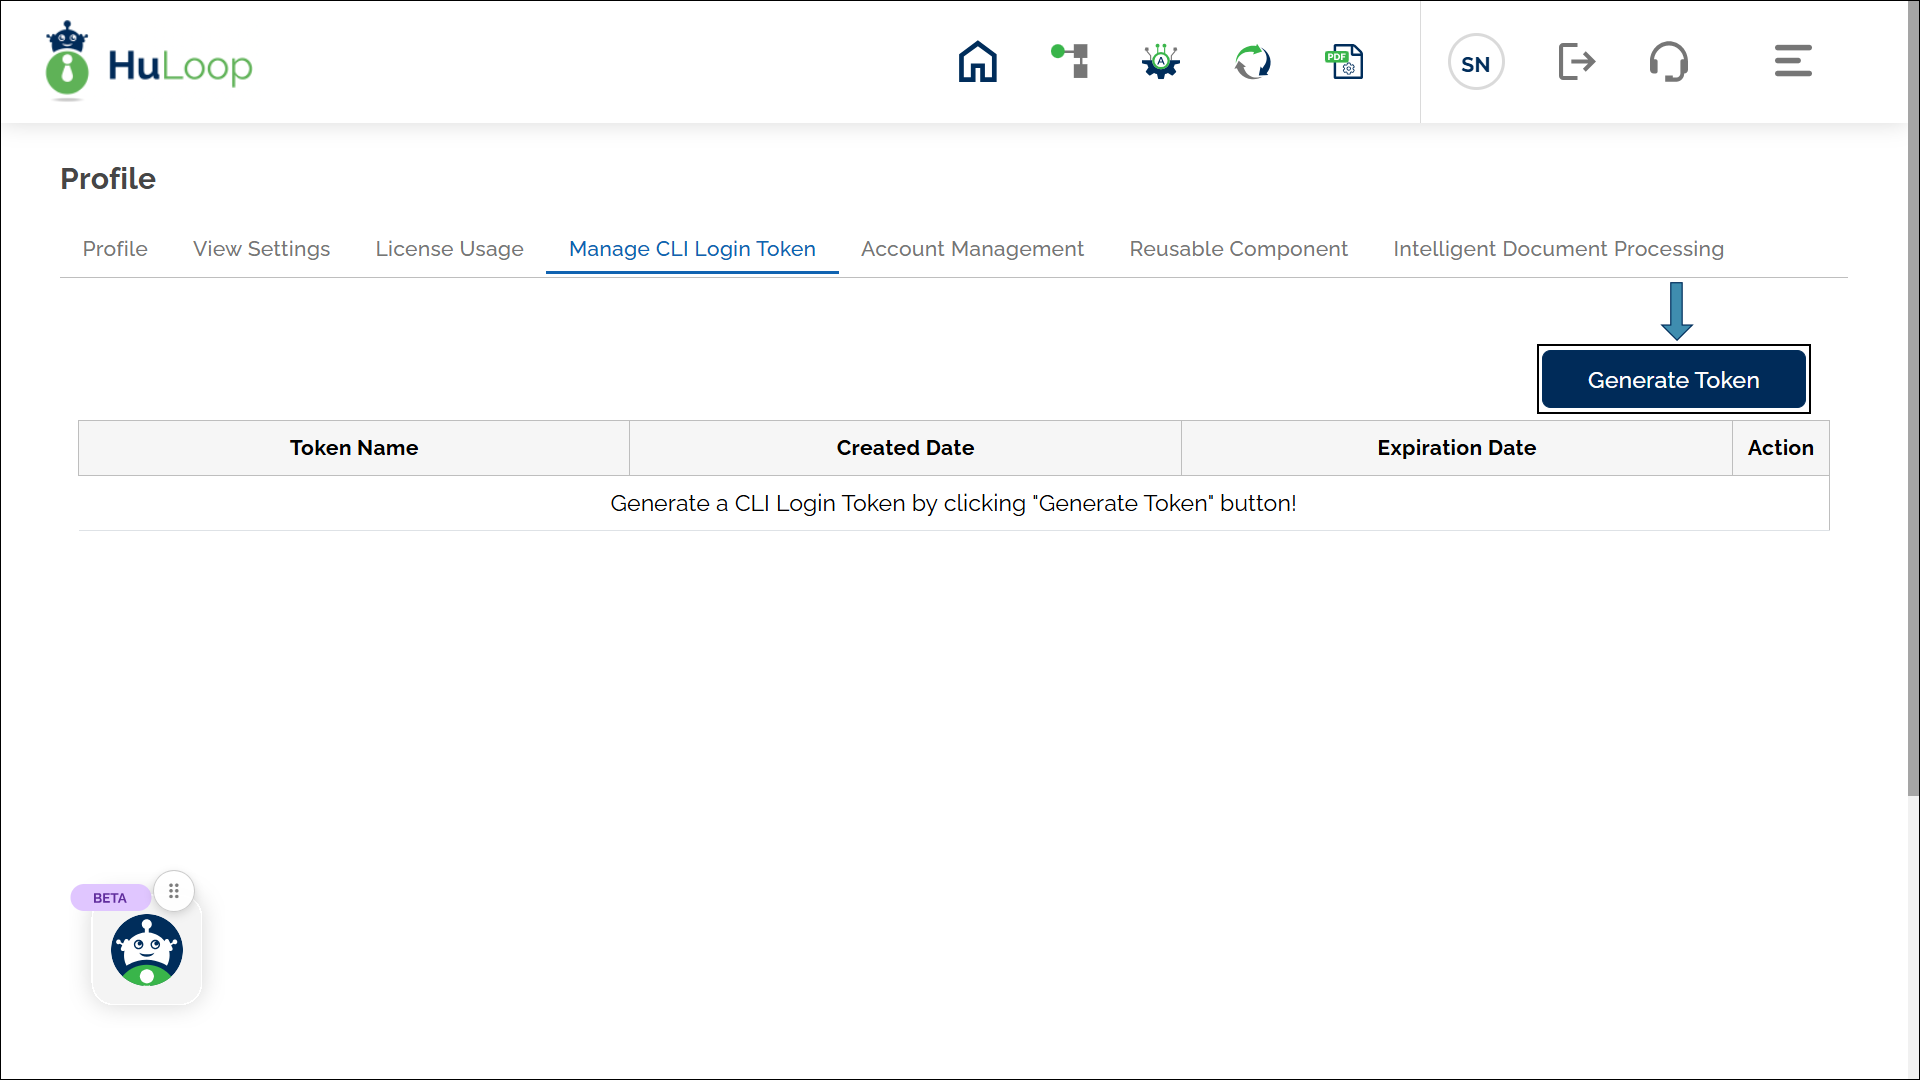
- On the profile page, go to the Manage CLI Token tab.
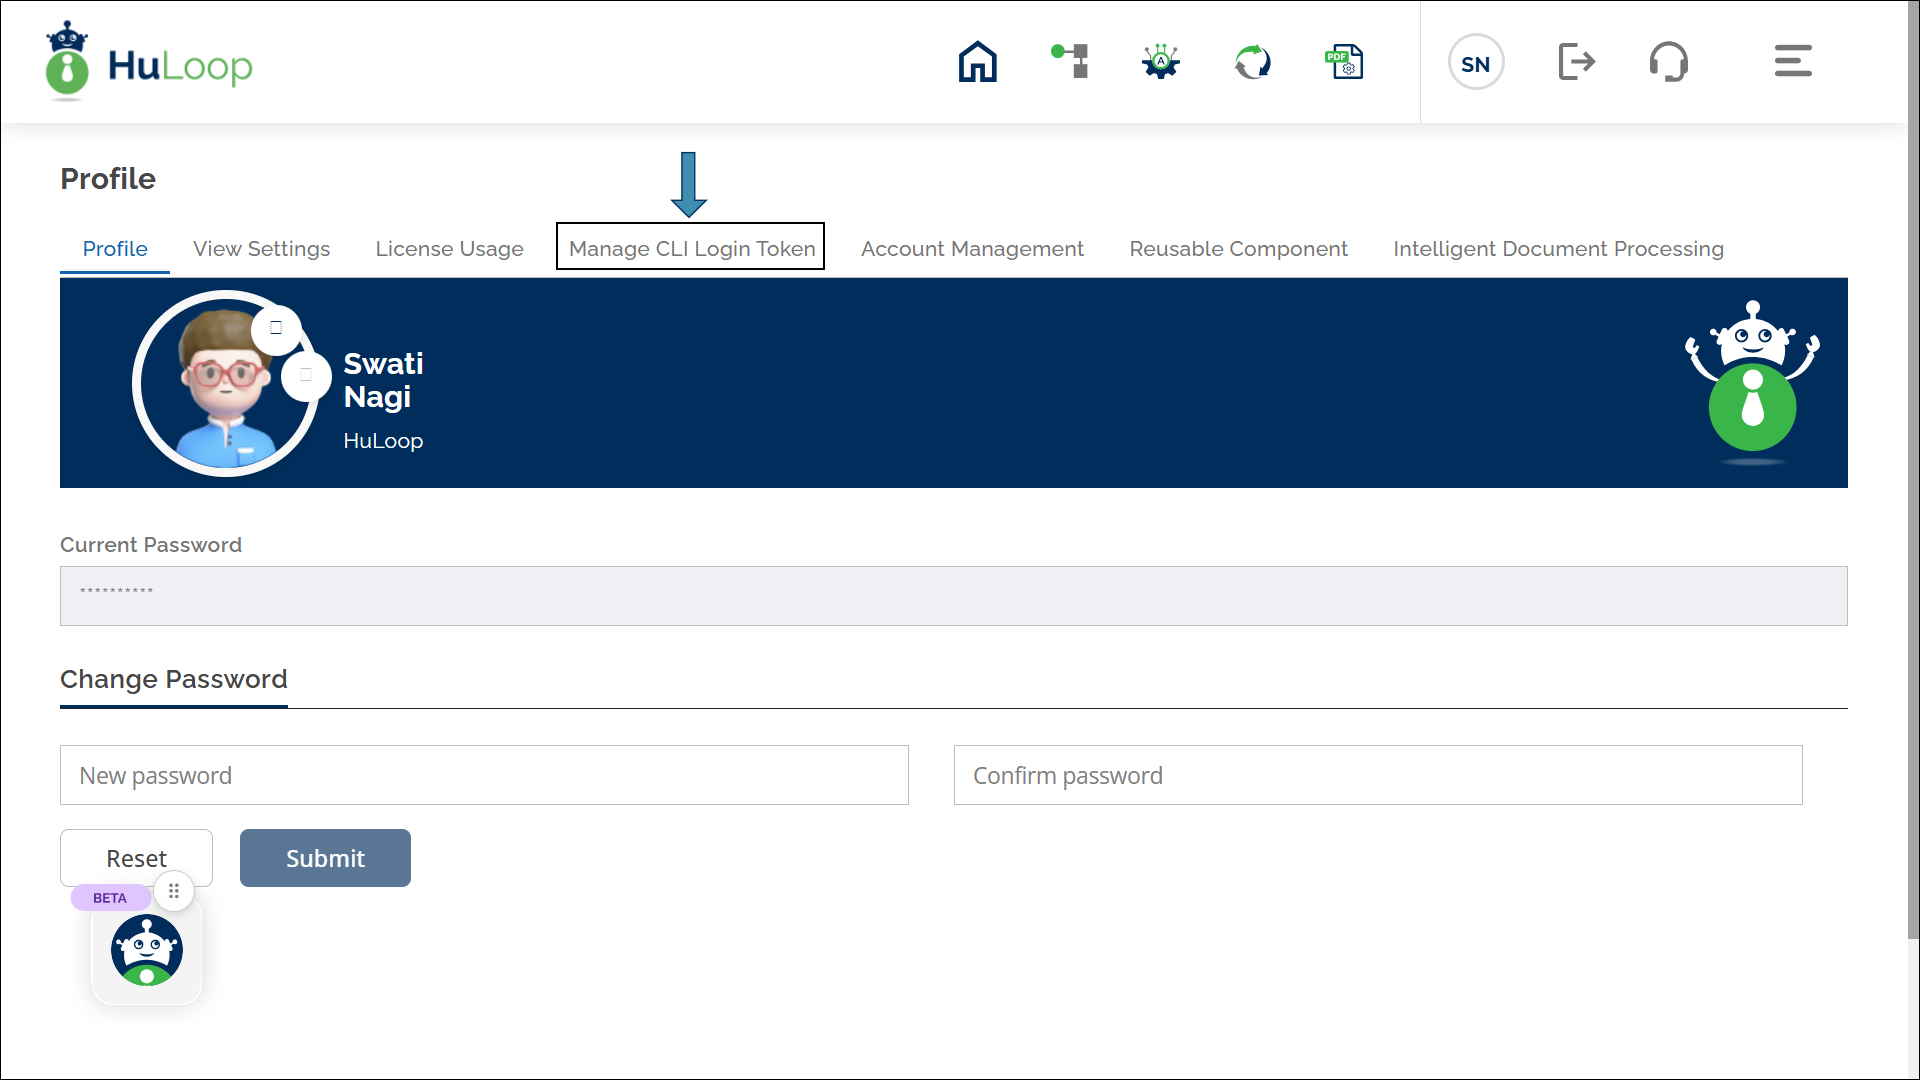
- Click the Generate Token button.
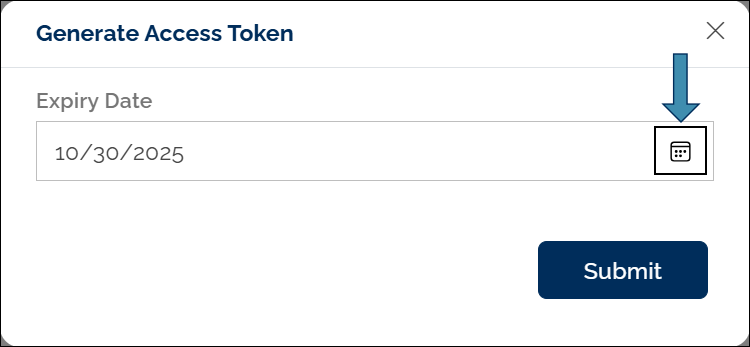
- A pop-up window appears. Use the calendar icon to set an expiration date for your token.
- Click Submit button.
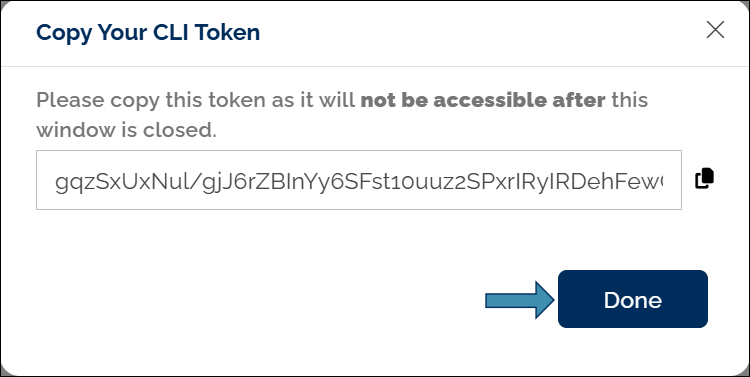
A modal window will appear showing the token. Close the window by clicking Done.
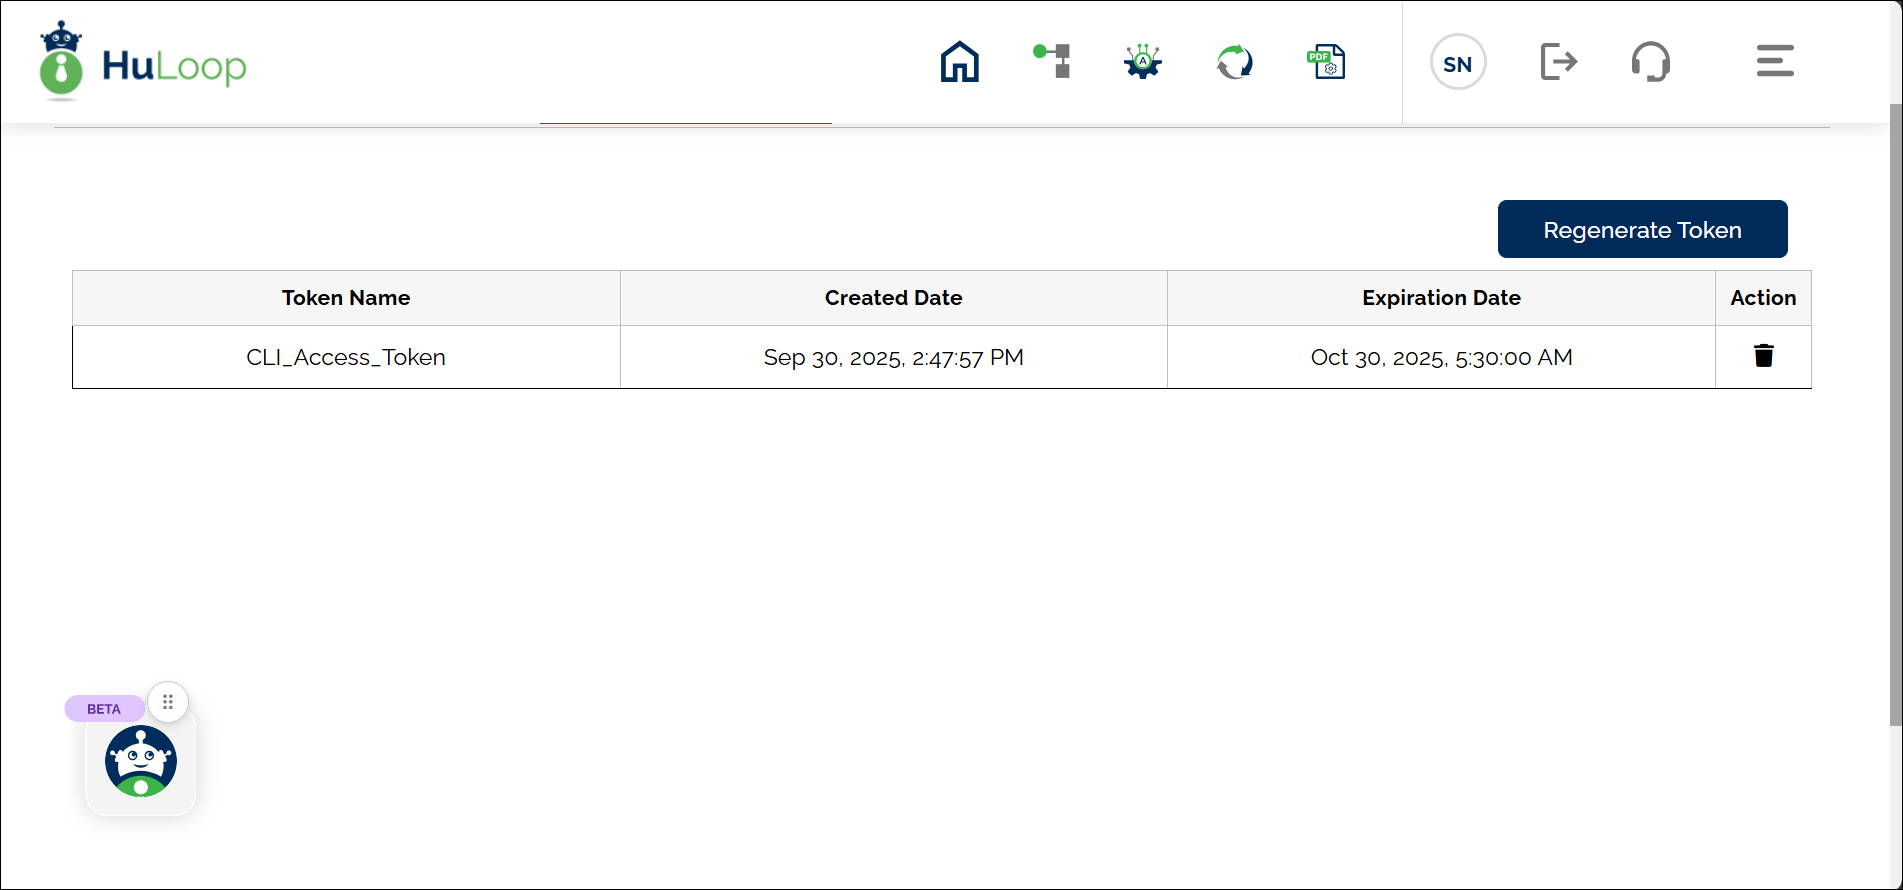
- The token will appear in the Manage CLI Token tab.
For your security, treat your access token like a password. Do not share it.
