How to Download and Install WinAppDriver
Windows Application Driver (WinAppDriver) is a service developed by Microsoft that enables Selenium-like UI test automation for Windows applications. It allows users to interact with desktop applications.
Before installing WinAppDriver, you must enable Developer Mode on your system. Here’s how you can do it:
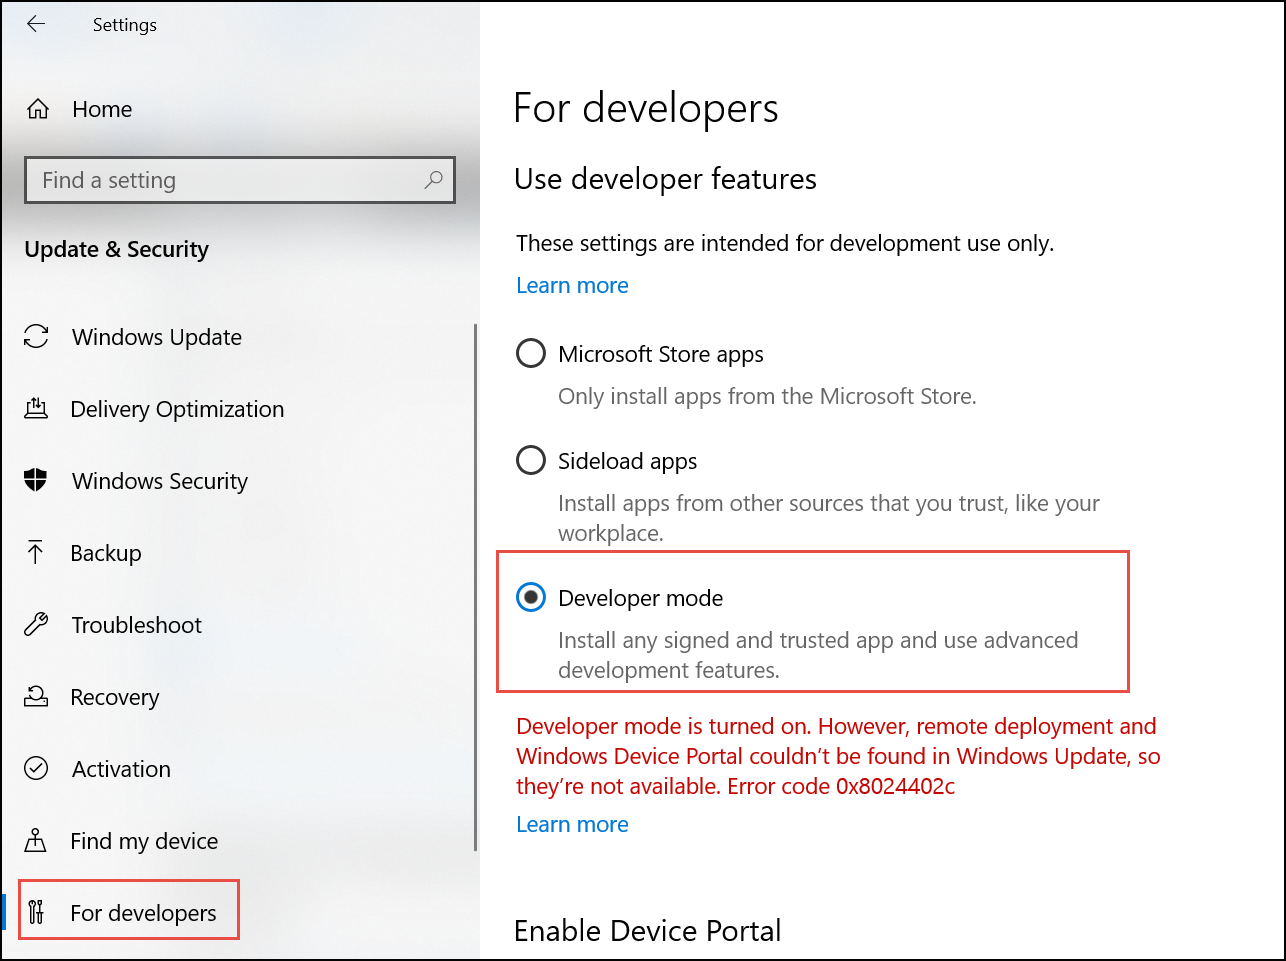
Enable Windows Developer Mode
- Open the Settings app in Windows.
- Navigate to Update & Security > For Developers.
- Select Developer mode to enable it.
Download and Install WinAppDriver
To use the WinAppDriver for desktop automation, follow these steps to download and install it:
Download the installer
Visit the following link to download the latest version of WinAppDriver: WinAppDriver Download
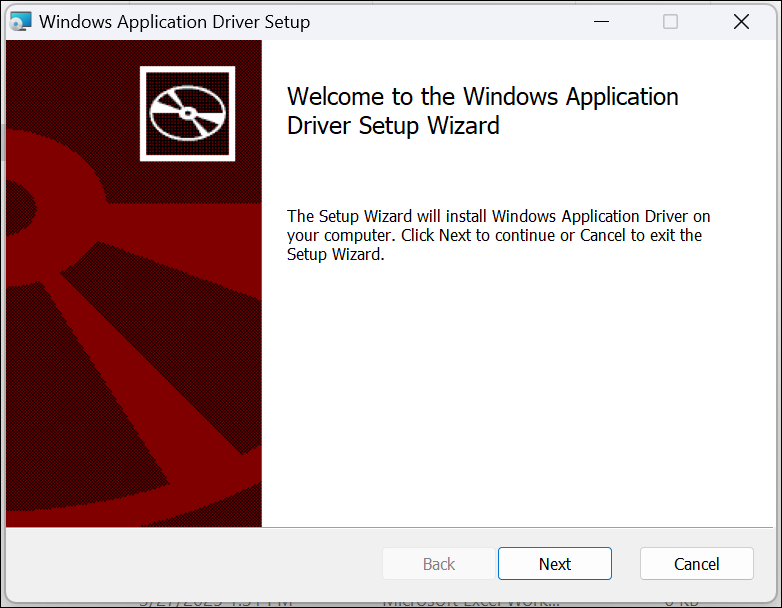
Run the Installer
- Locate the downloaded file (e.g., WindowsApplicationDriver_1.2.1.msi) in your Downloads folder.
- Double-click the downloaded file to launch the installer.
- Follow the on-screen instructions to complete the installation.
Run WinAppDriver
To use the driver with a desktop application such as Excel, follow these steps:
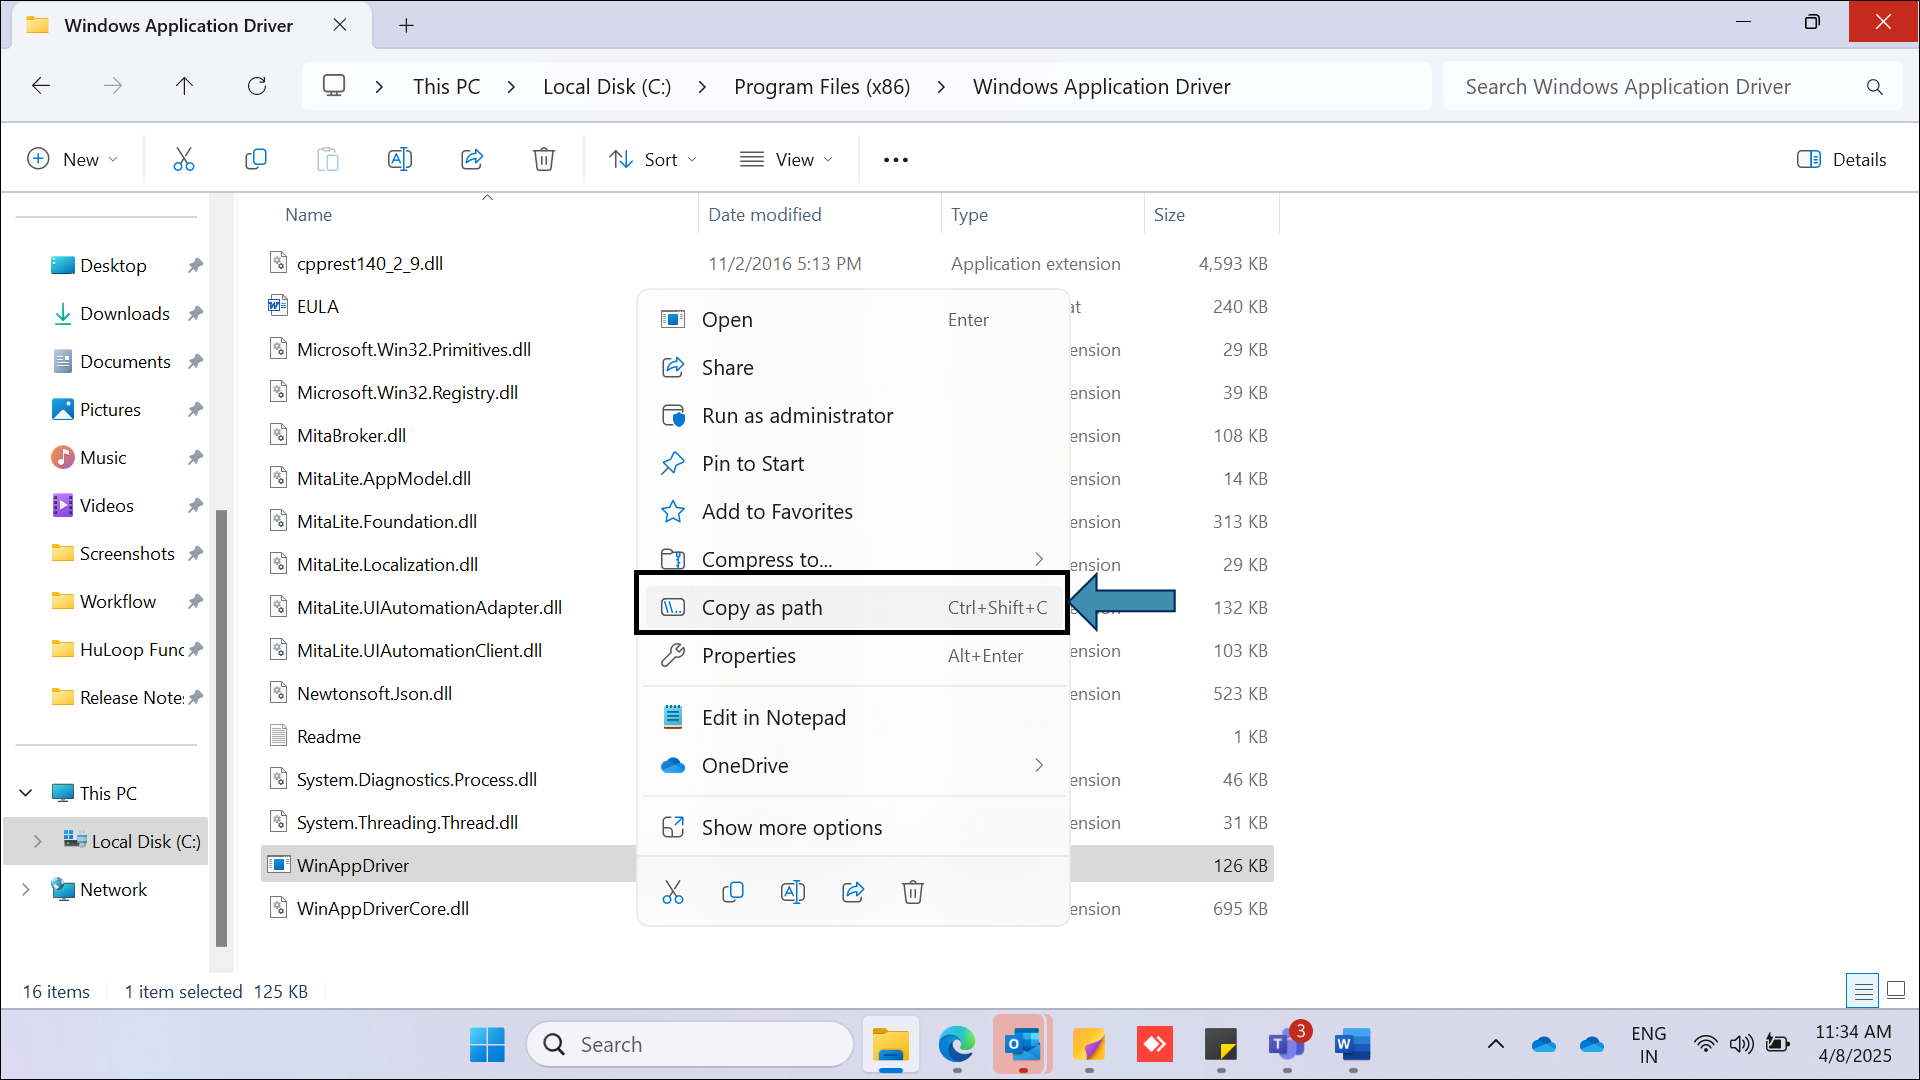
- Navigate to the installation folder. The default location is:
C:\Program Files (x86)\Windows Application Driver\WinAppDriver.exe
- Copy path of the WinAppDriver.exe file. To do so, right-click the .exe file and select Copy as Path.
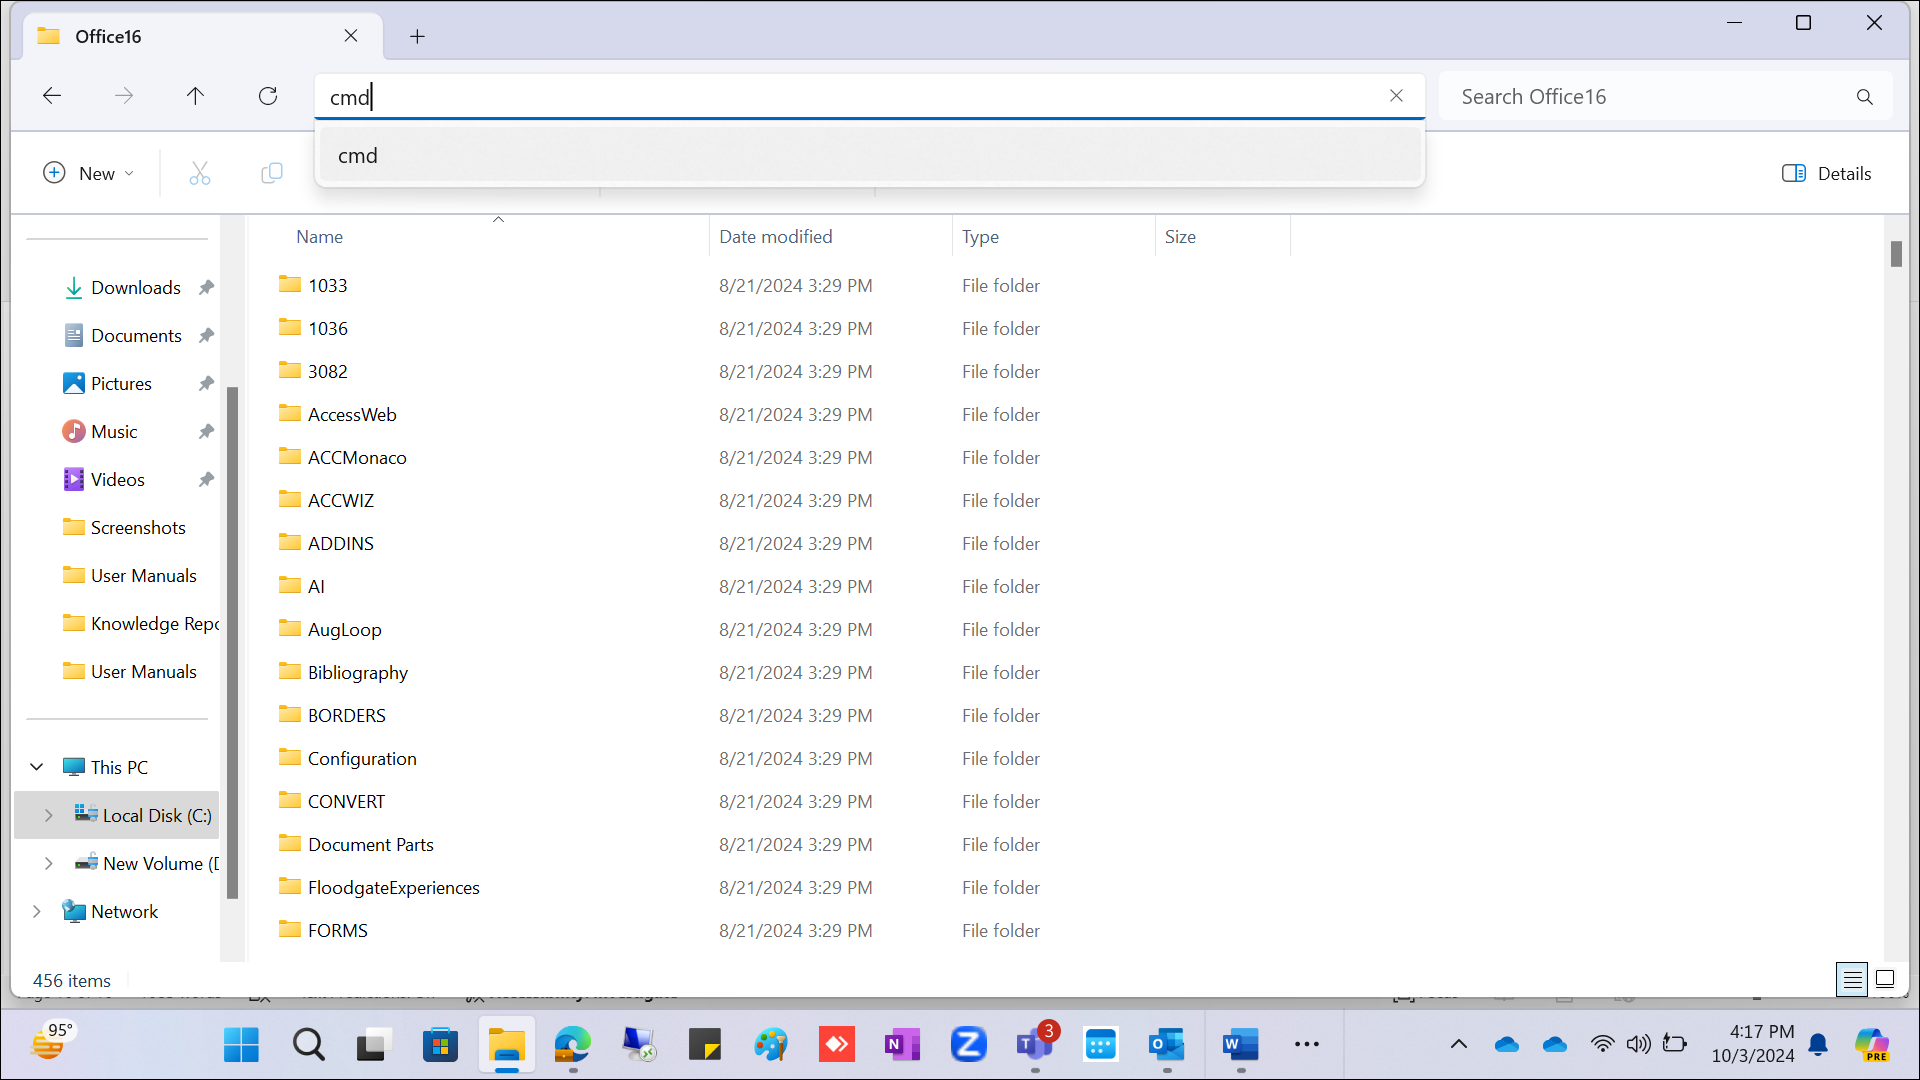
- Locate the Desktop Application:
- Open File Explorer on your system.
- Navigate to the folder where the target application is installed (e.g., Excel). Typically, the path is:
C:\Program Files\Microsoft Office\root\Office16
- Open the Command Prompt (CMD).
- Run the Driver:
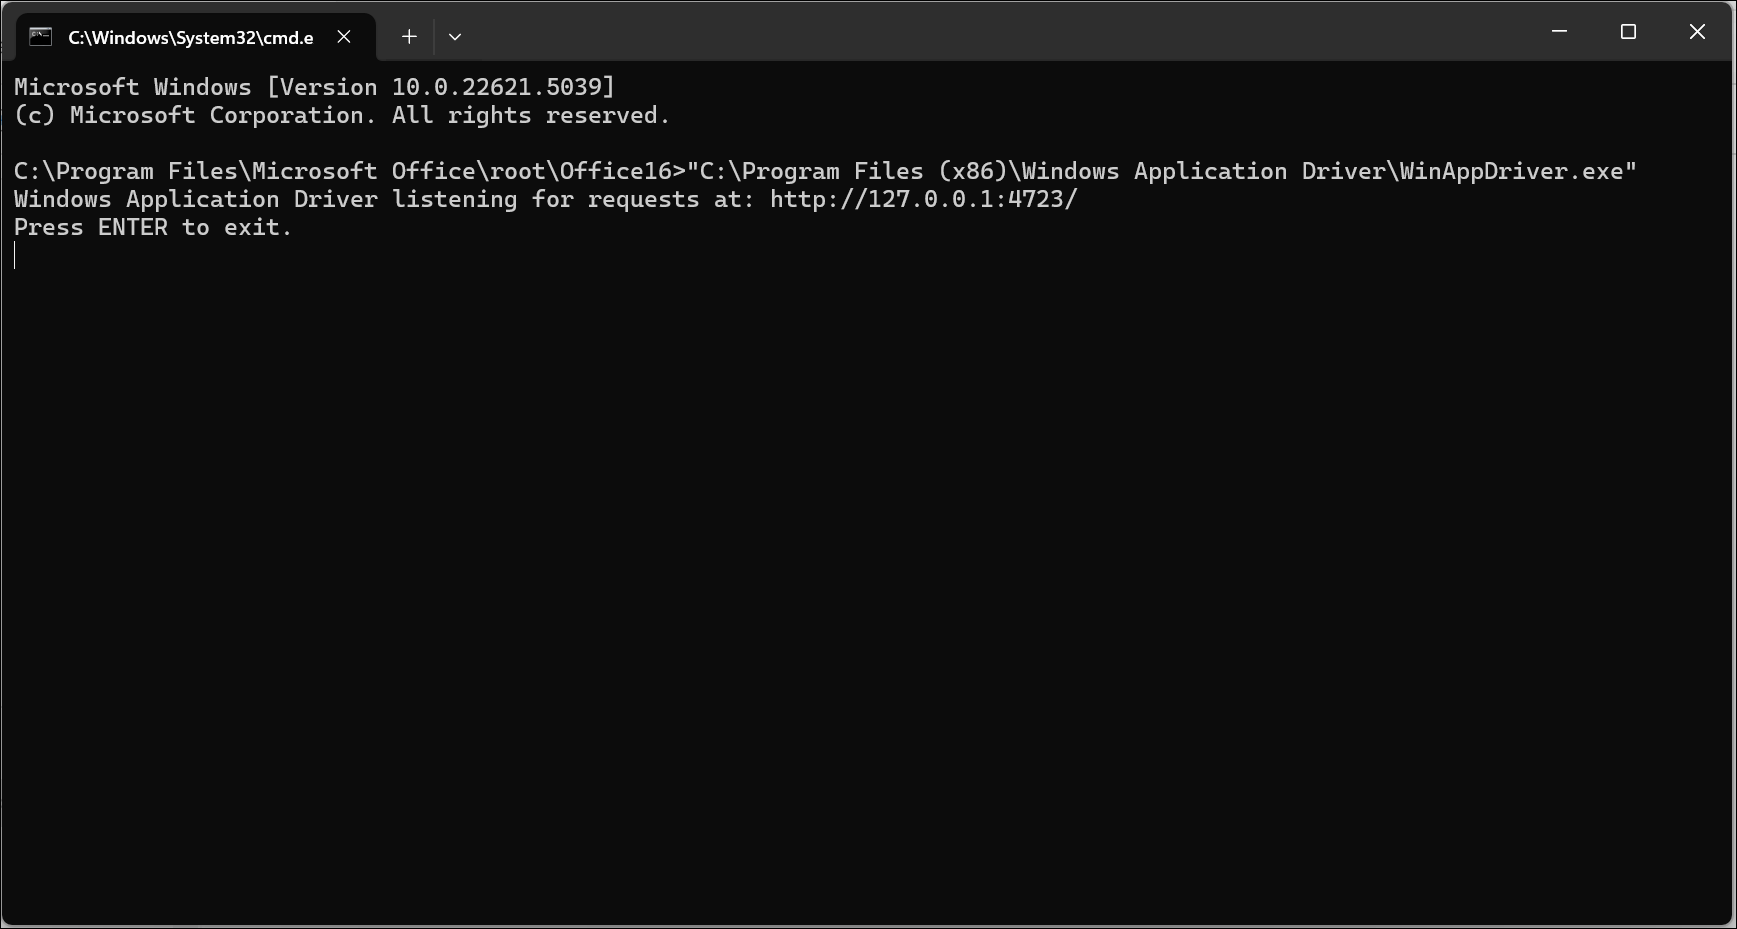
- In the Command Prompt window, paste the full path to the WinAppDriver.exe file that you copied earlier in step 2, enclosed in double quotes.
C:\Program Files (x86)\Windows Application Driver\WinAppDriver.exe - Press Enter to start the driver.
- In the Command Prompt window, paste the full path to the WinAppDriver.exe file that you copied earlier in step 2, enclosed in double quotes.
To change the default IP address or port number, click here to learn how to configure IP address and port.
Make sure the driver is running before you start executing desktop automation.
Configuring IP Address and Port
By default, WinAppDriver run on:
- IP Address: 127.0.0.1
- Port Number: 4723
To avoid conflicts or to suit your environment, you can update the IP address, port number, or both.
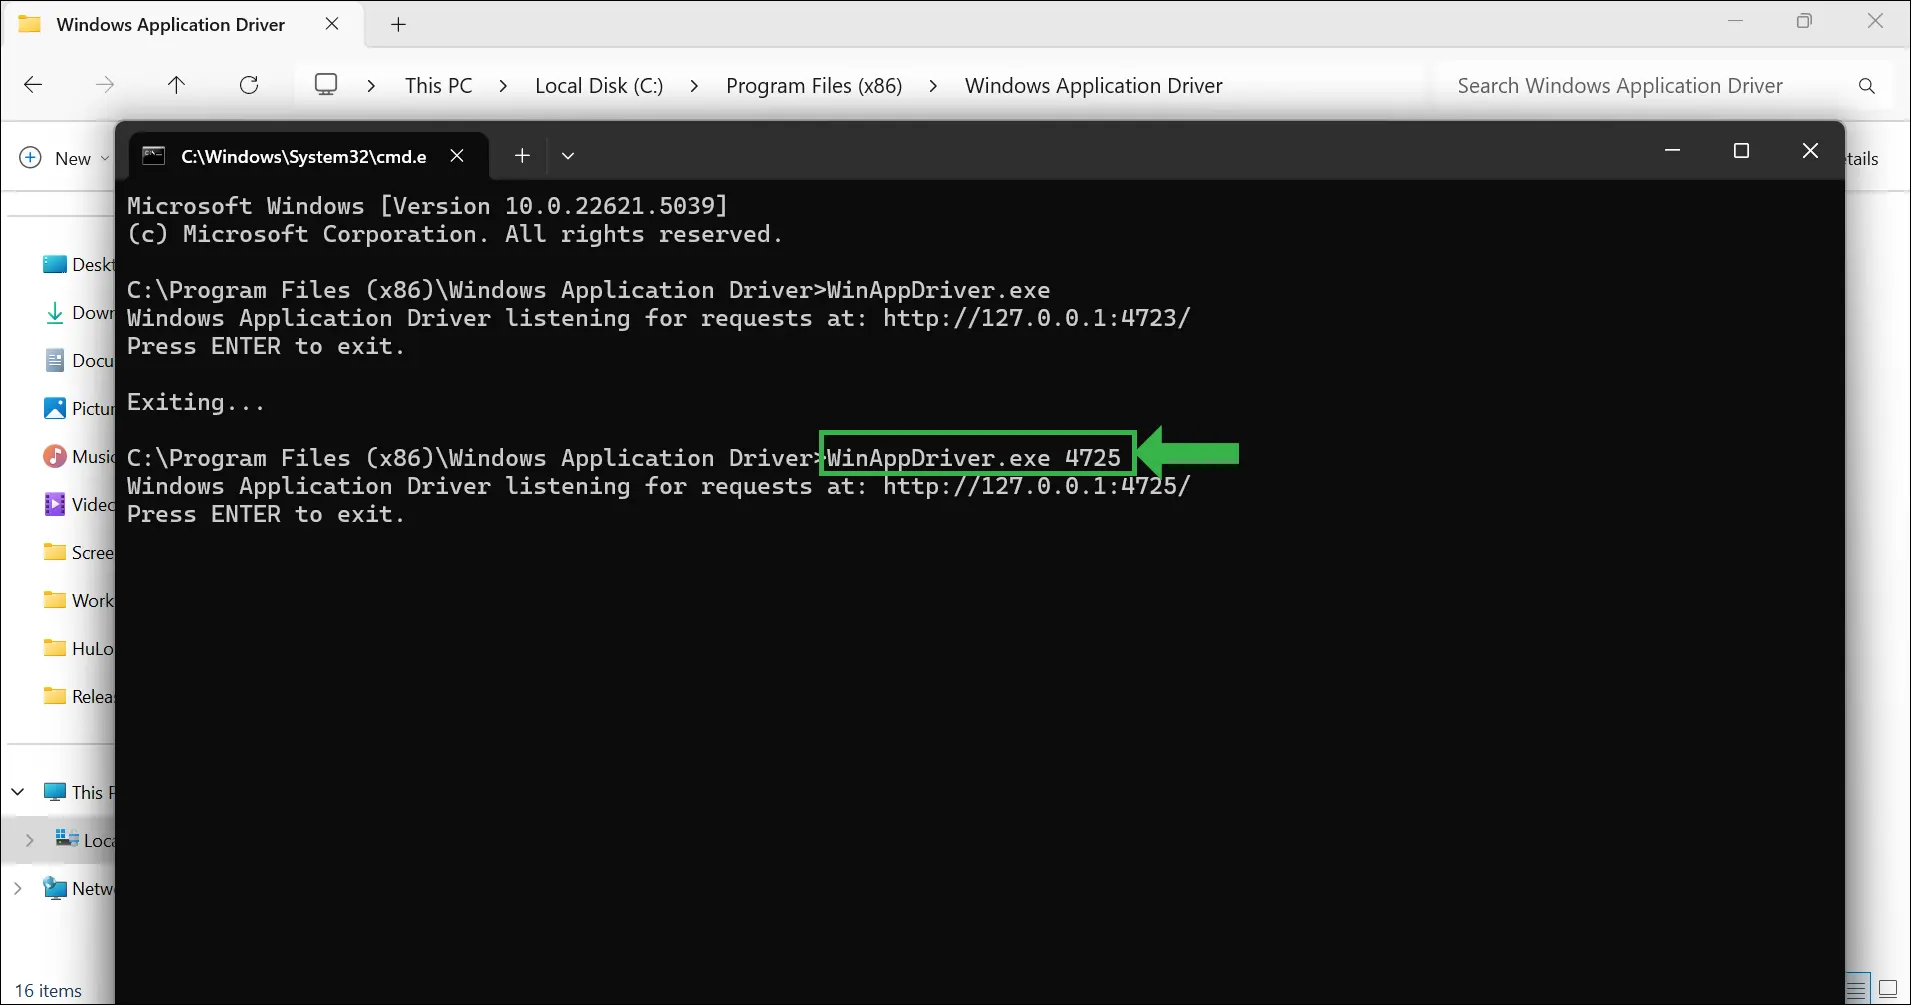
Change Port Number Only
- Navigate to the folder where the WinAppDriver.exe file is located.
- Open Command Prompt in that directory.
- To update the Port number when launching the WinAppDriver, use the following command structure in Command Prompt:
WinAppDriver.exe [Custom PORT]
- Hit Enter key.
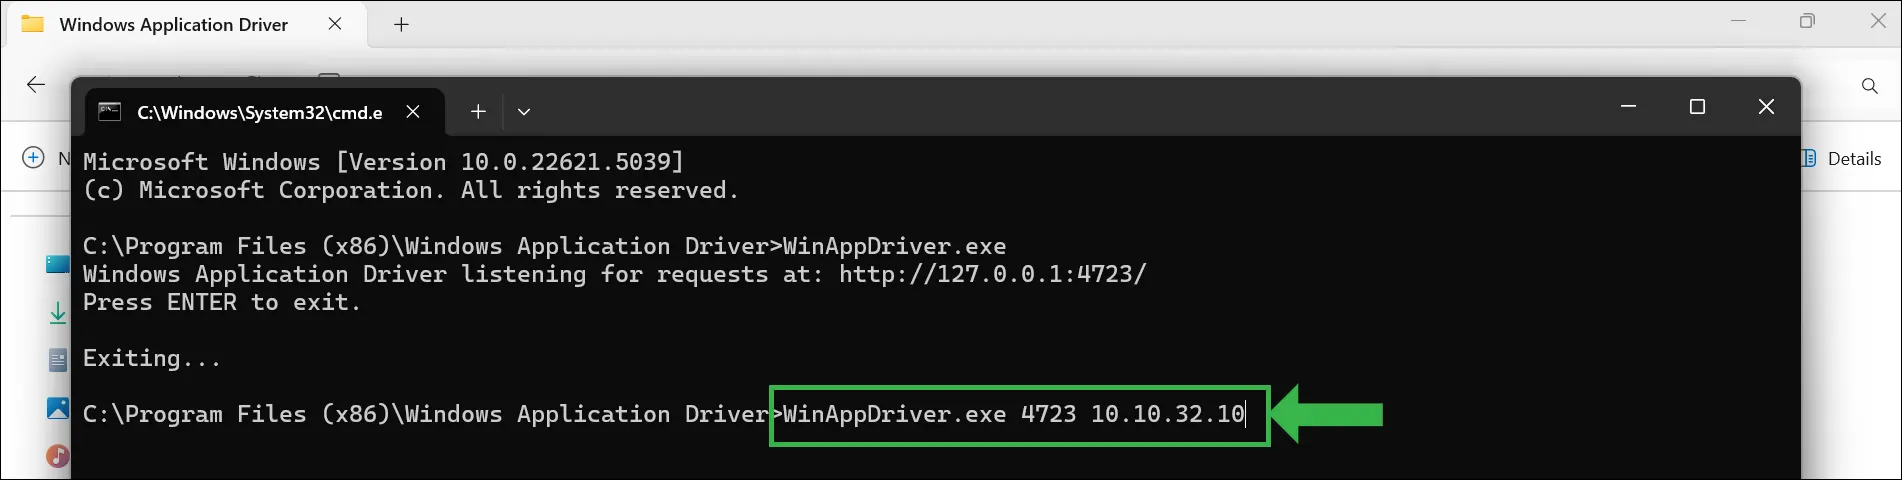
Update Only the IP Address (uses default port)
- Navigate to the folder where the WinAppDriver.exe file is located.
- Open Command Prompt in that directory.
- To update the IP address when launching the WinAppDriver, use the following command structure in Command Prompt:
WinAppDriver.exe [Default PORT] [Custom IP_ADDRESS]
- Hit Enter key.
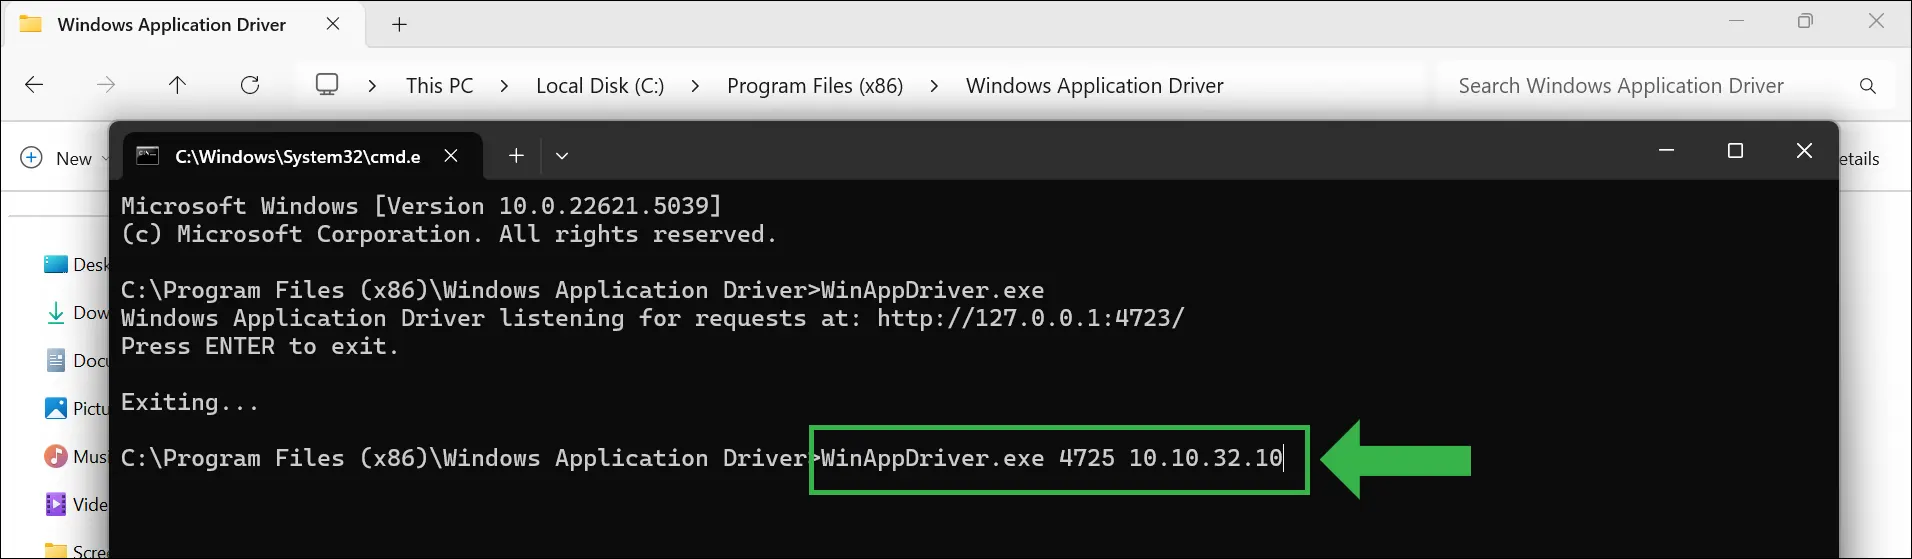
Update Both IP Address and Port
- Navigate to the folder where the WinAppDriver.exe file is located.
- Open Command Prompt in that directory.
- To update the IP address when launching either the WinAppDriver, use the following command structure in Command Prompt:
WinAppDriver.exe [Updated PORT] [Updated IP_ADDRESS]
- Hit Enter key.
Launching a Desktop Application for Automation
Once the driver is running, go back to your HuLoop automation and use the Open Desktop Application action to launch and automate your target desktop application.
Last updated: Sep 14, 2025