Check Validation Handler
The Check Validation Handler function reviews uploaded check images to detect potential fraud. It analyzes the image and provides a result with a confidence score, helping ensure accuracy and security in financial automation.
Example: You can use this function to validate a scanned check before processing it in an automated workflow.
Steps to Configure:
- Add a new step in your Use Case.
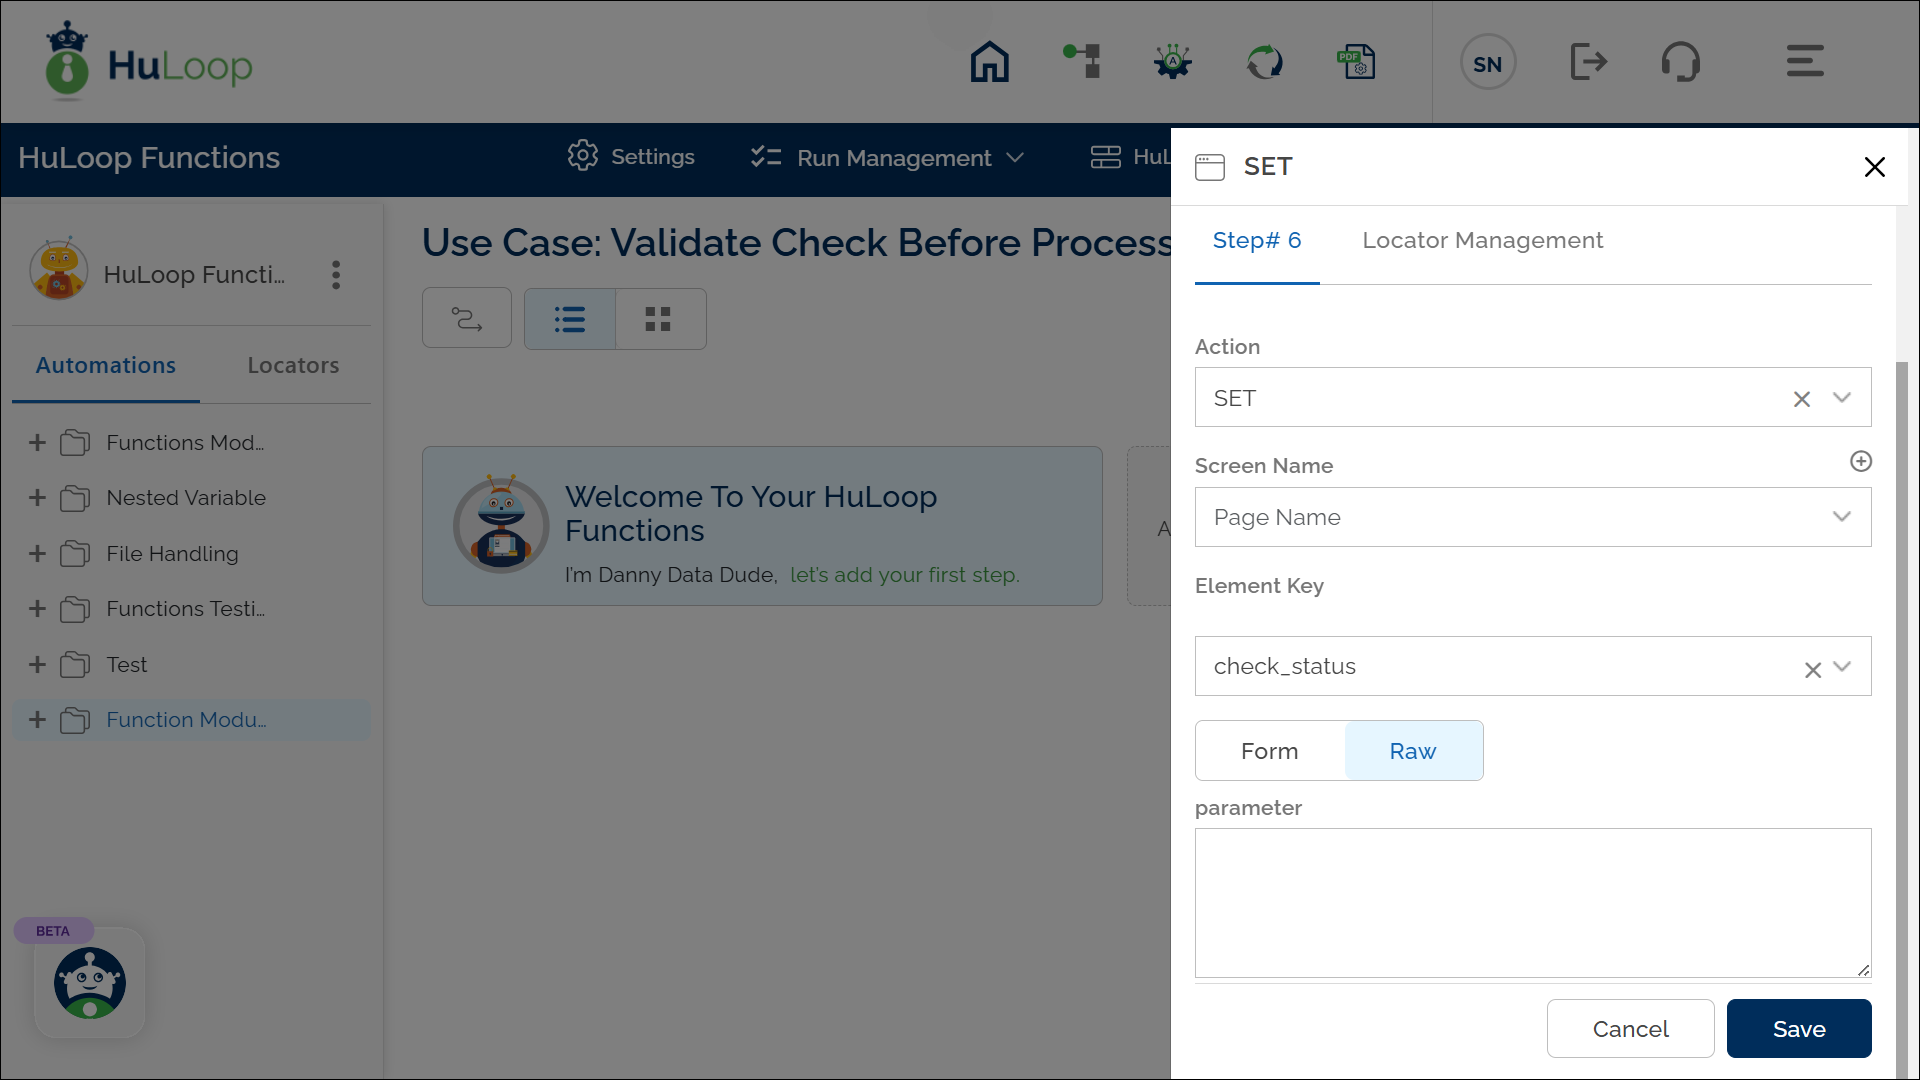
- Select Action:
- RUN: Use this when you only want to execute the check validation and view the result, without storing the output in a variable.
- SET: Use this when you want to store the validation result (Valid Check or Invalid Check) in a variable for later use in your Use Case. When using Set, make sure to define a variable name in the Element Key field.
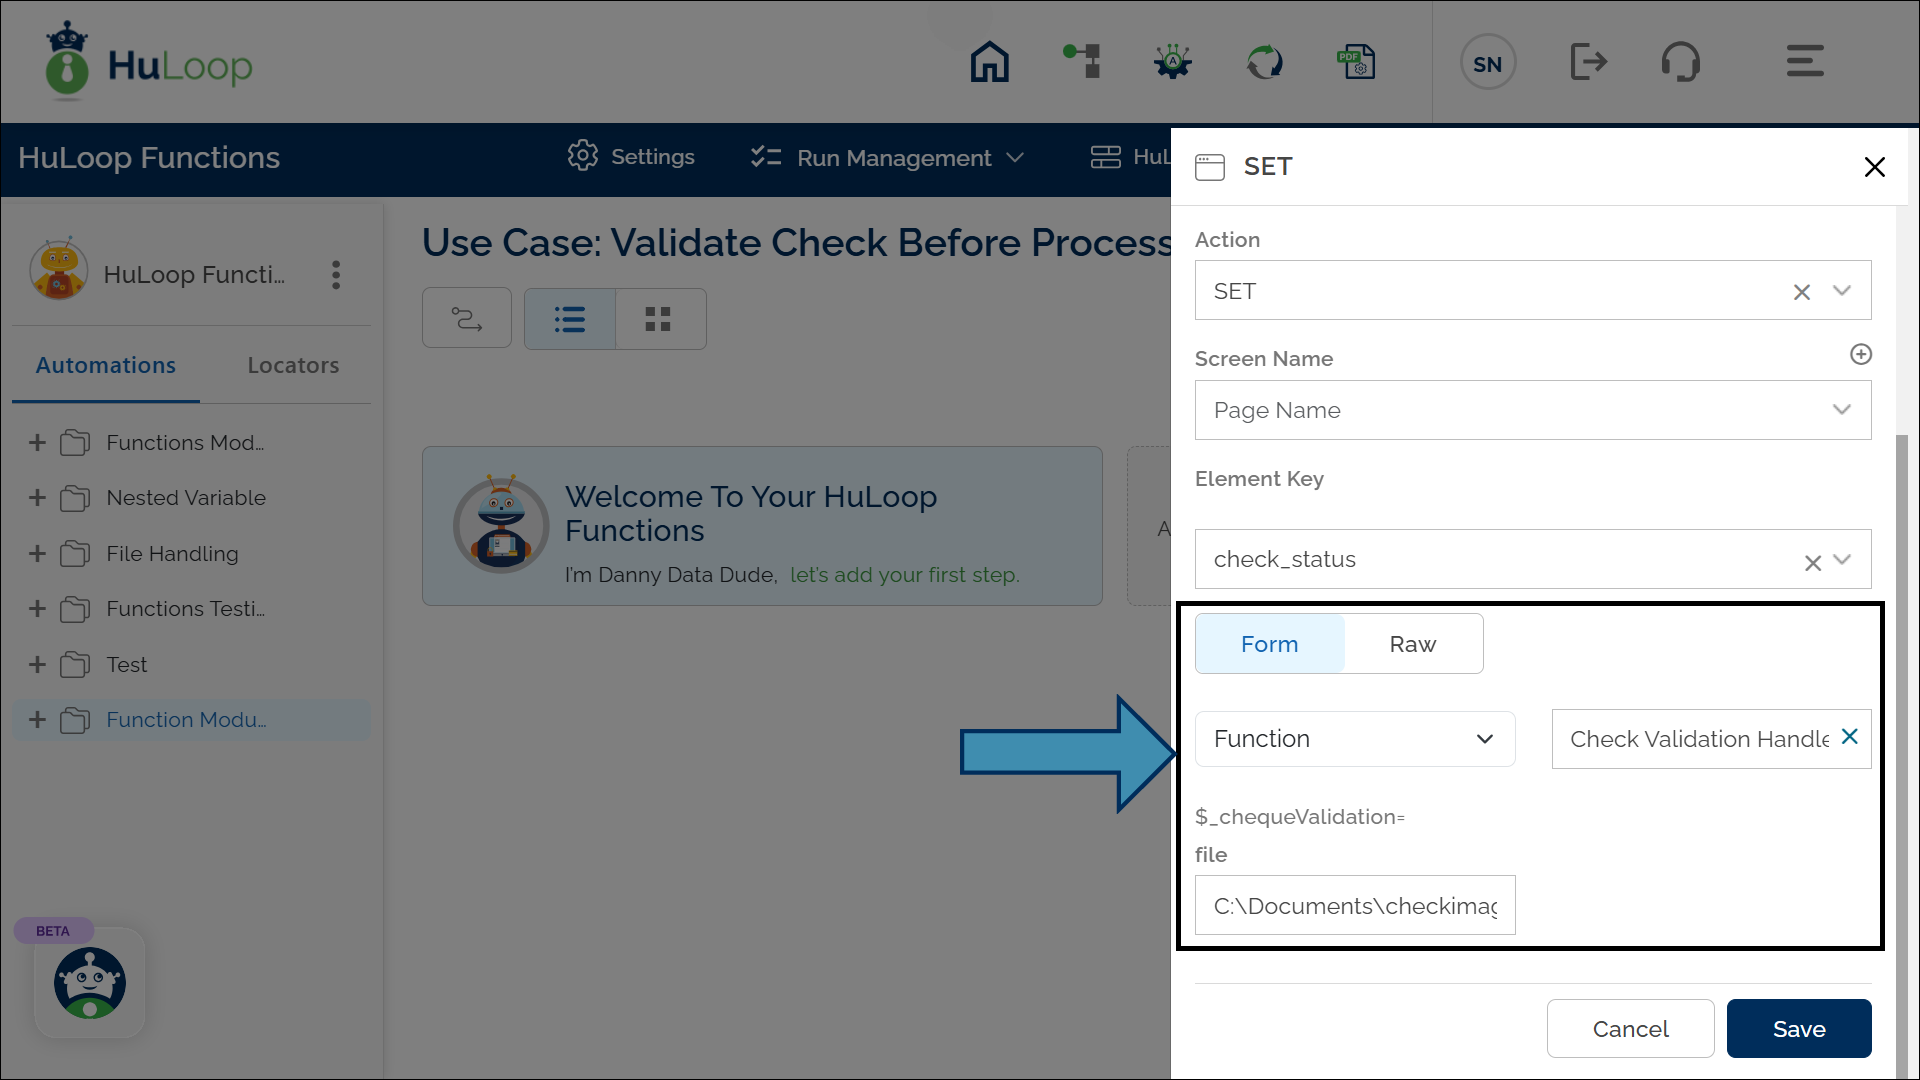
- Click Form and select Functions from the dropdown.
- From the function list, select Check Validation Handler.
- file: Enter the path to the check image file (for example: C:\Documents\checkimage.jpg).
- Click Save.
Supported File Formats and Size:
- Formats: JPG, PNG
- Maximum File Size: 25 MB
For best results, upload a clear, high-resolution image of the check. Avoid blurred, cropped, or partially scanned checks, as these may cause incorrect results.
Expected Outcome on Execution:
- If the check passes validation, the system returns: Valid: True along with the confidence score.
- If the check fails validation, the system returns: Valid: False along with the reason for failure (for example, “blurry image” or “suspicious alteration detected”) and confidence score.
- When using Set, the result is stored in the variable defined in the Element Key field so it can be reused later in the Use Case.
- This variable can be used in later steps of your automation process to reference the stored information using the syntax: ${Variable Name}.