Step 3 – Review and Manage IPAs
Once you click Create, a confirmation message appears indicating that the IPA has been created successfully.
After that, you’re automatically redirected to the IPA Management page, where you can view, search, and manage all existing IPAs.
IPA Management Overview
The IPA Management page gives you a consolidated view of all your Intelligent Process Automations (IPAs).
From here, you can search, activate, deactivate, or edit IPAs as needed.
- The Search IPA search box allows you to search for a specific IPA by name or ID. This is useful when you have multiple IPAs in your project.
- Click the New IPA button to create a new IPA directly from the IPA Management page. It opens the same creation form described in Step 1.
- Use the Back button to return to the previous screen.
- Switch between list view
 and grid view
  of your IPAs, based on your viewing preference.
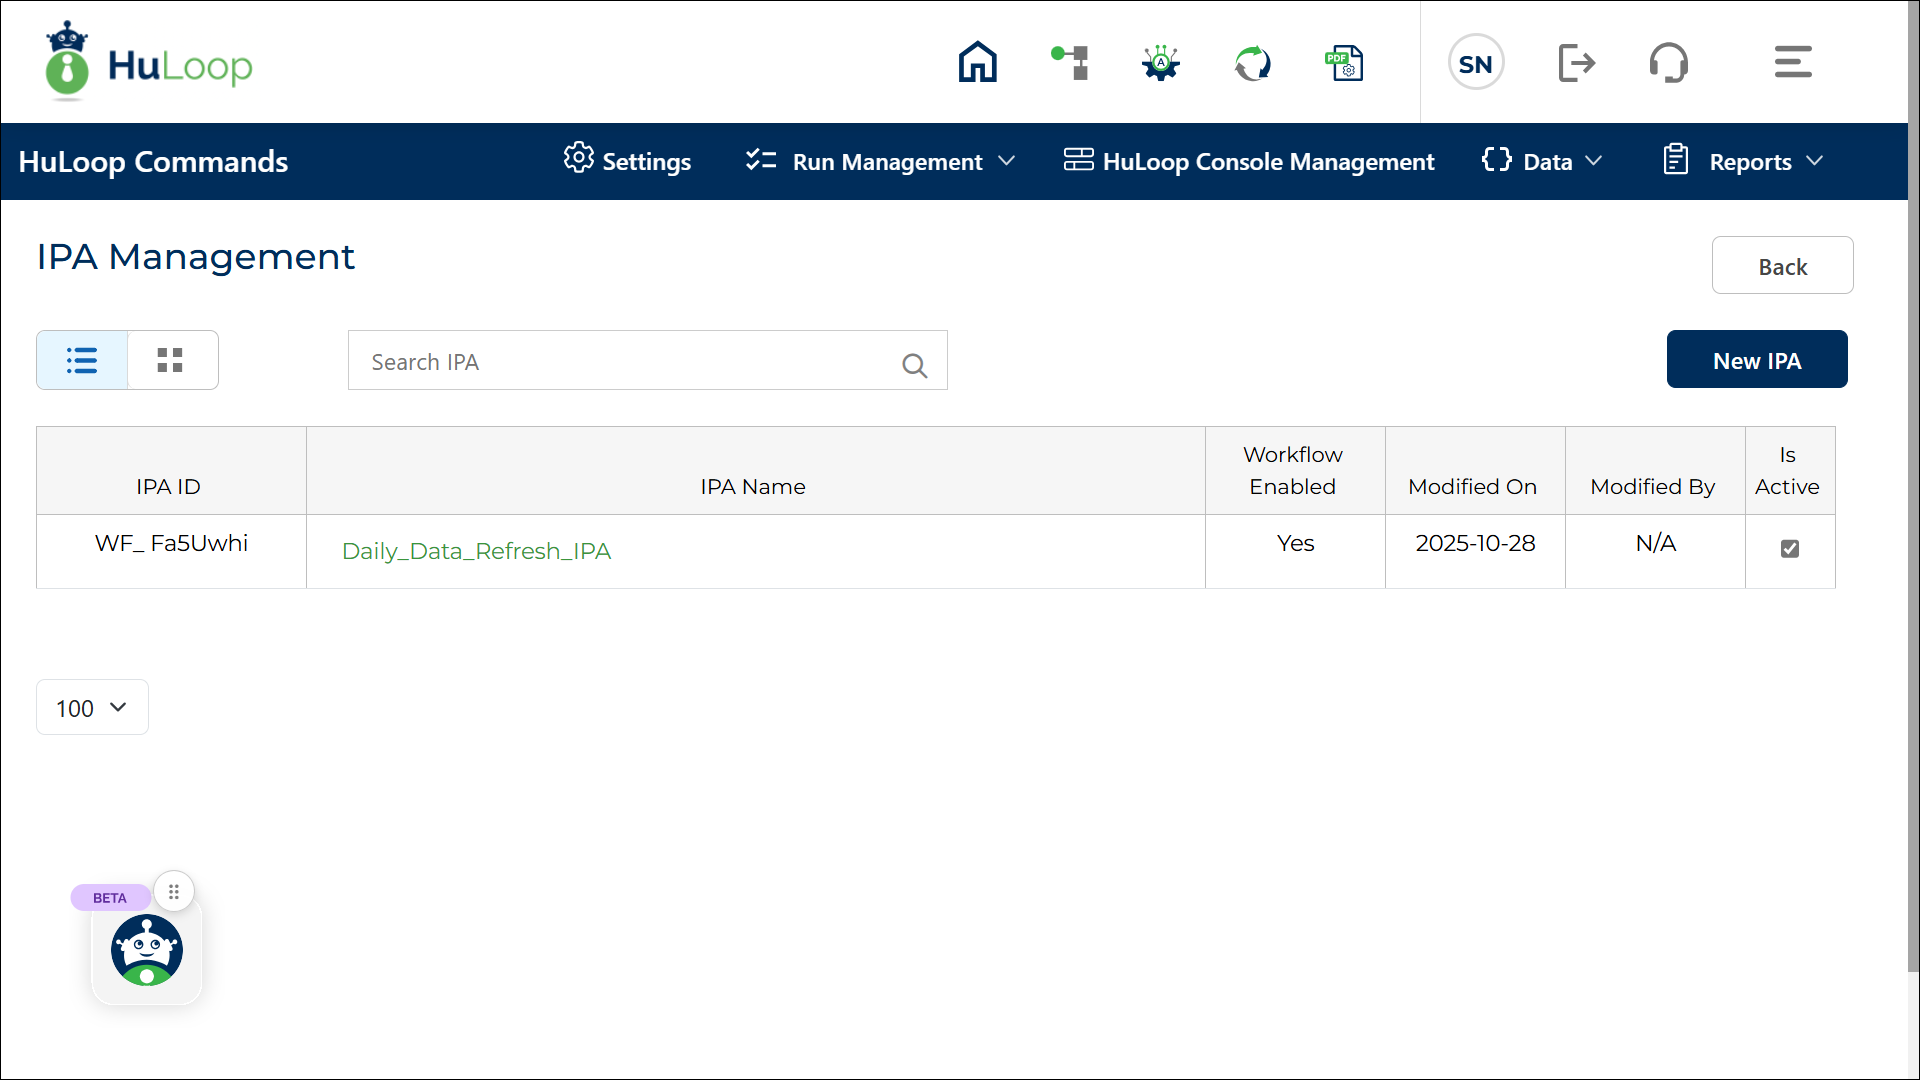
The page includes the following key elements for each IPA:
| Element | Description |
|---|---|
| IPA ID | A unique identifier automatically assigned to each IPA at the time of creation. This helps in tracking and managing IPAs easily. |
| IPA Name | Displays the name of the IPA as defined during creation. |
| Workflow Enabled | Shows Yes or No depending on whether the Workflow Enabled toggle was turned on while configuring the IPA. |
| Modified On | Displays the date and time when the IPA was last updated. |
| Modified By | Shows the username of the person who last modified the IPA. |
| Is Active | Displays a checkbox that indicates whether the IPA is currently active. When checked, the IPA can be linked to workflows. |