Wait For Specified Time Action: WAIT
The Wait For Specified Time action is used to pause the execution of a process for a specified time. This action allows you to add a delay so that elements or events have enough time to load or process before the next step is executed.
The wait time can be provided as either:
- Standard Keywords: Predefined wait times that are configurable in the project settings:
- wait_veryshort: Very short wait time (default: 1500 ms)
- wait_short: Short wait time (default: 3000 ms)
- wait_medium: Medium wait time (default: 6000 ms)
- wait_long: Long wait time (default: 10000 ms)
- wait_verylong: Very long wait time (default: 15000 ms)
- Milliseconds: A specific wait time in milliseconds (e.g., 5000 for 5 seconds).
Note: All times are in milliseconds, where 1 second = 1000 milliseconds.
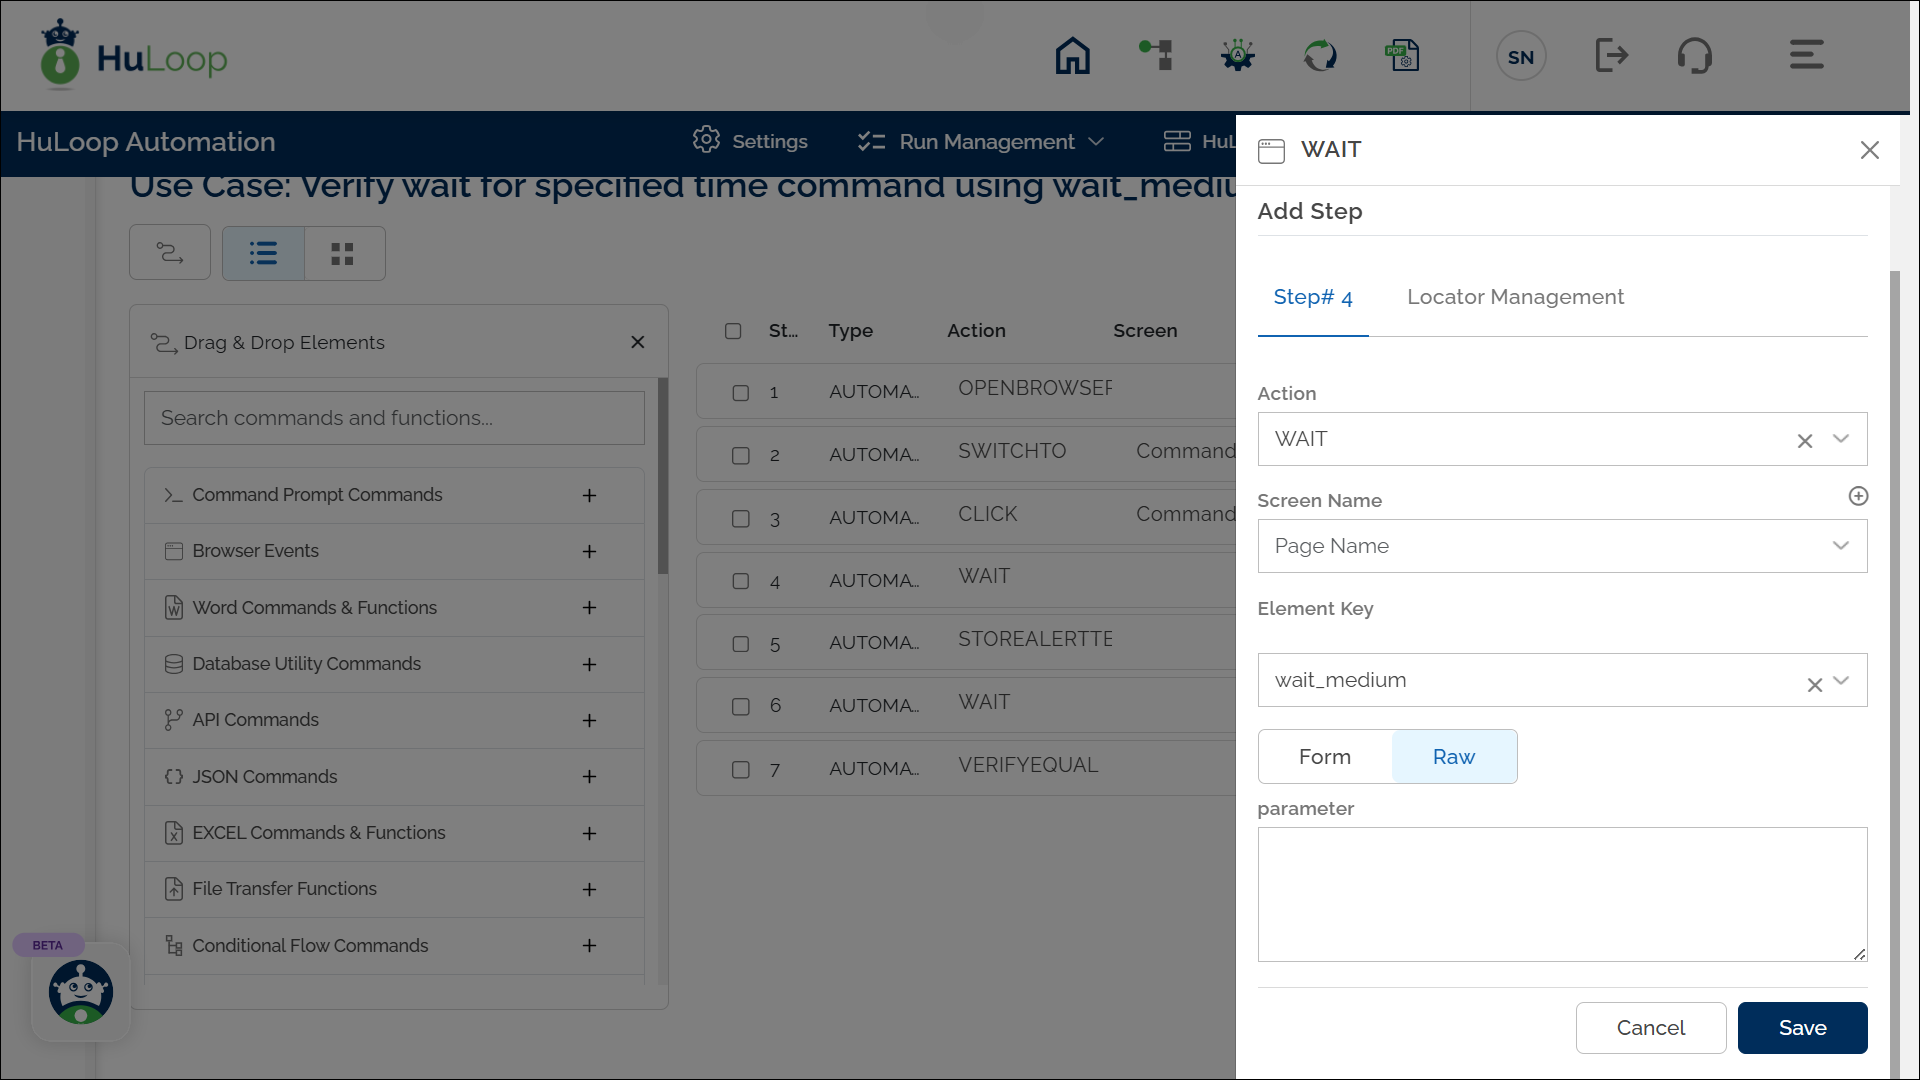
Steps to configure:
- Select WAIT from the Action drop-down menu.
- Leave Screen Name blank.
- In the Element Key field, provide either a standard keyword (wait_veryshort, wait_short, etc.) or a specific wait time in milliseconds (e.g., 5000 for 5 seconds).
- Leave Parameters box blank.
- Click Save.
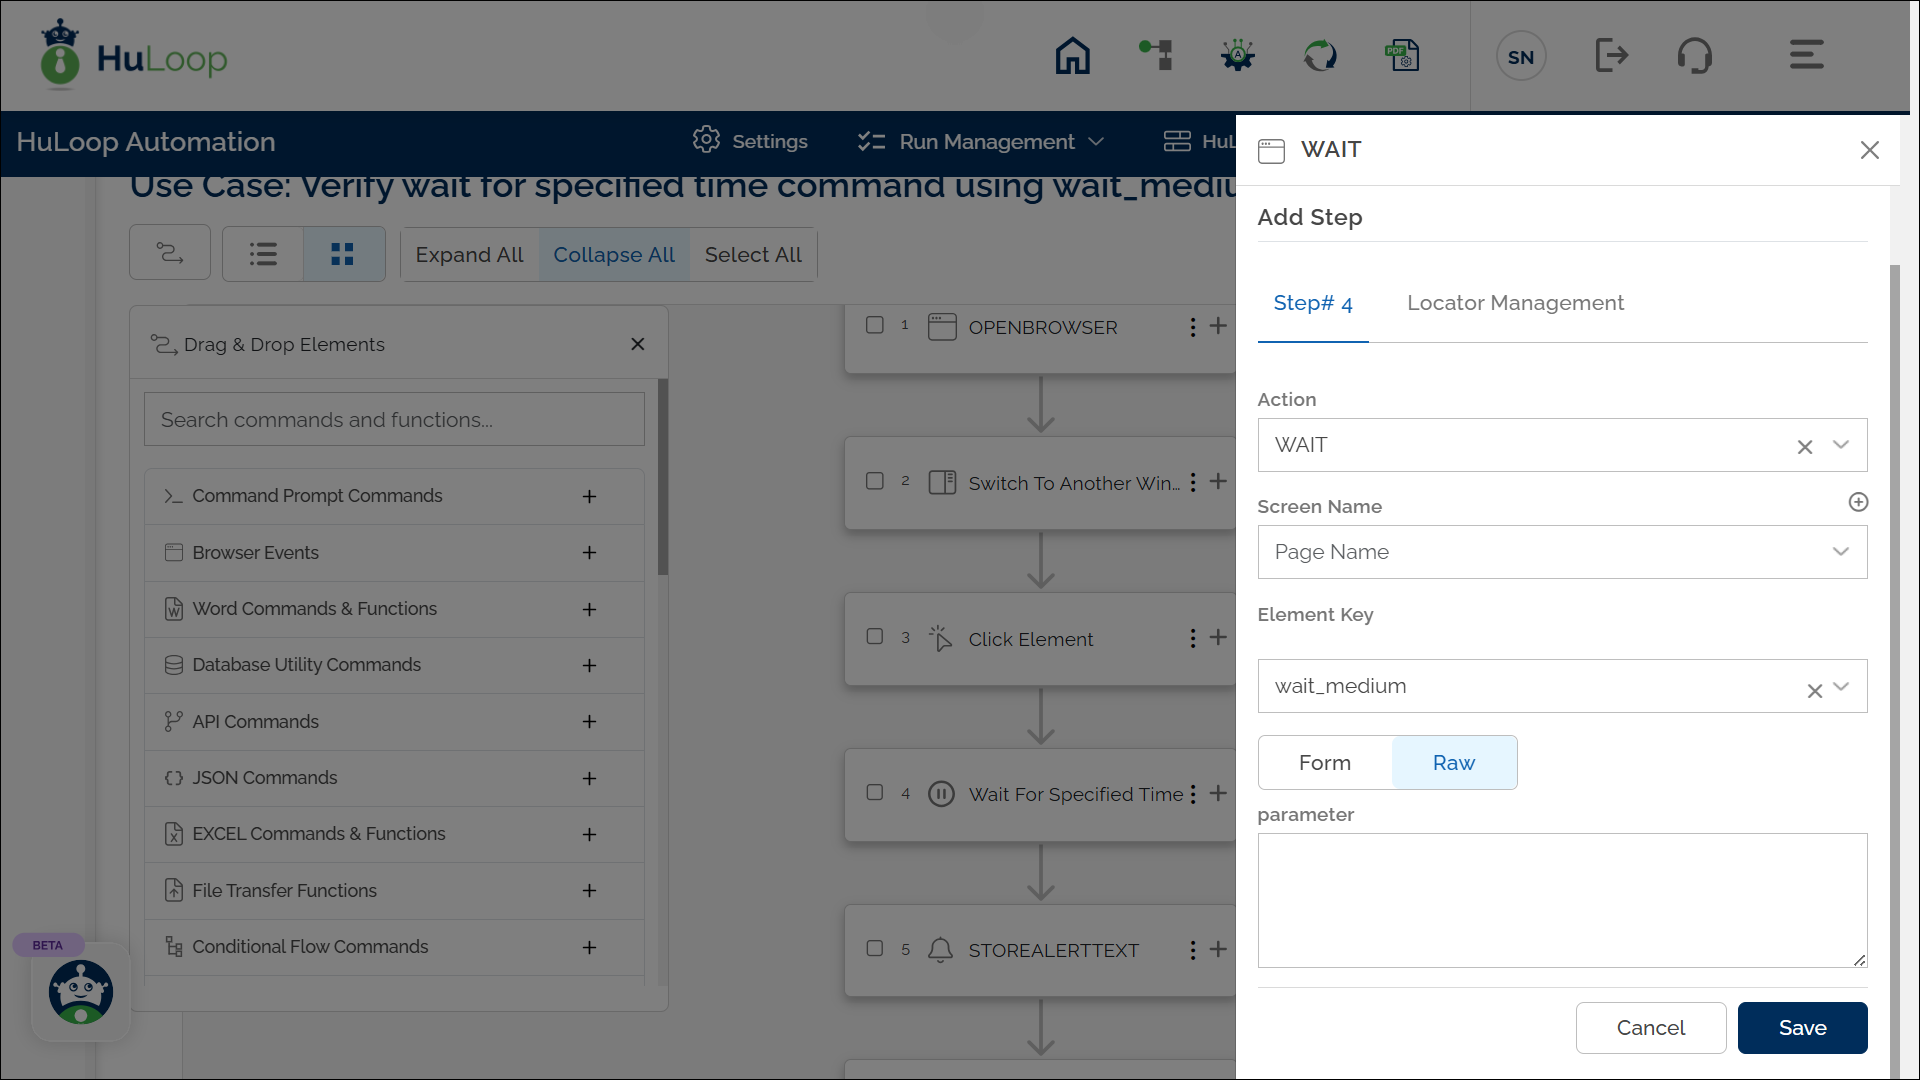
Note: While the steps for adding an action are identical in both views, the display of the steps differs:
Expected Output on execution: The system pauses execution for 6 seconds.
Note: The predefined wait times can be modified. To do so, follow these steps:
Modifying Predefined Wait Times
- Open the automation you are working on.
- Click Settings as shown:
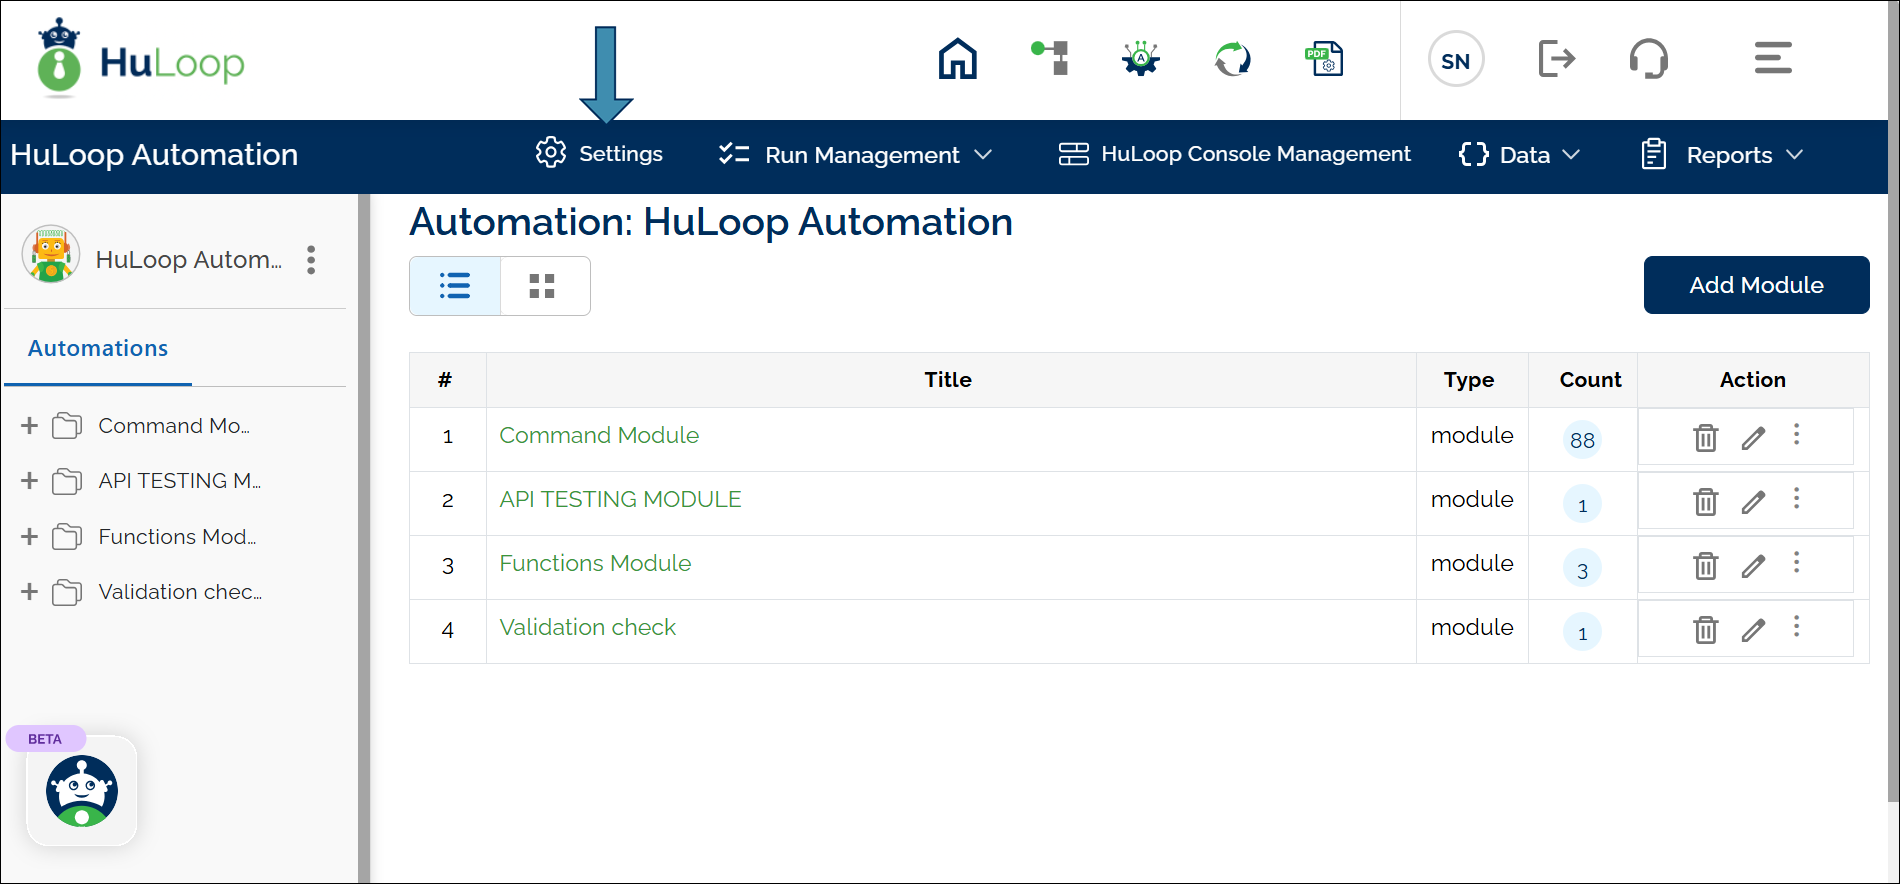
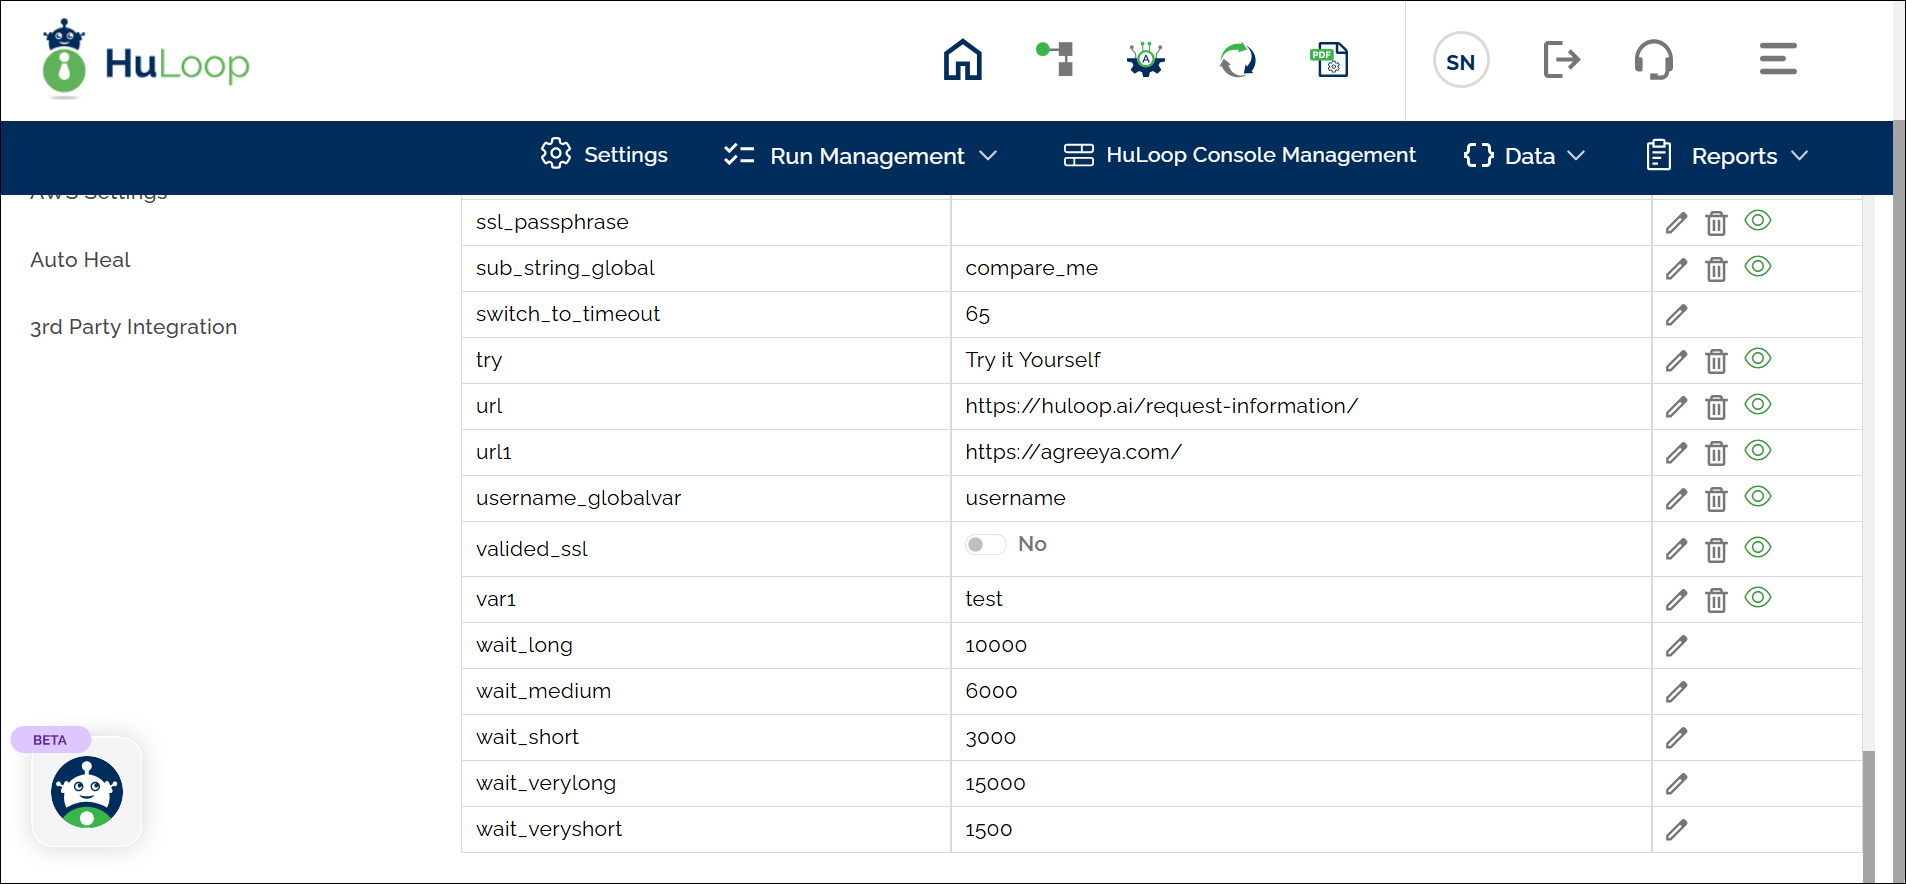
- You will land on the Settings page. Click Custom Settings.
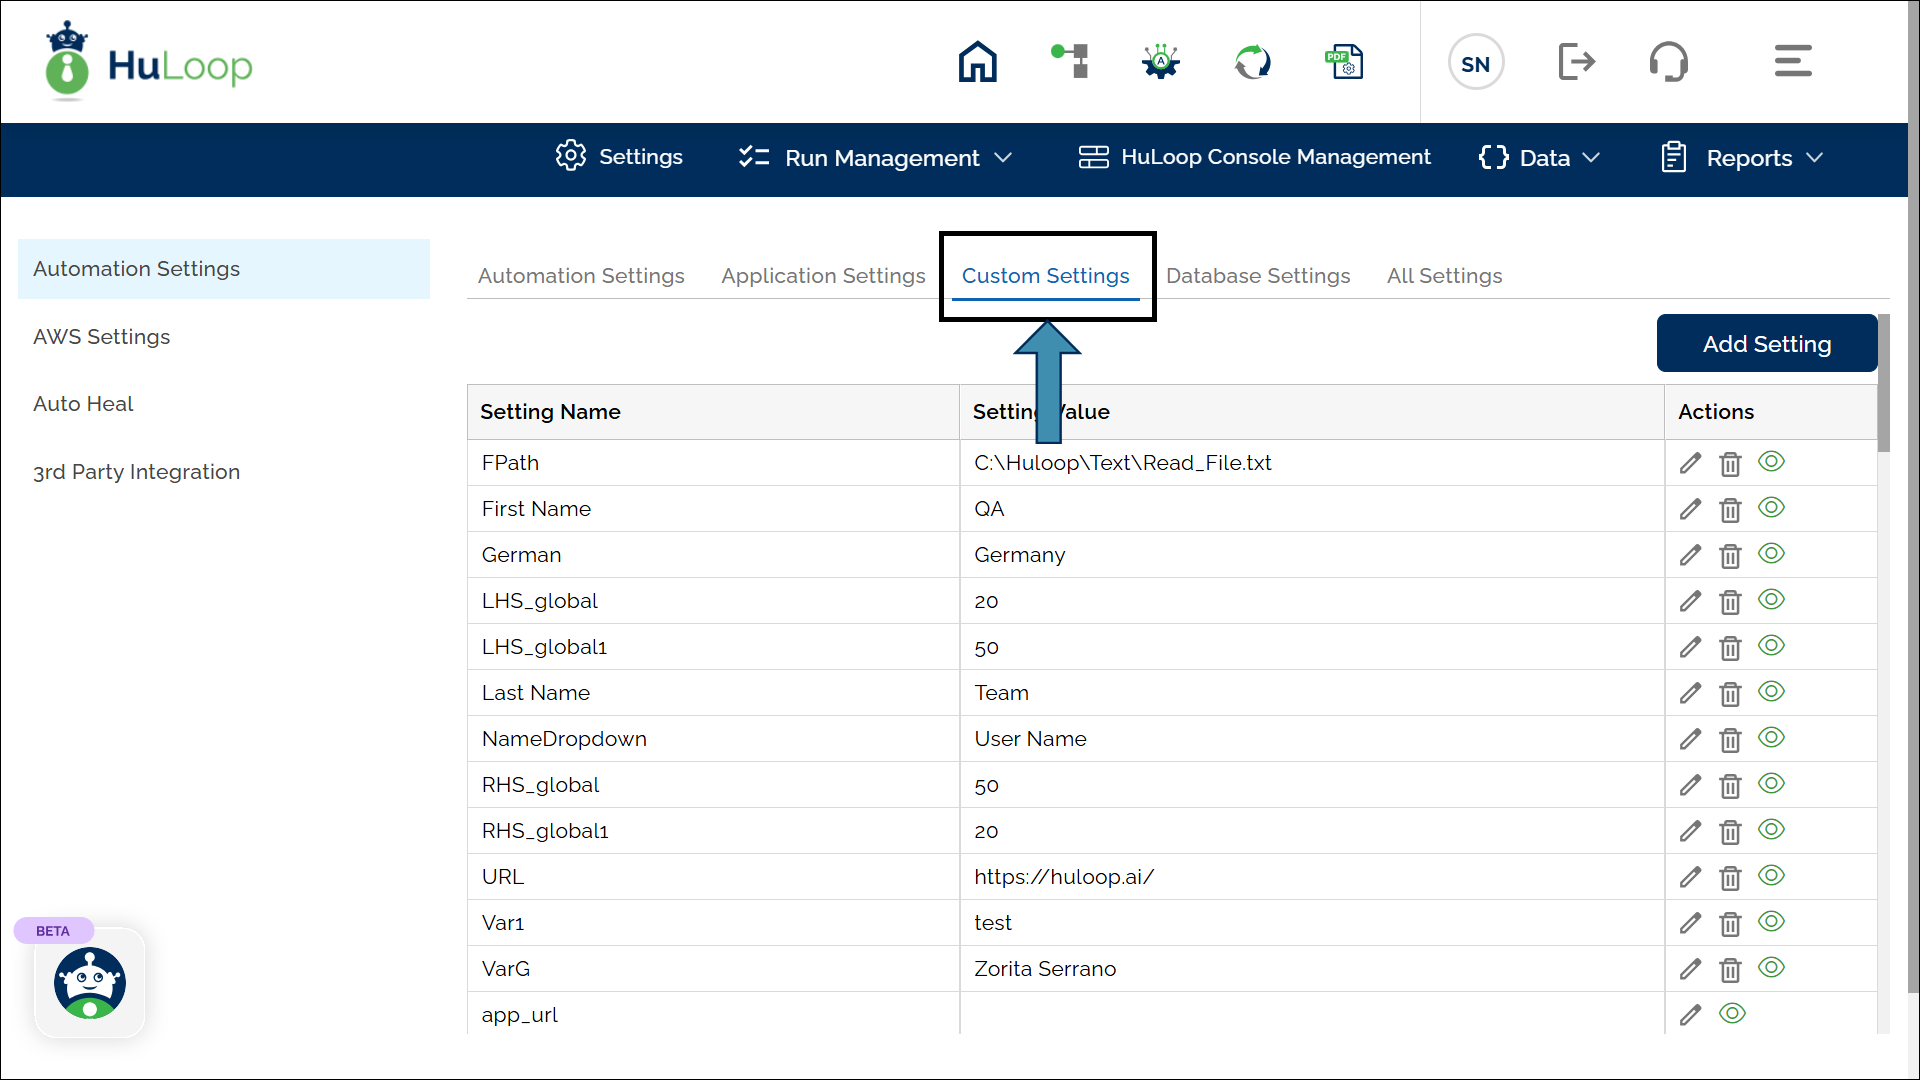
- In the Custom Settings section, locate the parameter you want to modify under Setting Name.
- Find the wait time you wish to change (e.g., wait_long).
- Click the edit
 icon next to the parameter to make the value editable.
- You will get a pop-up to define the new value for the selected parameter.
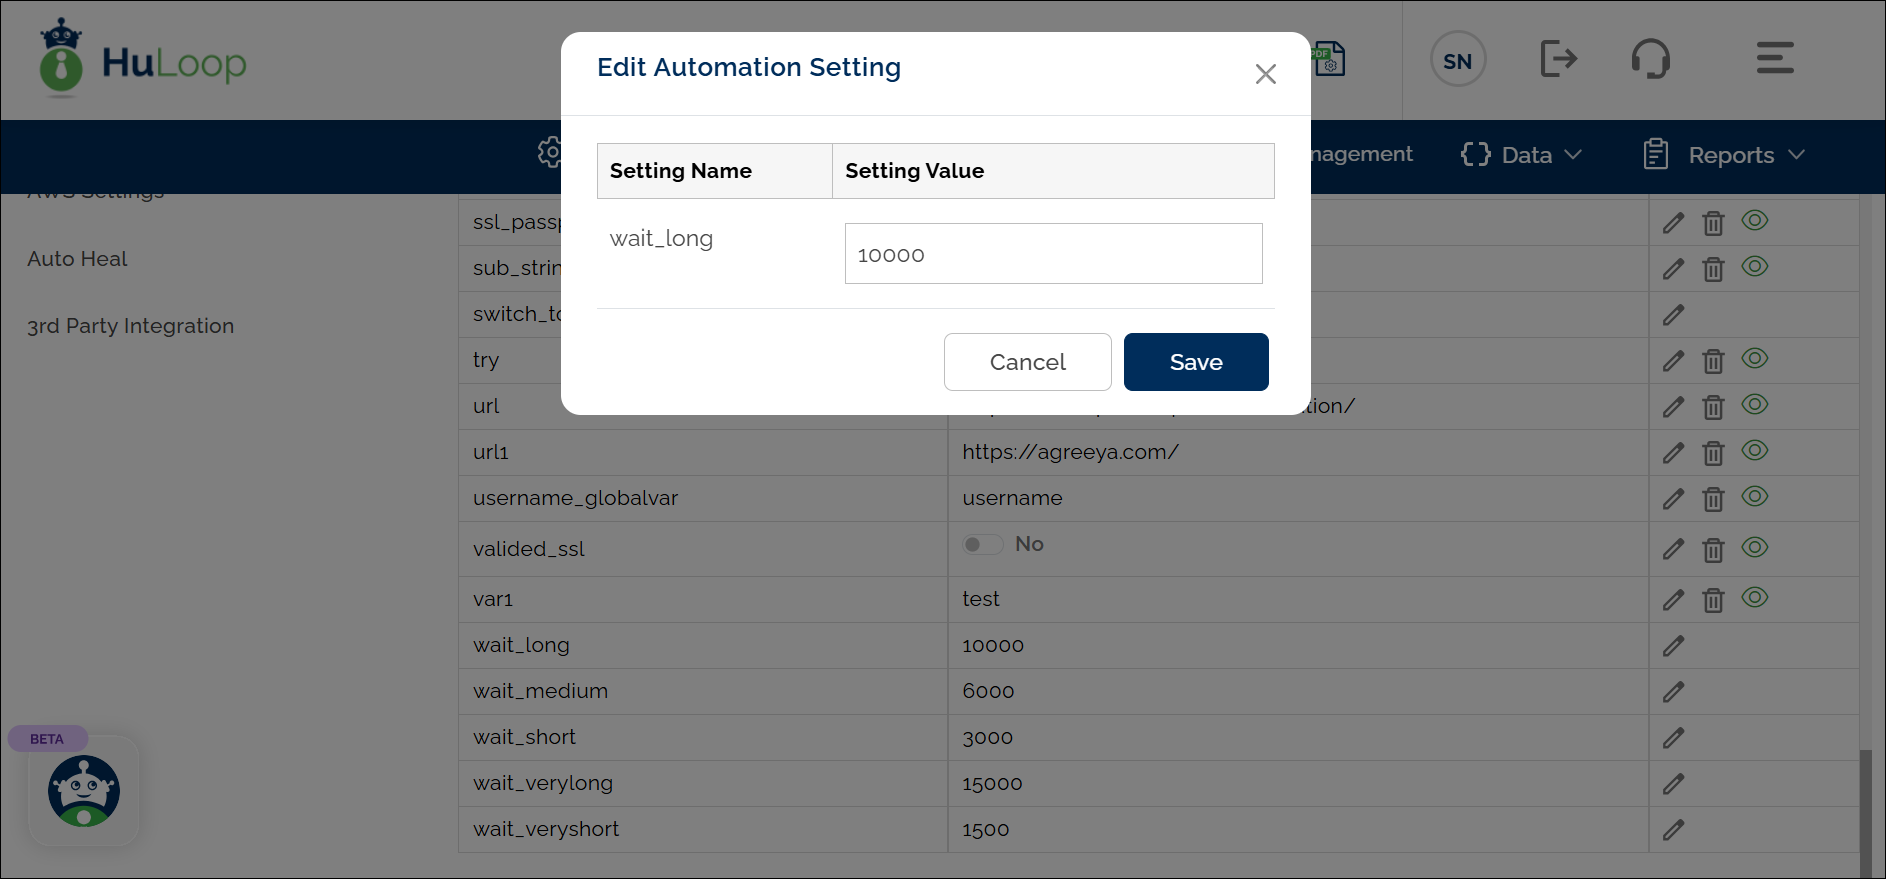
- Under Setting Value, input the new time in milliseconds for the selected keyword.
For example, change wait_long from 10000 ms to 12000 ms if you want to increase the wait time.

- After making the changes, click Save to apply the new value.
These custom settings ensure that the wait times match the requirements of your test environment. It’s advisable to standardize wait times across projects for consistency.
Last updated: Sep 16, 2025