Executing Automation using GUI Agent
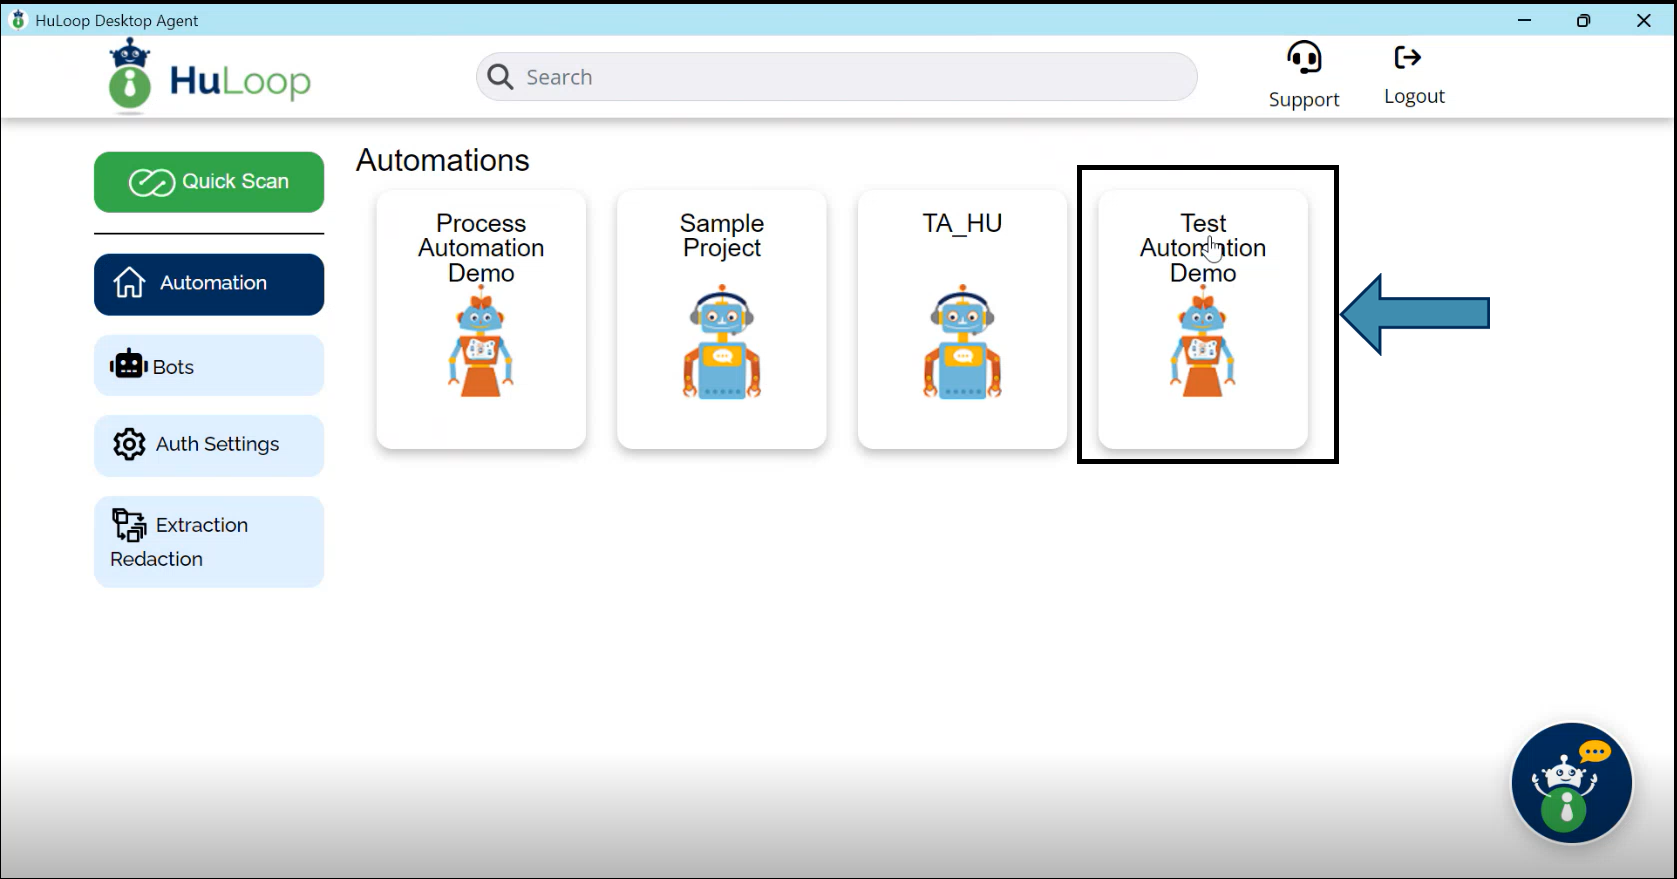
Once the Agent is set up, you will see all the automations (projects) you have created in your account.
- Click on the automation title to open the desired automation:
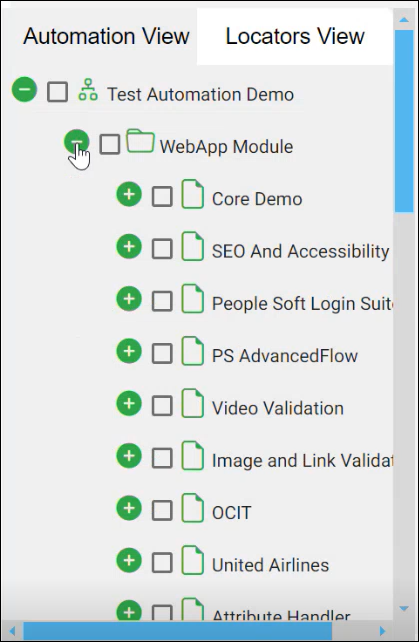
- To execute the automation, expand it by clicking the
 icon next to it:
![]()
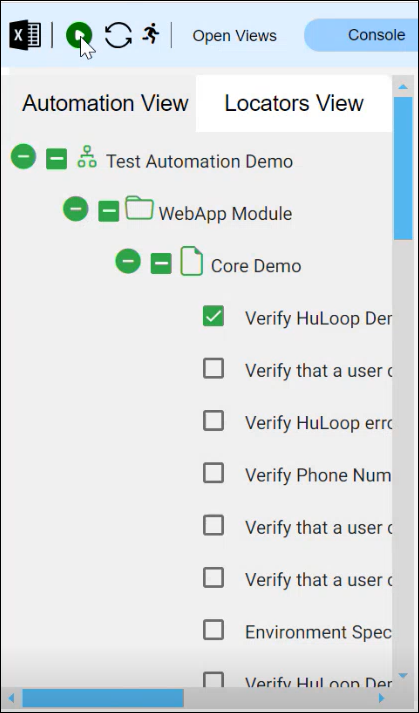
- A list of associated Modules will appear. Expand a Module to view the associated Suites:
- Similarly, expand a Suite to get a list of associated Cases:
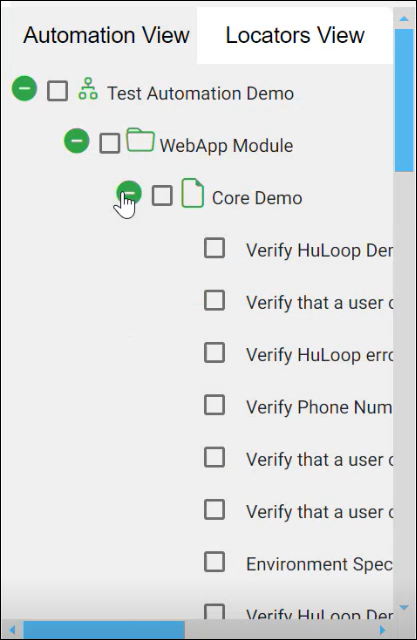
- Select the Case by checking the checkbox next to it, then click the Run button
 at the top of the screen:
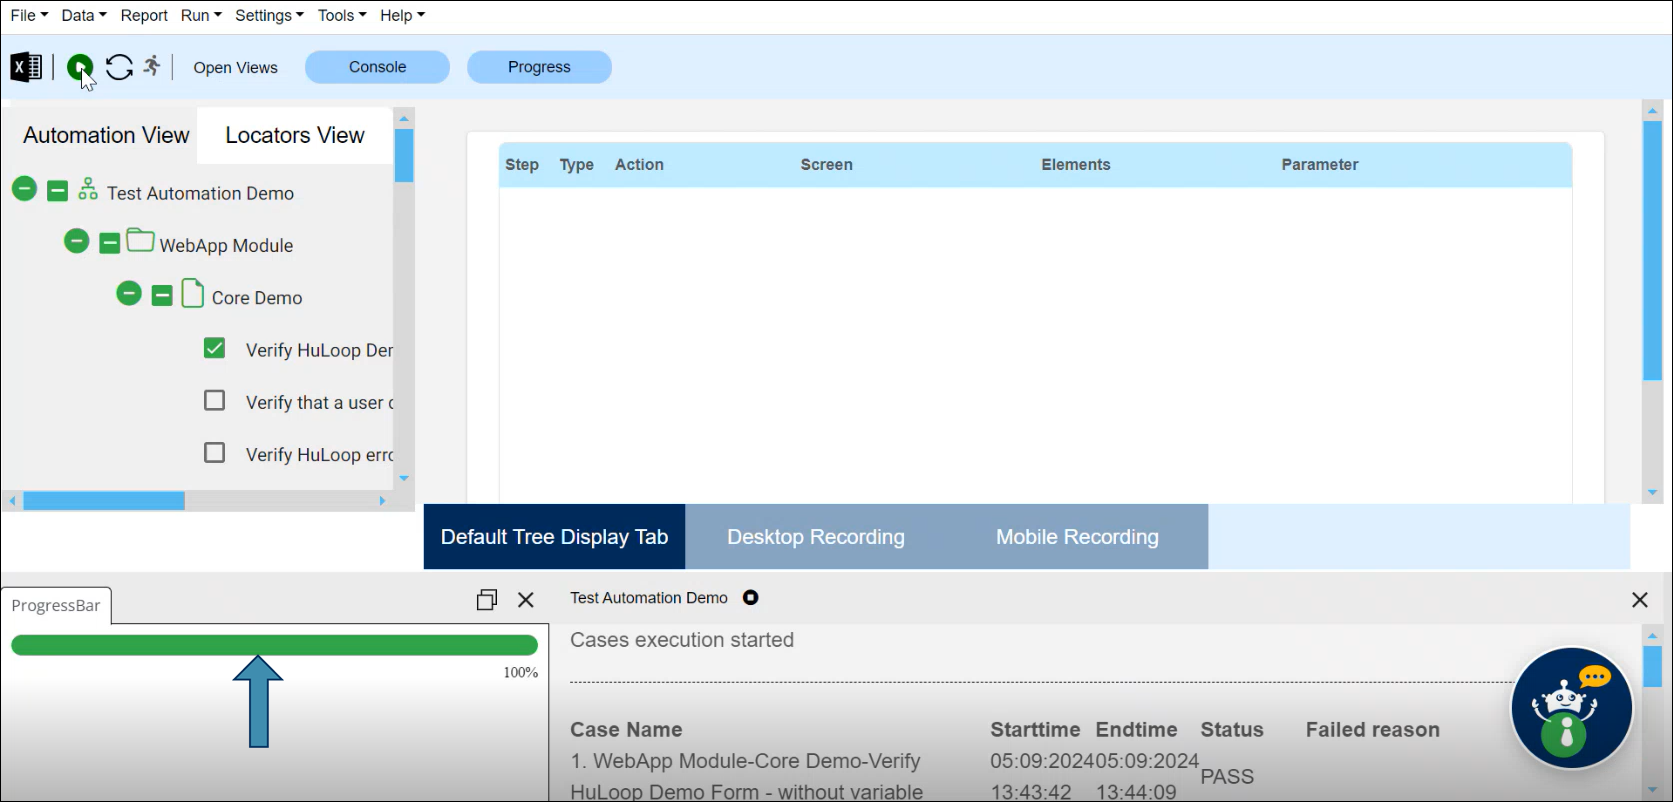
- This will start the case execution. You can track the progress of the execution via the progress bar at the bottom of the screen:
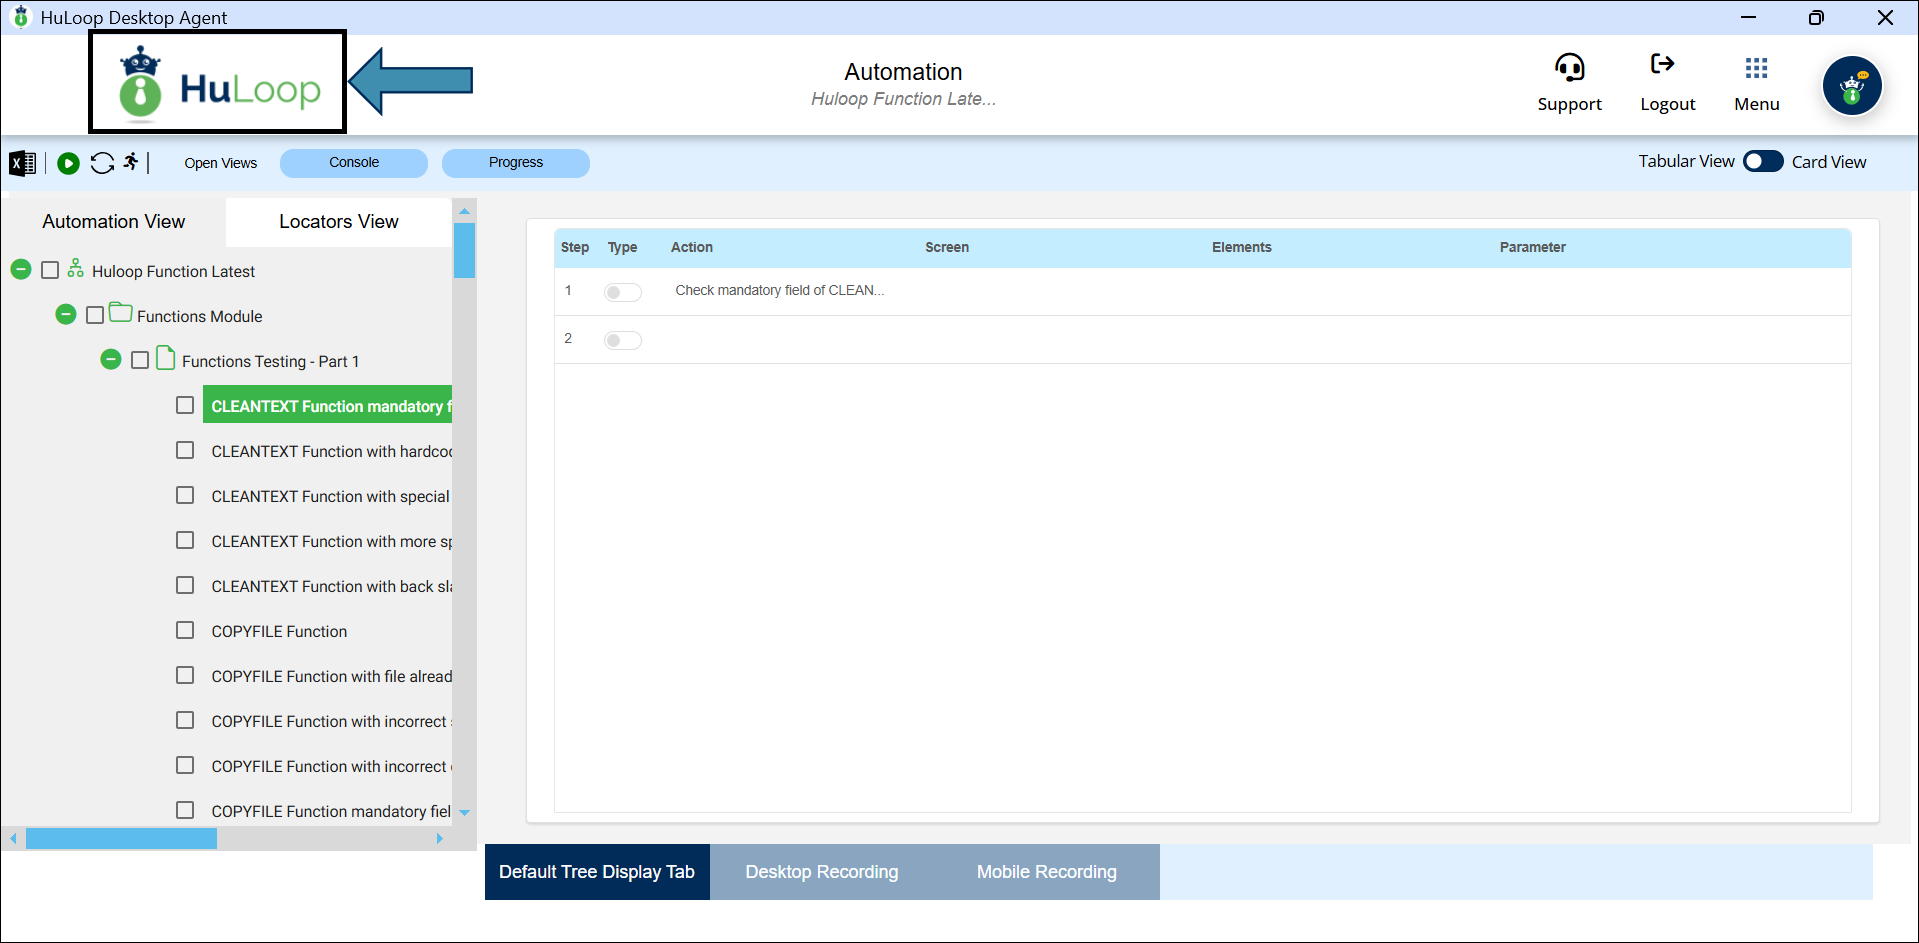
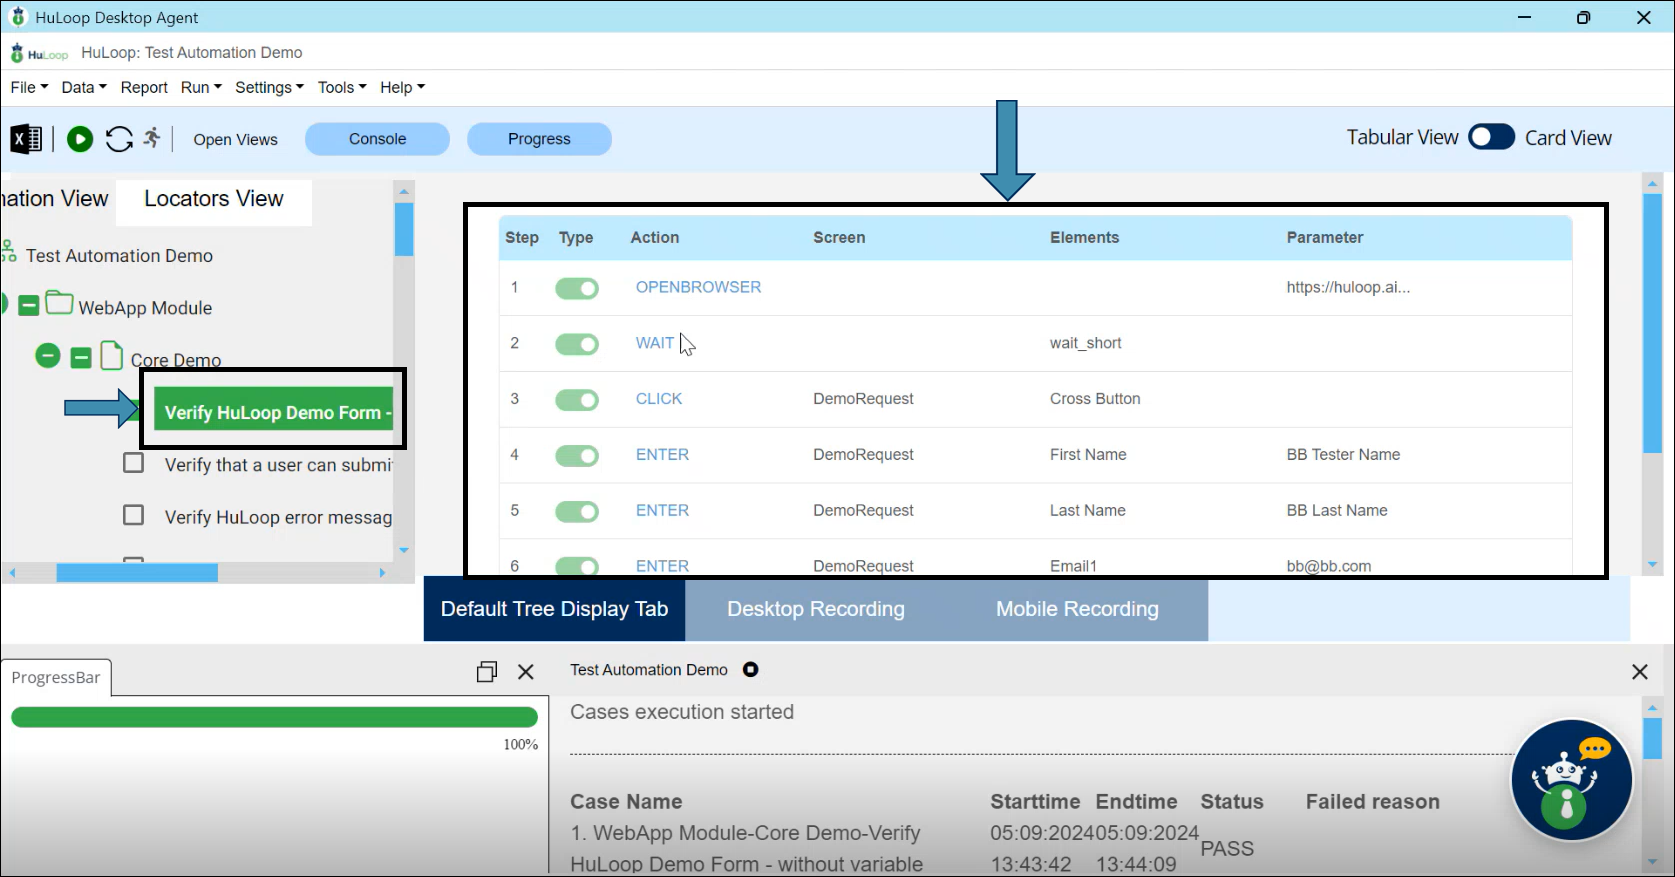
- You can view the Case steps by clicking the Case title:
Note: After making any changes in the portal, such as editing or updating a step in your automation case, always refresh the Agent by clicking the  sync button available on the top left of the Agent window. This ensures the changes are synced correctly and reflected during execution.
Whenever you want to switch to a different automation project on the Agent, click on HuLoop at the top left of the screen to refresh the Agent.
Last updated: Sep 09, 2025