Scheduler Configuration (Prerequisite for Execution)
The IPA node executes through the HuLoop Windows Agent Scheduler when the workflow reaches it.
Note: Scheduler setup is a one-time configuration on the machine where the workflow will run.
To configure the Scheduler:
Download the HuLoop Windows Agent using the following steps:
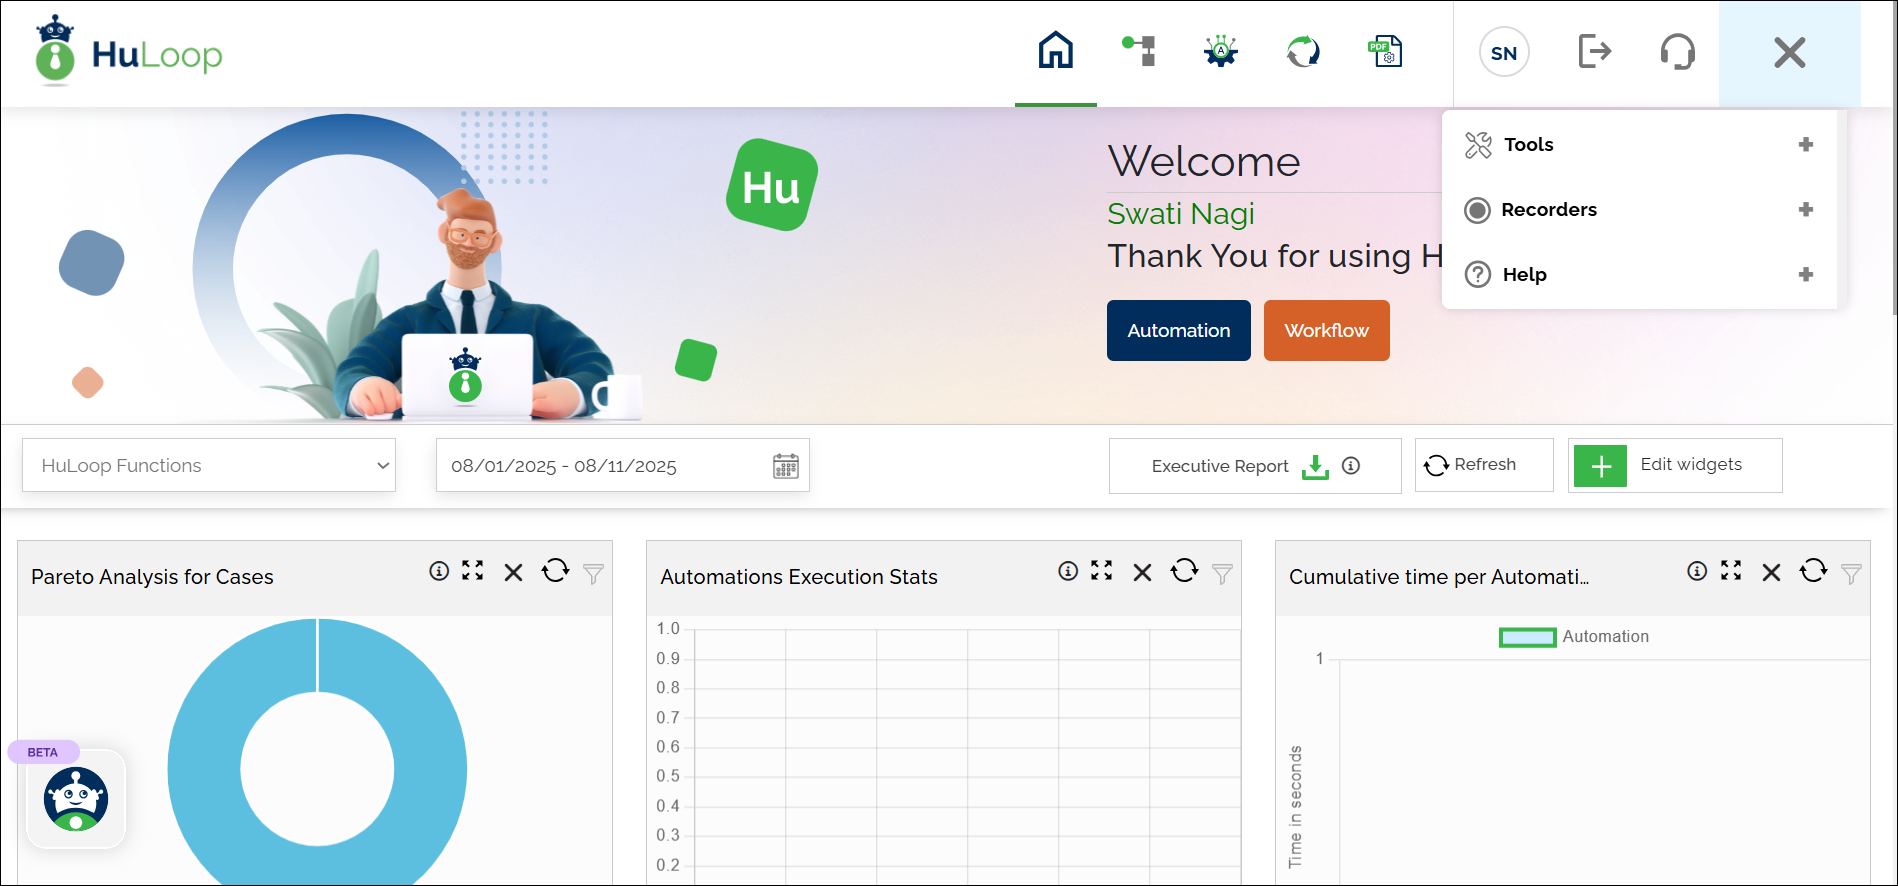
- Click the Menu
 available on the top right of the screen and you will get the following options:

![]()
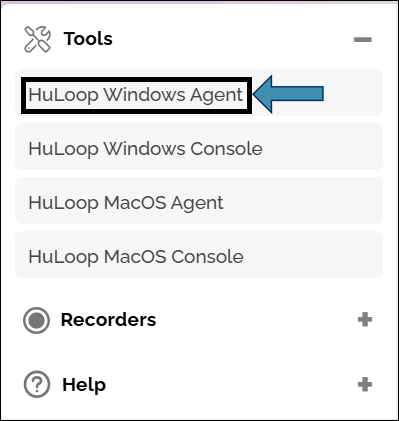
- Expand the Tools option and select the HuLoop Windows Agent:
The agent will be downloaded as a Zip file (e.g., HuLoop.zip).
- To save the zip file contents in your system, copy and paste this file to a desired location, and then extract files.
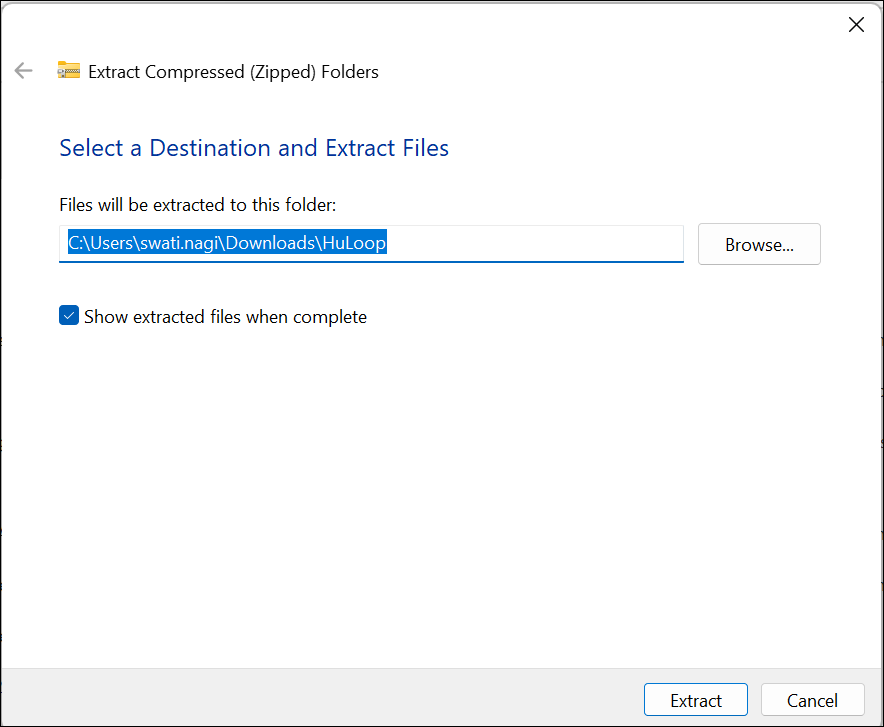
- To extract files right-click the zip file and select Extract All.
- You will see a pop-up window. You can either:
- Click Browse to select your desired location to save the contents or use the default location.
- Click Extract to unpack the folder contents.
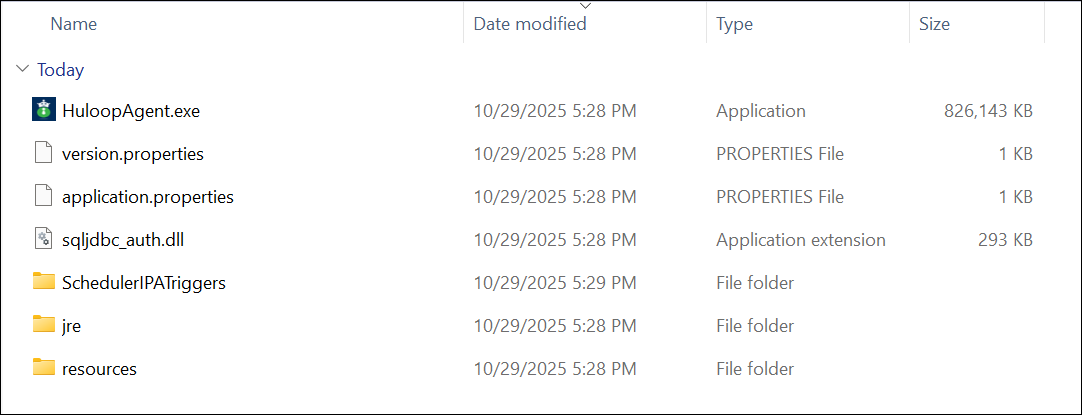
- Double-click the folder and open it. You will see the following contents:
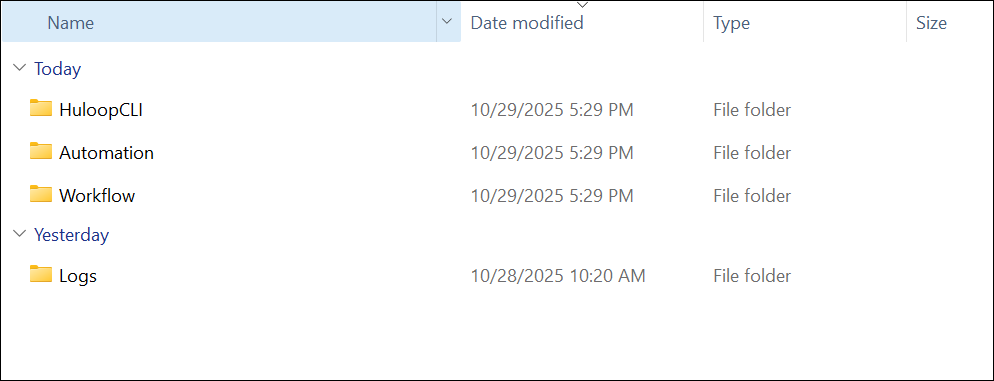
- Double-click the SchedulerIPATriggers folder and open it. You will see the following folder contents:
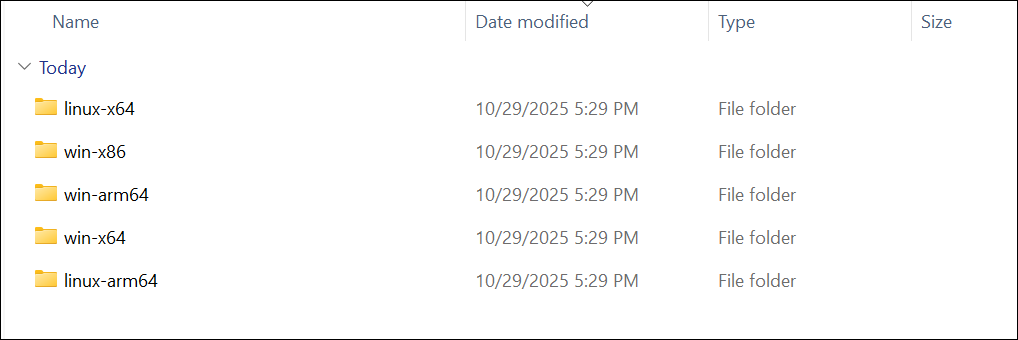
- Navigate to the Workflow folder and open the folder that matches your operating system (for example, win-x64).
- Locate these files:
- applications.json
- Huloop.Schedulers.IPATriggers.exe
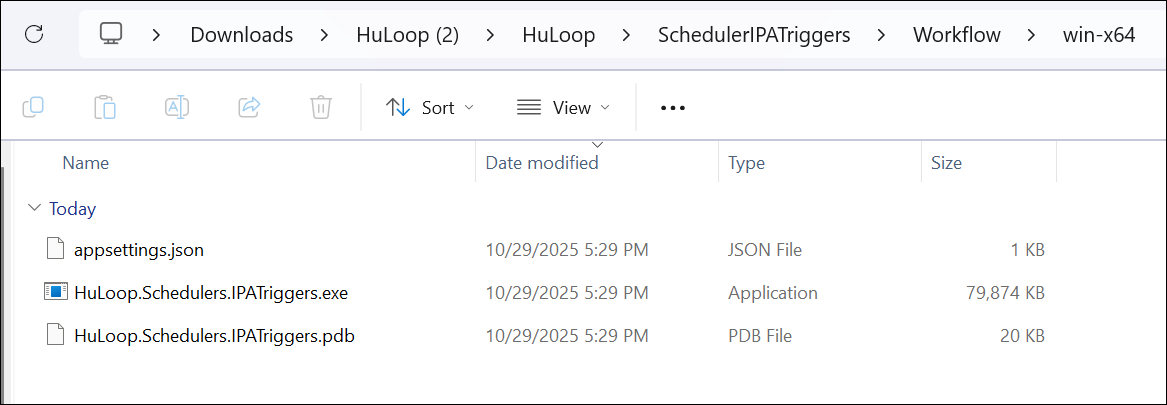
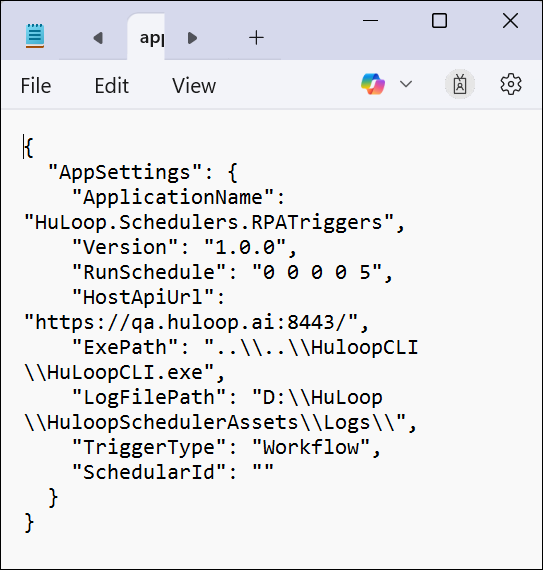
- Right-click and open the applications.json file with Notepad:
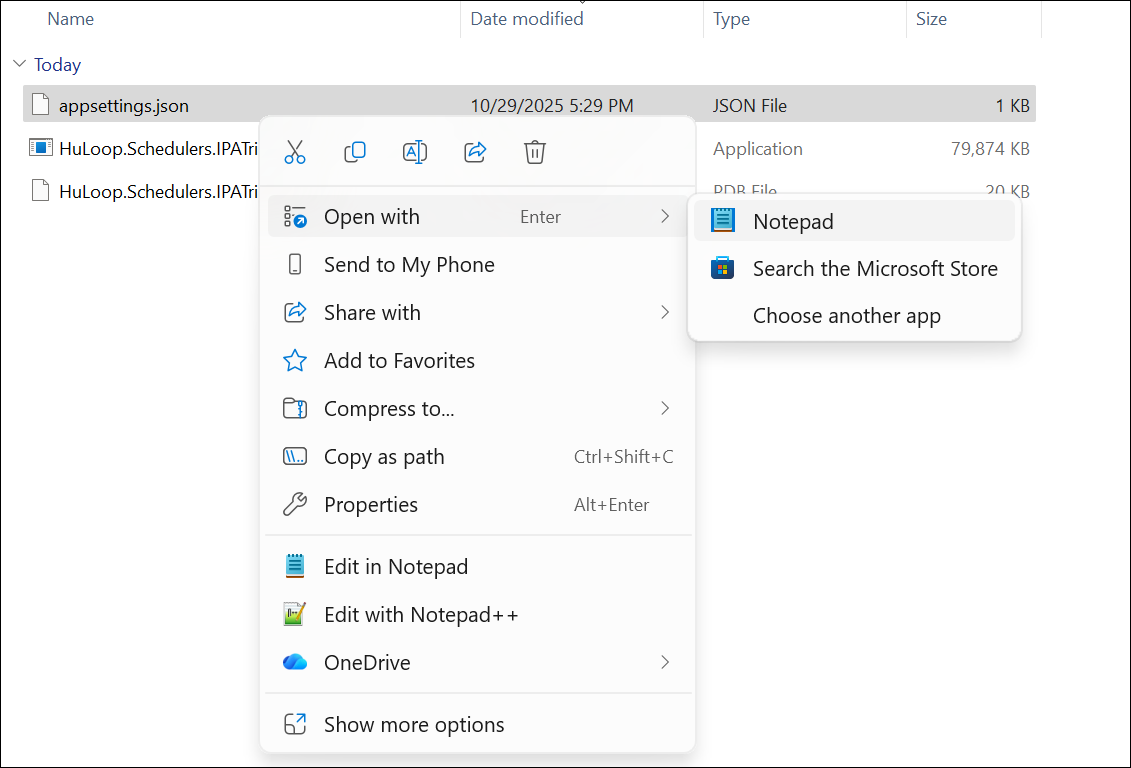
- Update the following fields:
- HostApiUrl: Replace the default URL with your own domain and port.
Example:
“HostApiUrl”: “https://qa.huloop.ai:8443/” - ExePath: Provide the path of the HuLoop CLI executable.
Example:
“ExePath”: “C:\\HuLoop\\Agent\\Huloop CLI\\HuLoopCLI.exe” - RunSchedule: Define the schedule frequency using the format “Month Week Day Hour Minute”.
Example:
“RunSchedule”: “0 0 0 0 5” runs every 5 minutes.
- HostApiUrl: Replace the default URL with your own domain and port.