
Task Flows
Most agents operate as a single request-and-response cycle: you provide a prompt, the agent applies its reasoning and tools, and then returns a result.
A Task Flow provides a more structured approach. It allows you to define a workflow as a series of steps on a visual canvas, including actions, decisions, loops, approvals, and handoffs. Instead of relying solely on the agent to determine the process, you explicitly define how the work should be performed.
The result is a repeatable, controlled workflow with predefined steps, branching logic, iterative processing, and human review points that execute consistently every time.
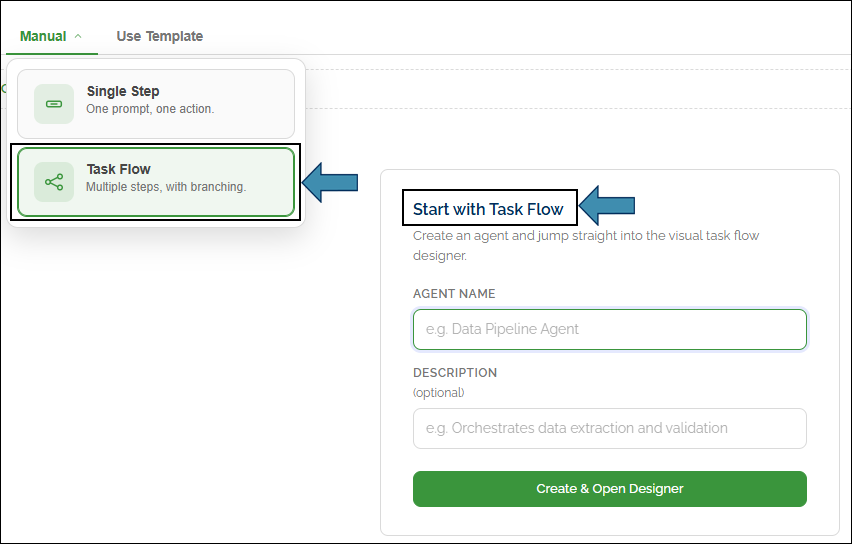
Where to find it: open an agent under BUILD → Agents, then click the Task Flow tab.
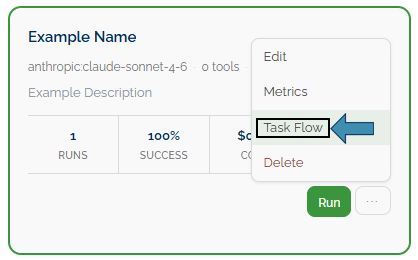
You can also start one from the Task Flow tab when you create a + New Agent.

When to Use a Task Flow
You don’t need a Task Flow for every agent. Use the table to decide:
| Use a Single Agent When… | Use a Task Flow When… |
|---|---|
| One prompt plus tools is enough. | You need fixed, repeatable steps. |
| The task is open-ended Q&A. | You need to branch on a yes/no decision. |
| You trust the agent to figure out the order. | You need a loop, or one step per item in a list. |
| No human needs to step in. | Someone must approve or add data partway through. |
An agent without Task Flow still runs normally, using its instructions and tools. The Task Flow is an optional structure.
Opening the Designer
- Open an agent and click the Task Flow tab.
- The canvas opens with a Start node and an Output node already placed.
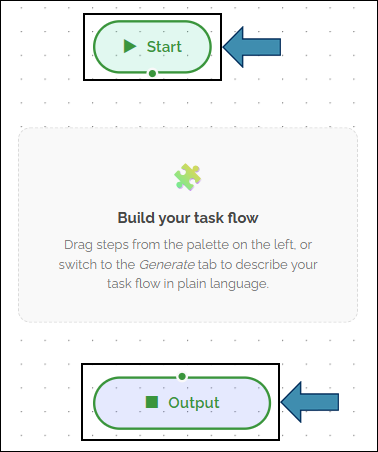
- The toolbar offers three modes:
- Designer — the drag-and-drop canvas (this is the default).
- Text — edit the flow as structured text (for power users).
- Generate — describe the flow in plain English and let HuLoop build it (hidden once the flow already has steps).

The Node Types
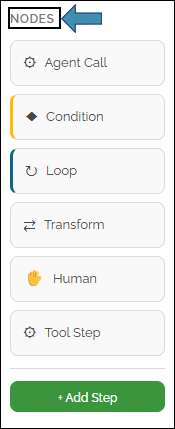
You build a flow by dragging Nodes from the Nodes panel on the left onto the canvas. Each node is one step.
| Node | What it does |
|---|---|
| Agent Call | Runs a prompt, or hands the work to another agent. |
| Tool Step | Runs one specific tool. |
| Transform | Reshapes or maps data so the next step gets what it needs. |
| Condition | Splits the path in two based on a yes/no check. |
| Loop / For Each | Repeats steps — either a set number of times, or once per item in a list. |
| Human | Pauses so a person can approve the work or type in some data. |
| Output | The final node — whatever reaches it becomes the flow’s result. |
Connecting the Steps
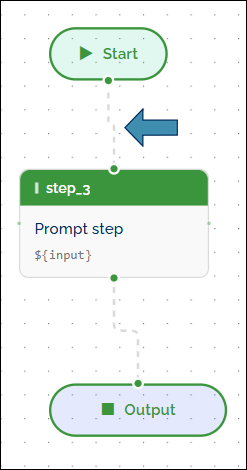
Steps run in the order you wire them together.
- Add nodes — drag them from the Nodes palette onto the canvas.
- Connect — drag from the handle at the bottom of one node to the handle at the top of the next.
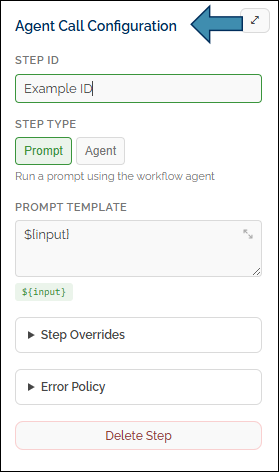
- Configure — click a node; its settings open in the panel on the right.
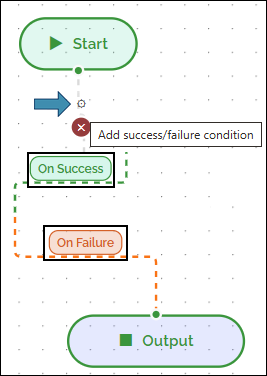
- Set edge conditions — click the line (edge) between two nodes and choose when it should be followed: success, failure, or always.
- Delete — select a node or a line and press Delete or Backspace.

- Undo / Redo — use the toolbar buttons (Ctrl+Z / Ctrl+Shift+Z).
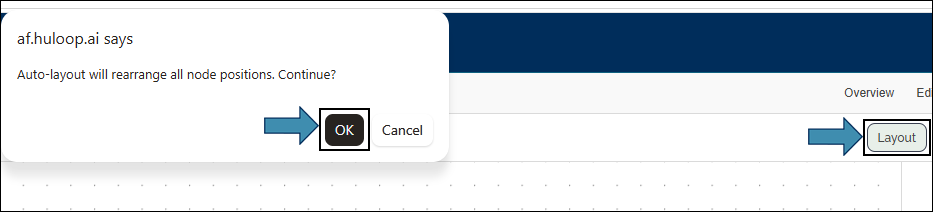
- Auto-layout — let the toolbar tidy the nodes into a clean arrangement.
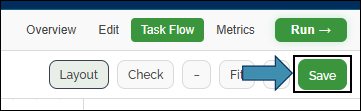
Click Save in the toolbar when finished. You can test the flow from the agent’s Run tab or use Dry Run.
Passing Data Between Steps
Each step produces a result. Later steps can reuse an earlier step’s result.
You do this with a reference written as ${step.output} — read it as “use that earlier step’s result here.” For example, if a step named normalize_rows cleaned up a list, a later step can point at ${normalize_rows.output} to work with that list.
You’ll see these references in step settings and in loops. You don’t have to memorize them — and the idea is simple: each step can build on what came before.
Step Settings Worth Knowing
| Step | Main settings |
|---|---|
| Agent Call | A prompt written here, or a call to another agent; optional model choice, tools, and input/output shapes. |
| Tool Step | Which tool to run and what to pass into it. |
| Transform | A template or field-path expression to reshape data. |
| Condition | A comparison or expression that decides the branch. |
| Loop / For Each | Whether to count iterations or walk a list (see below). |
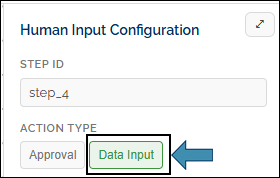
| Human | Whether the pause is for Approval or Data Input. |
Loop vs For Each
A Loop node runs in one of two modes.
| Mode | Use it when | Key fields |
|---|---|---|
| Loop (counter) | You want to retry or refine until something is good enough. | Max iterations, exit condition. |
| For Each | You want to run the same steps once for every item in a list. | The collection (for example ${normalize_rows.output}) and a name for each item. |
In For Each, each pass sets ${item} to the current item, and the loop collects every pass’s result into a list at the end.
Handing a Step to Another Agent
Instead of entering a prompt directly in an Agent Call, you can invoke another agent. Use ${step.output} references to pass data from previous steps, and the called agent’s response becomes the output of the current step. This provides a simple, reusable way to incorporate existing agents into a workflow.
Error Handling
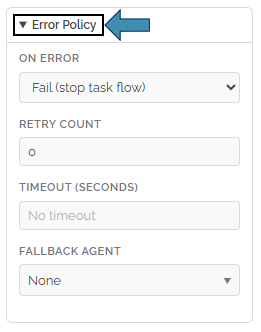
Workflow steps may occasionally fail due to timeouts or temporary service issues. Use Error Policy on Agent Call and Tool Call steps to define how the workflow handles these events.
| Setting | Choices |
|---|---|
| On Error | Fail (stop the whole flow), Skip (move on with no result), or Continue with a default result. |
| Retry Count | Try again 0 to 3 times before giving up. |
| Timeout (Seconds) | Seconds to wait between retries. |
| Fallback Agent / Default Output | An optional safety net when you choose to continue after a failure. |
A common approach is to retry the step twice and, if it still fails, continue with a predefined default result so the workflow can complete successfully.
The Human (Approval) Node
The Human node pauses the flow for human input.
| Mode | What happens at runtime |
|---|---|
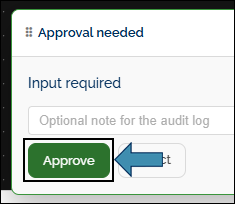
| Approval | A person approves or rejects. Rejecting stops the step. |
| Data Input | A person fills in a short form, and those values flow into the next steps. |
This step pauses only the current Task Flow. For agent-level approval controls and the Ask a Human tool, see Safety and Guardrails.
Generate a Task Flow from a Description
If you prefer not to build a workflow manually, describe the process and let HuLoop generate a draft for you.
- Switch the toolbar to Generate (available only when the flow has no steps yet).

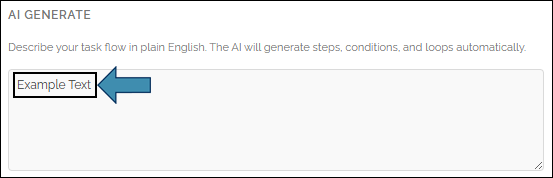
- Type what the pipeline should do.
- Click Generate Task Flow.

- Review the nodes and connections it created, then fine-tune them in Designer mode.

See the result as a first draft. Always read through the steps and adjust anything that isn’t quite right before you save.
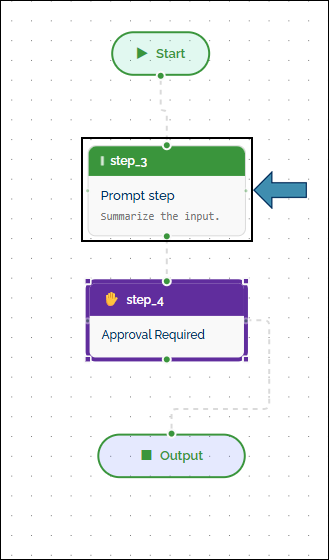
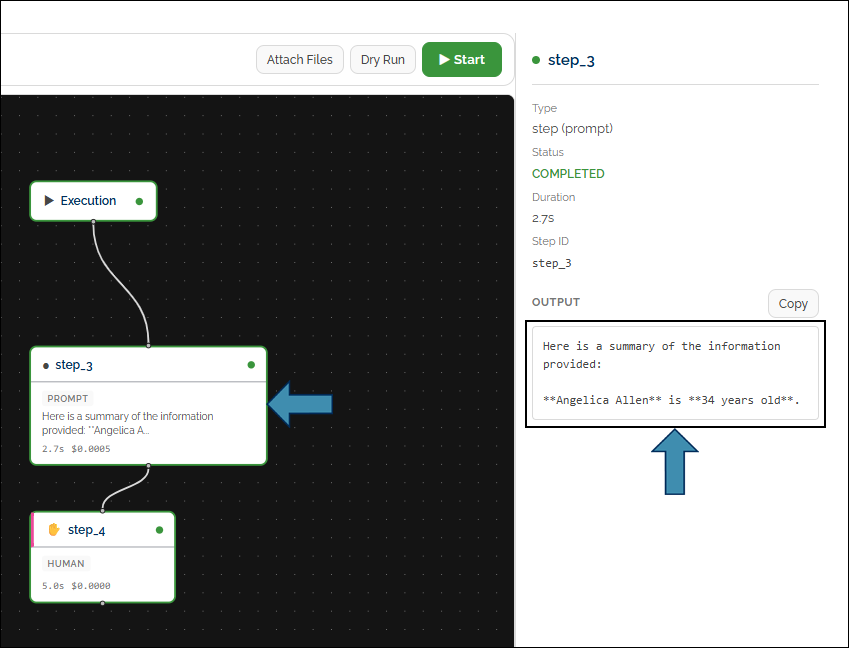
Try it 1. Open a test agent and go to its Task Flow tab. 2. Drag one Agent Call onto the canvas and connect Start → Agent Call → Output. 3. Click the Agent Call and give it a short prompt like “Summarize the input.” 4. Add a Human node set to Approval just before Output. 5. Save, then go to the Run tab and run it once. Approve when it pauses, and watch the summary reach the Output.