



Build Your First Agent
Every HuLoop workflow begins with an agent, a configured assistant designed to perform a specific task. This chapter explains how to create and activate an agent, with no technical experience required.
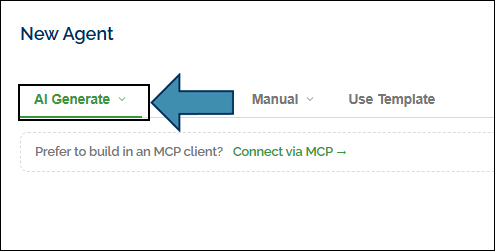
Choose AI Generate to have HuLoop draft the setup, or Manual to configure it yourself. Start with AI Generate for the fastest path to a working agent.
New to the sidebar or tabs? See the HuLoop Agentic Operations Center first.
The Easy Way: AI Generate
Describe the task, and HuLoop automatically generates the initial agent configuration.
- Go to BUILD → Agents.
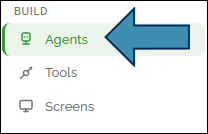
- Click + New Agent.

- Open the AI Generate tab.
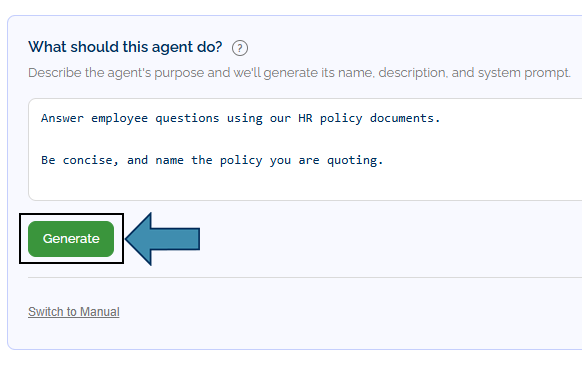
- Describe what you want, in one to two sentences. For example: “Answer employee questions using our HR policy documents. Be concise, and name the policy you are quoting.”
- Click Generate.
- Review what HuLoop suggests — a name, an instruction for the agent, and sensible settings.
- Continue to create the agent. If you’d like to adjust anything first, switch to the Manual tab.
The Hands-On Way: Manual
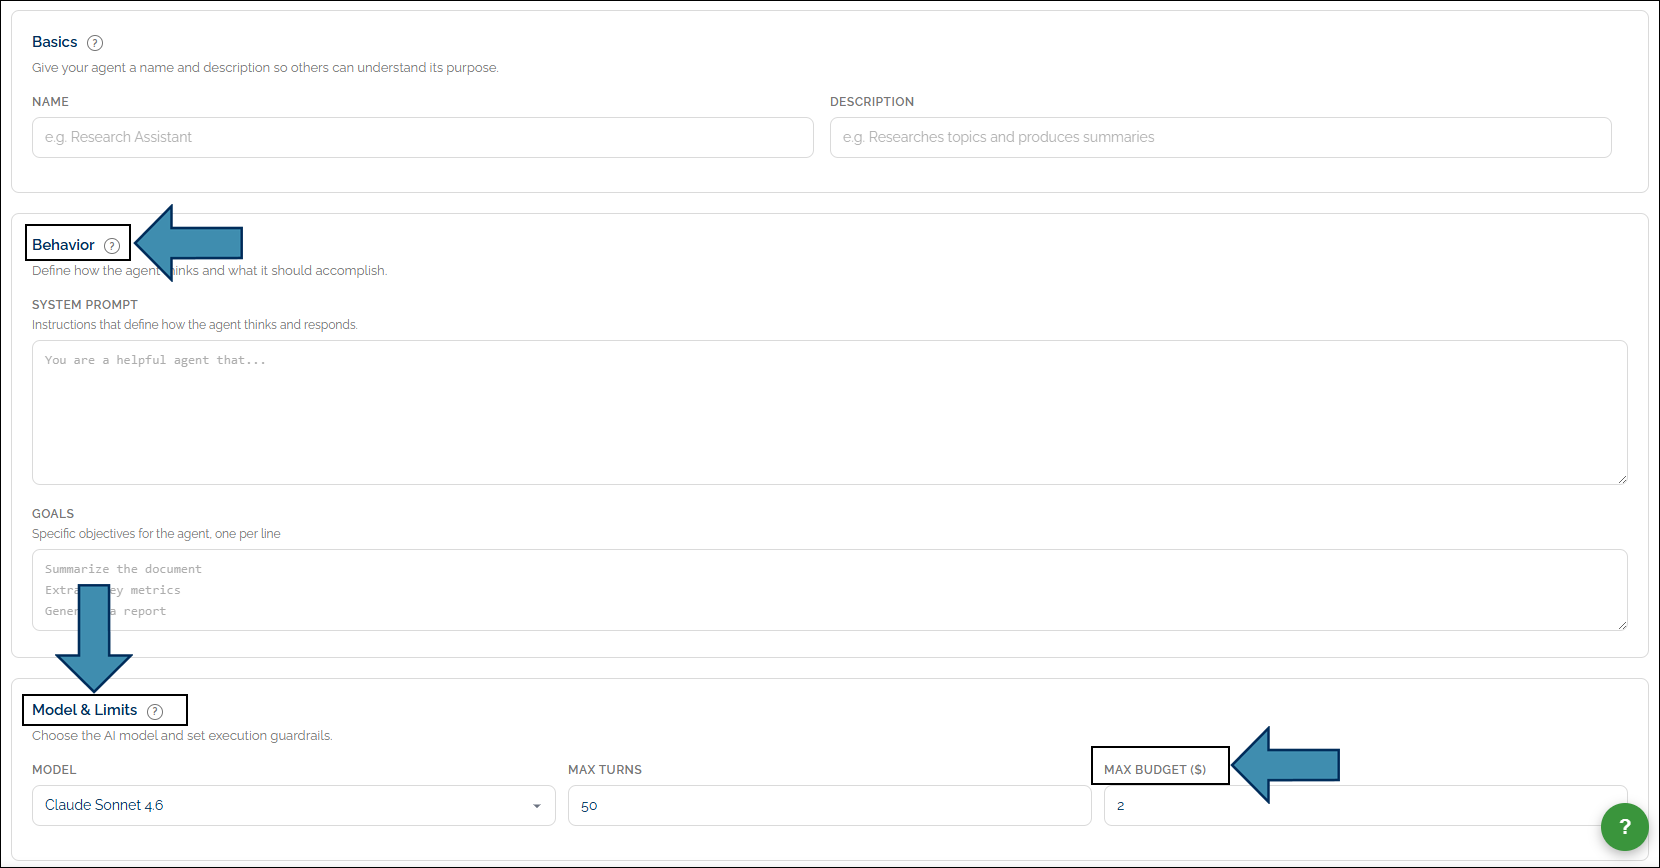
To configure an agent manually or fine-tune a generated agent in Edit, start with these fields. Leave the rest at their defaults.
| Section | What to set |
|---|---|
| Basics | A clear Name so you recognize the agent later. |
| Behavior | The system prompt — plain instructions telling the agent what to do and how to behave. |
| Model & Limits | Leave the model on its default unless your admin says otherwise. The default model is a good all-round choice. |
Two settings in Model & Limits are worth knowing about, even though the defaults are fine for now:
- Max turns — How many back-and-forth steps the agent may take in one run.
- Max budget — The most a single run is allowed to cost.
This “Stays Within Limits” promise keeps runs under control with built-in guardrails that prevent unlimited execution and unexpected billing.
When you are finished, click Create Agent (for a new one) or Update Agent (if you were editing).

You can skip the other options for now. Adding documents for the agent to read is covered in Knowledge Bases and giving it tools is covered in Tools and Collaboration.
Switch it On
A new agent starts as a draft which cannot run yet.
- Open your agent.
- Set its status to Active (the control is on the agents list or on the Overview tab; it may read Activate).
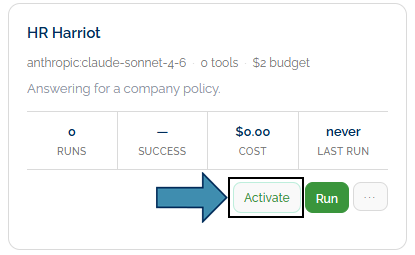
Once it shows as active, it’s ready to run.
Try it: Create an agent named HR Harriot, with a short instruction about answering from a company policy. Activate it. You will add documents and tools later.
Ready to Run It?
Your agent is live. See Running an Agent and Reading your Results to put it to work.
