Click Element With Offset: CLICKWITHOFFSET
The Click Element With Offset action allows clicking on a specific part of a locator (Page and Element) by applying an X and Y offset. This is particularly useful for interacting with elements that require clicking a precise location within their boundaries.
Example: Suppose you are testing a custom UI button where the click must happen at an offset from its top-left corner.
Steps to configure:
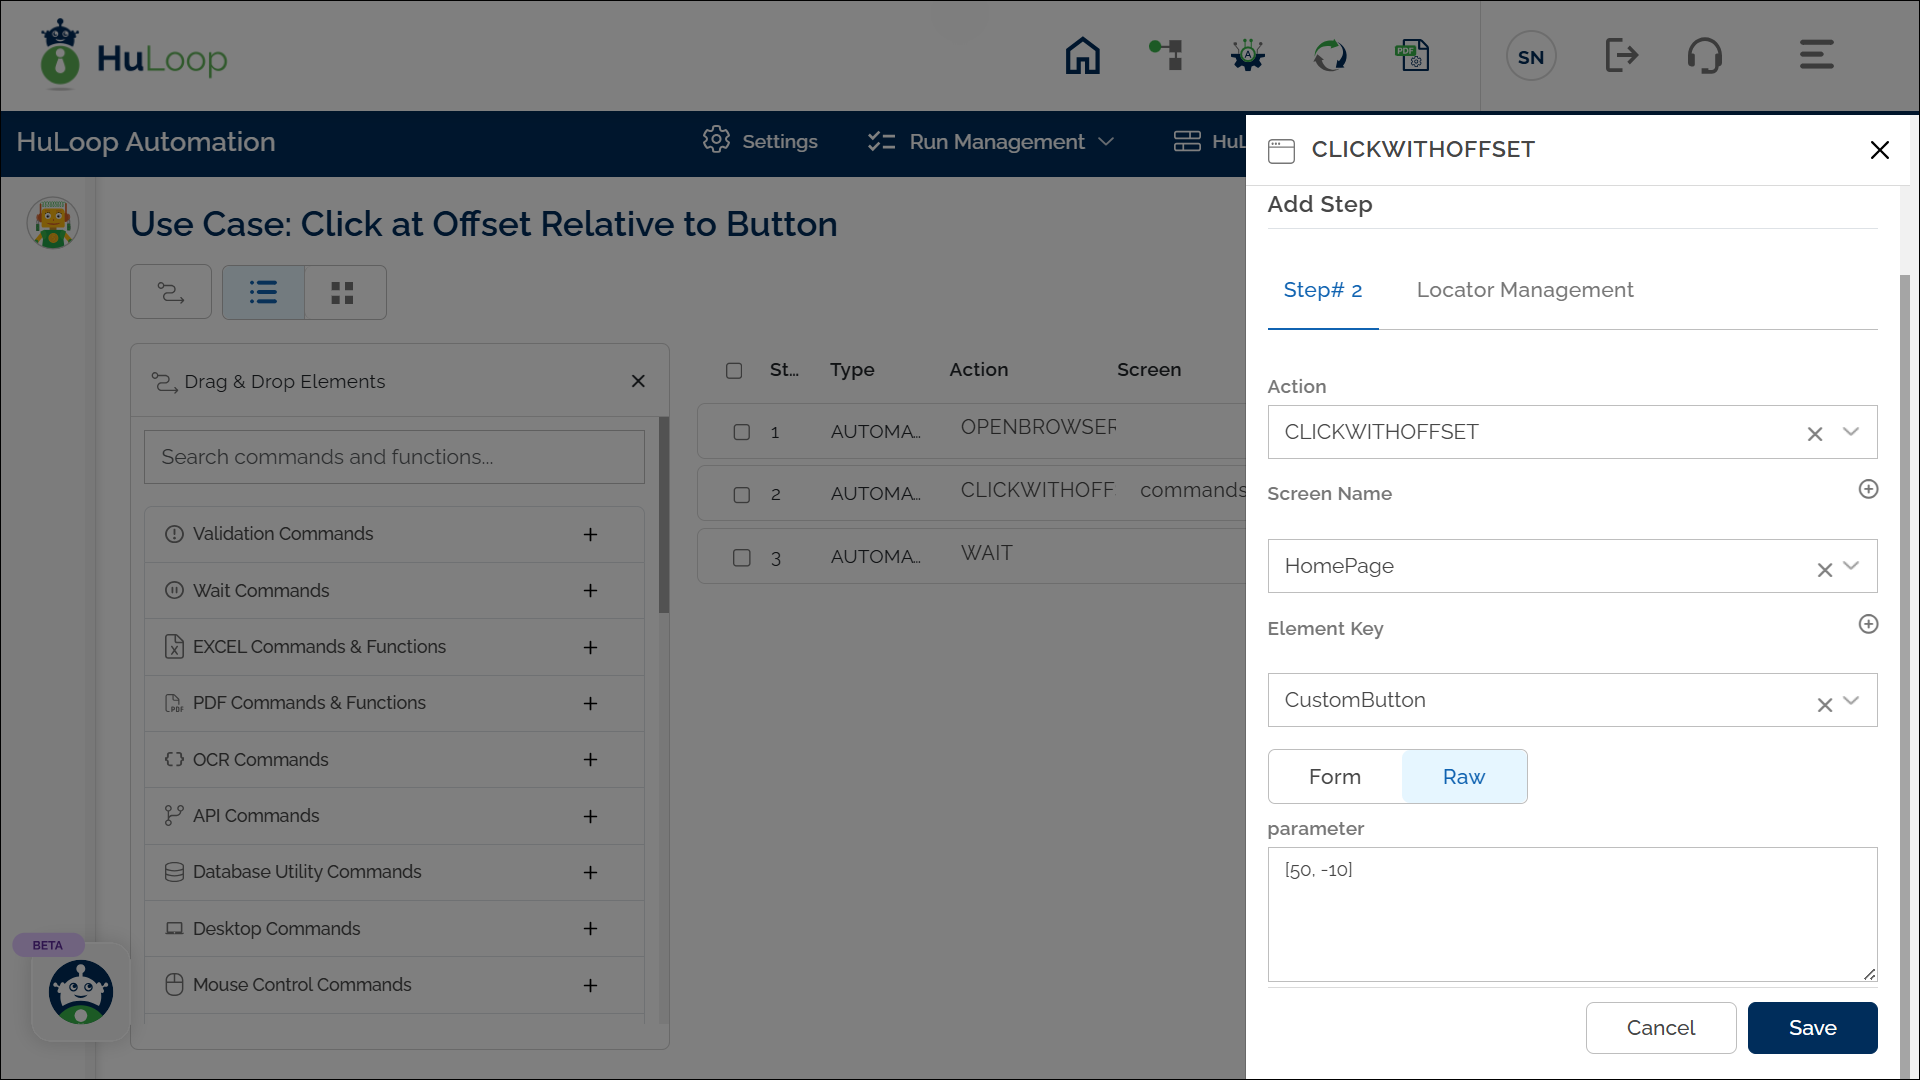
- Select CLICKWITHOFFSET from the Action drop-down.
- Specify the Screen Name (e.g., “HomePage”).
- Set the Element Key to identify the button (e.g., “CustomButton”).
- Enter the offsets in the Parameter Section, such as [50, -10] (50px right and 10px above).
- Click Save.
Note: While the steps for adding an Action are identical in both views, the display of the steps changes:
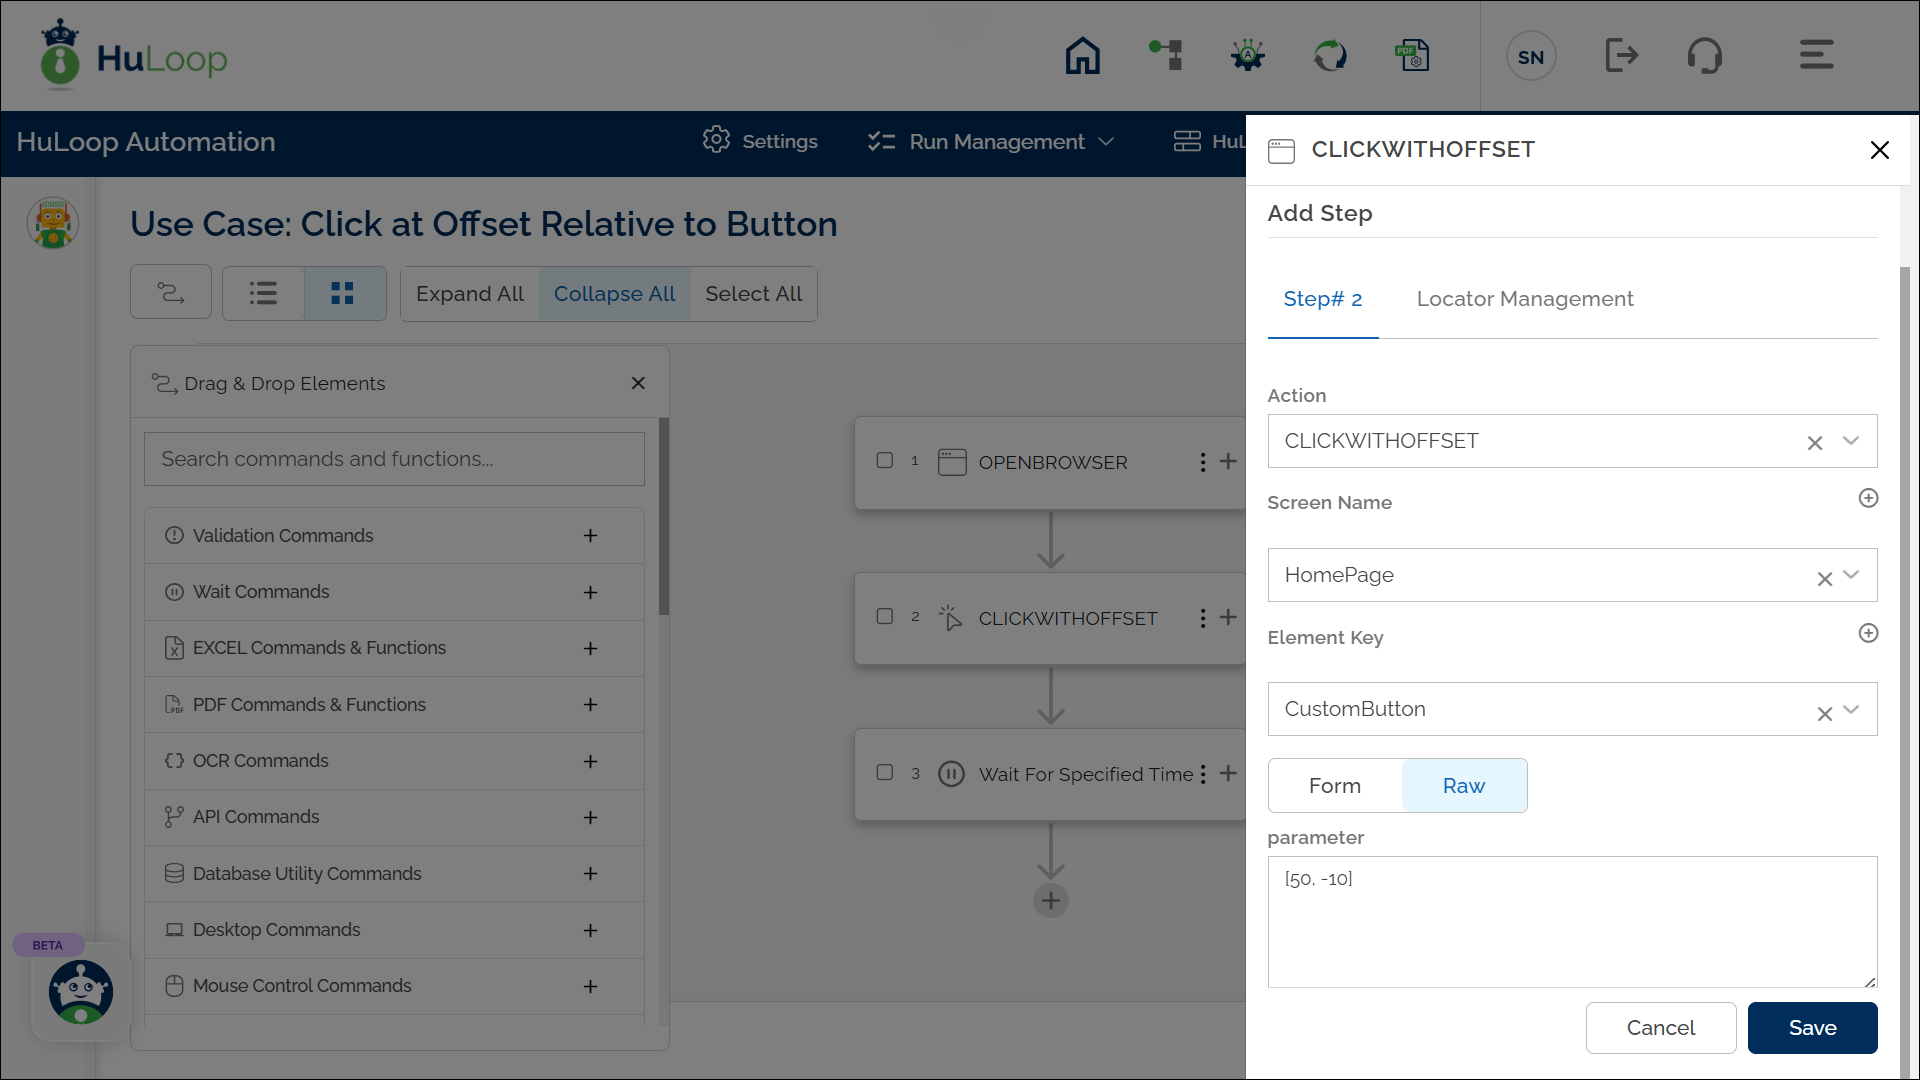
Expected Outcome on Execution:
- The automation will click the specified location relative to the button’s top-left corner.
- For example: With offsets [50, -10], the click occurs 50 pixels to the right and 10 pixels above the button’s top-left corner.