Connecting Your Database to HuLoop
To connect your database with HuLoop follow these steps to set up the Database connection:
- Open the Automation Project you want to work on.
- Navigate to the Settings page by clicking Settings icon as shown.

- Select Database Settings.
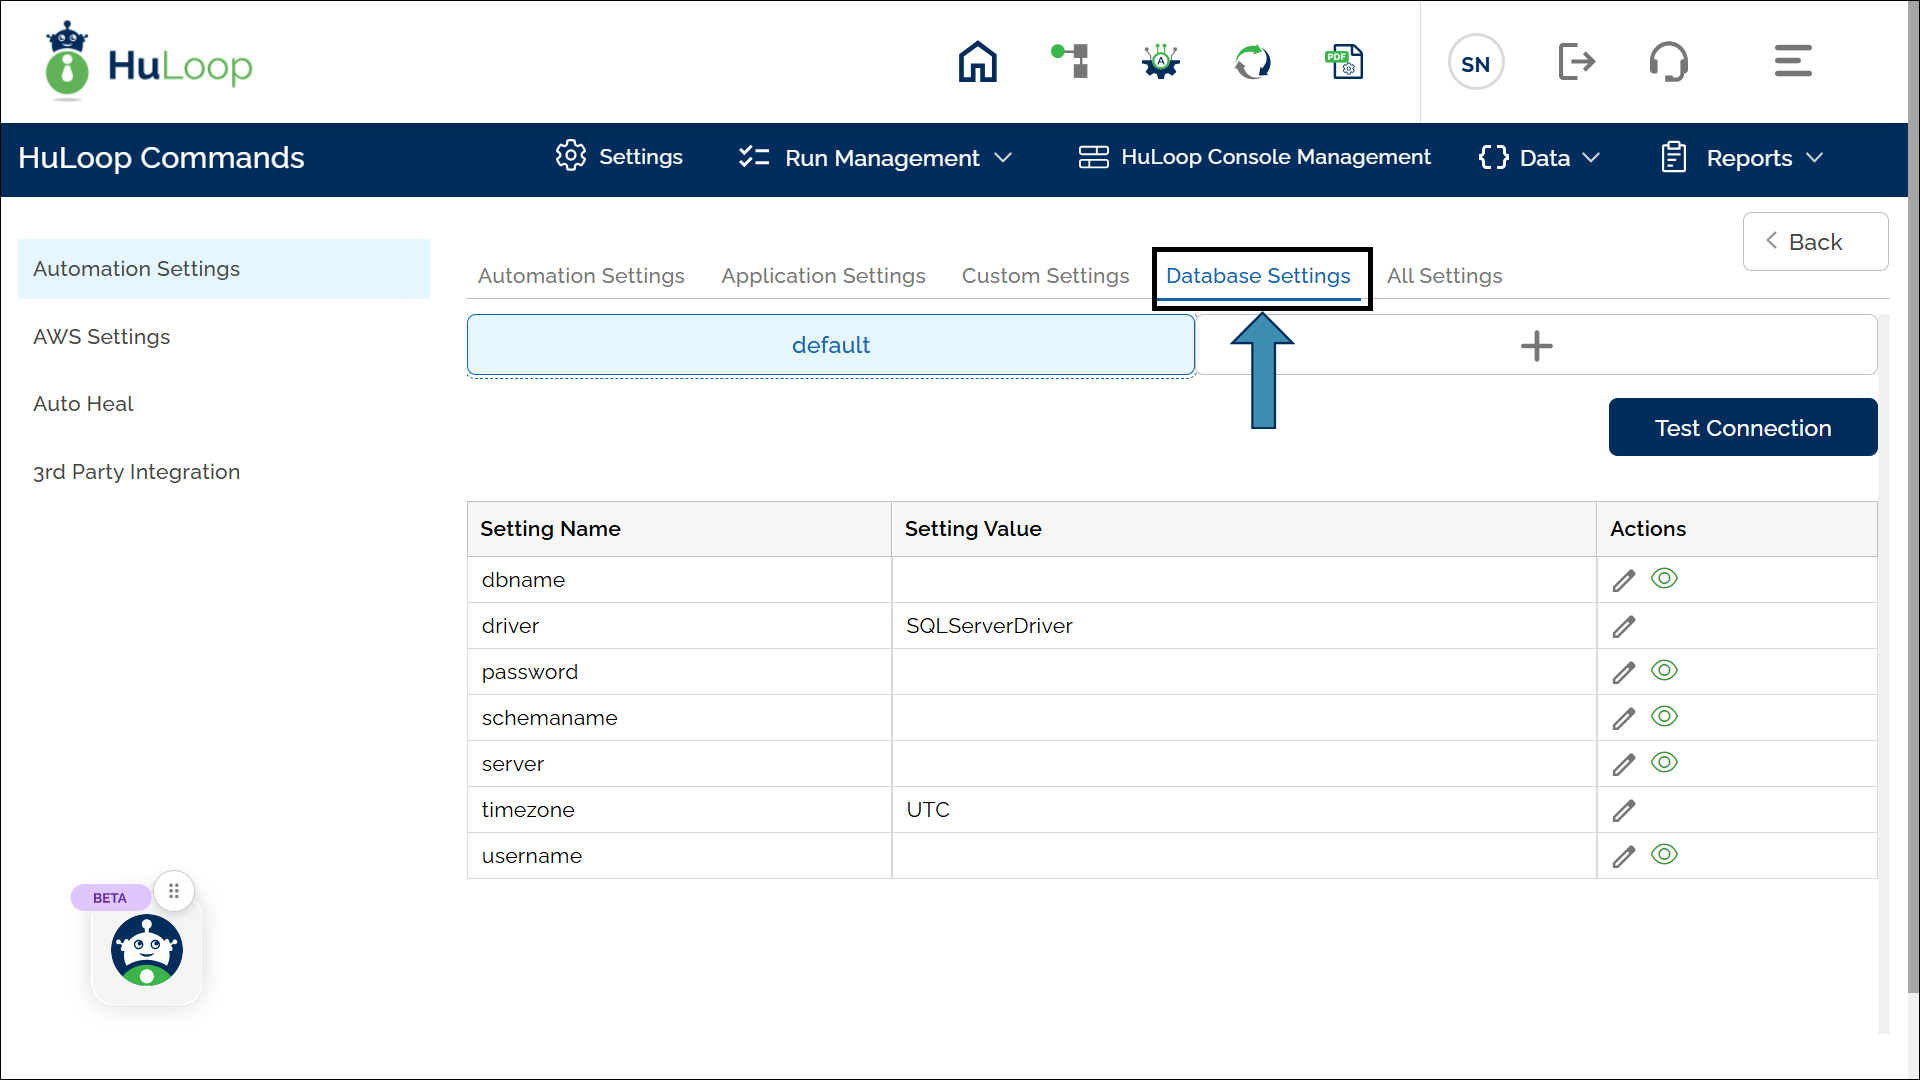
- On the Database Settings page, enter the following details to establish the connection between HuLoop and the database:
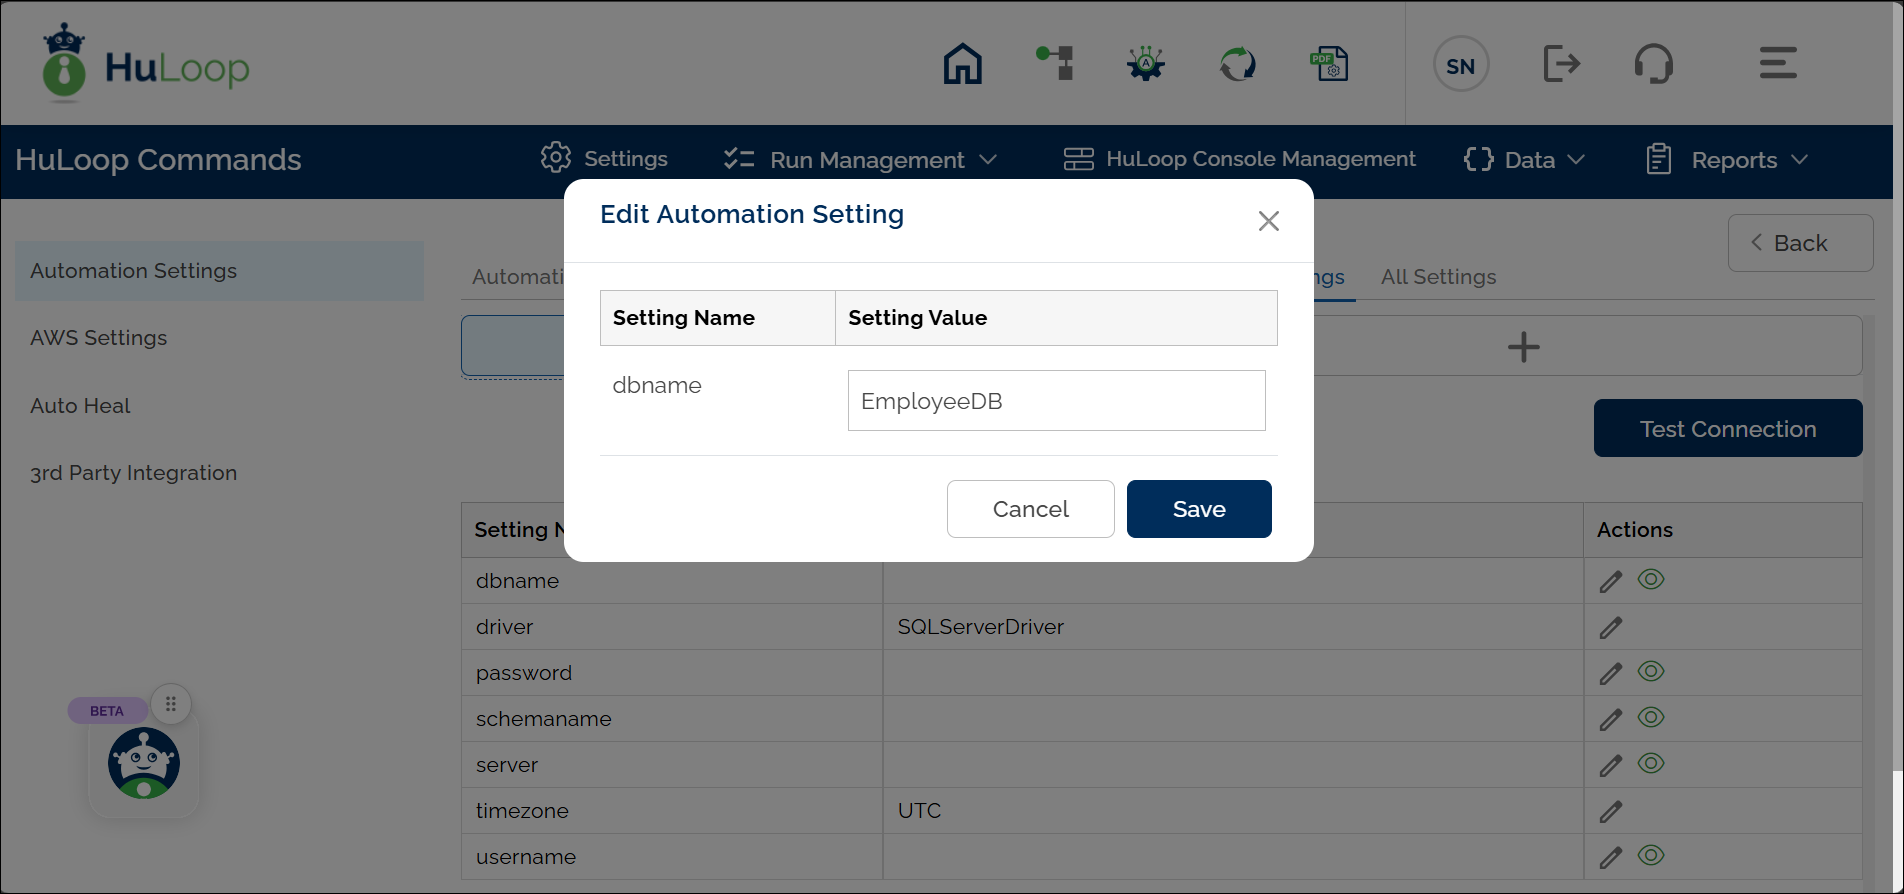
- dbname: Click
 icon under Actions. Specify the database name in the pop-up and click Save.
- dbname: Click
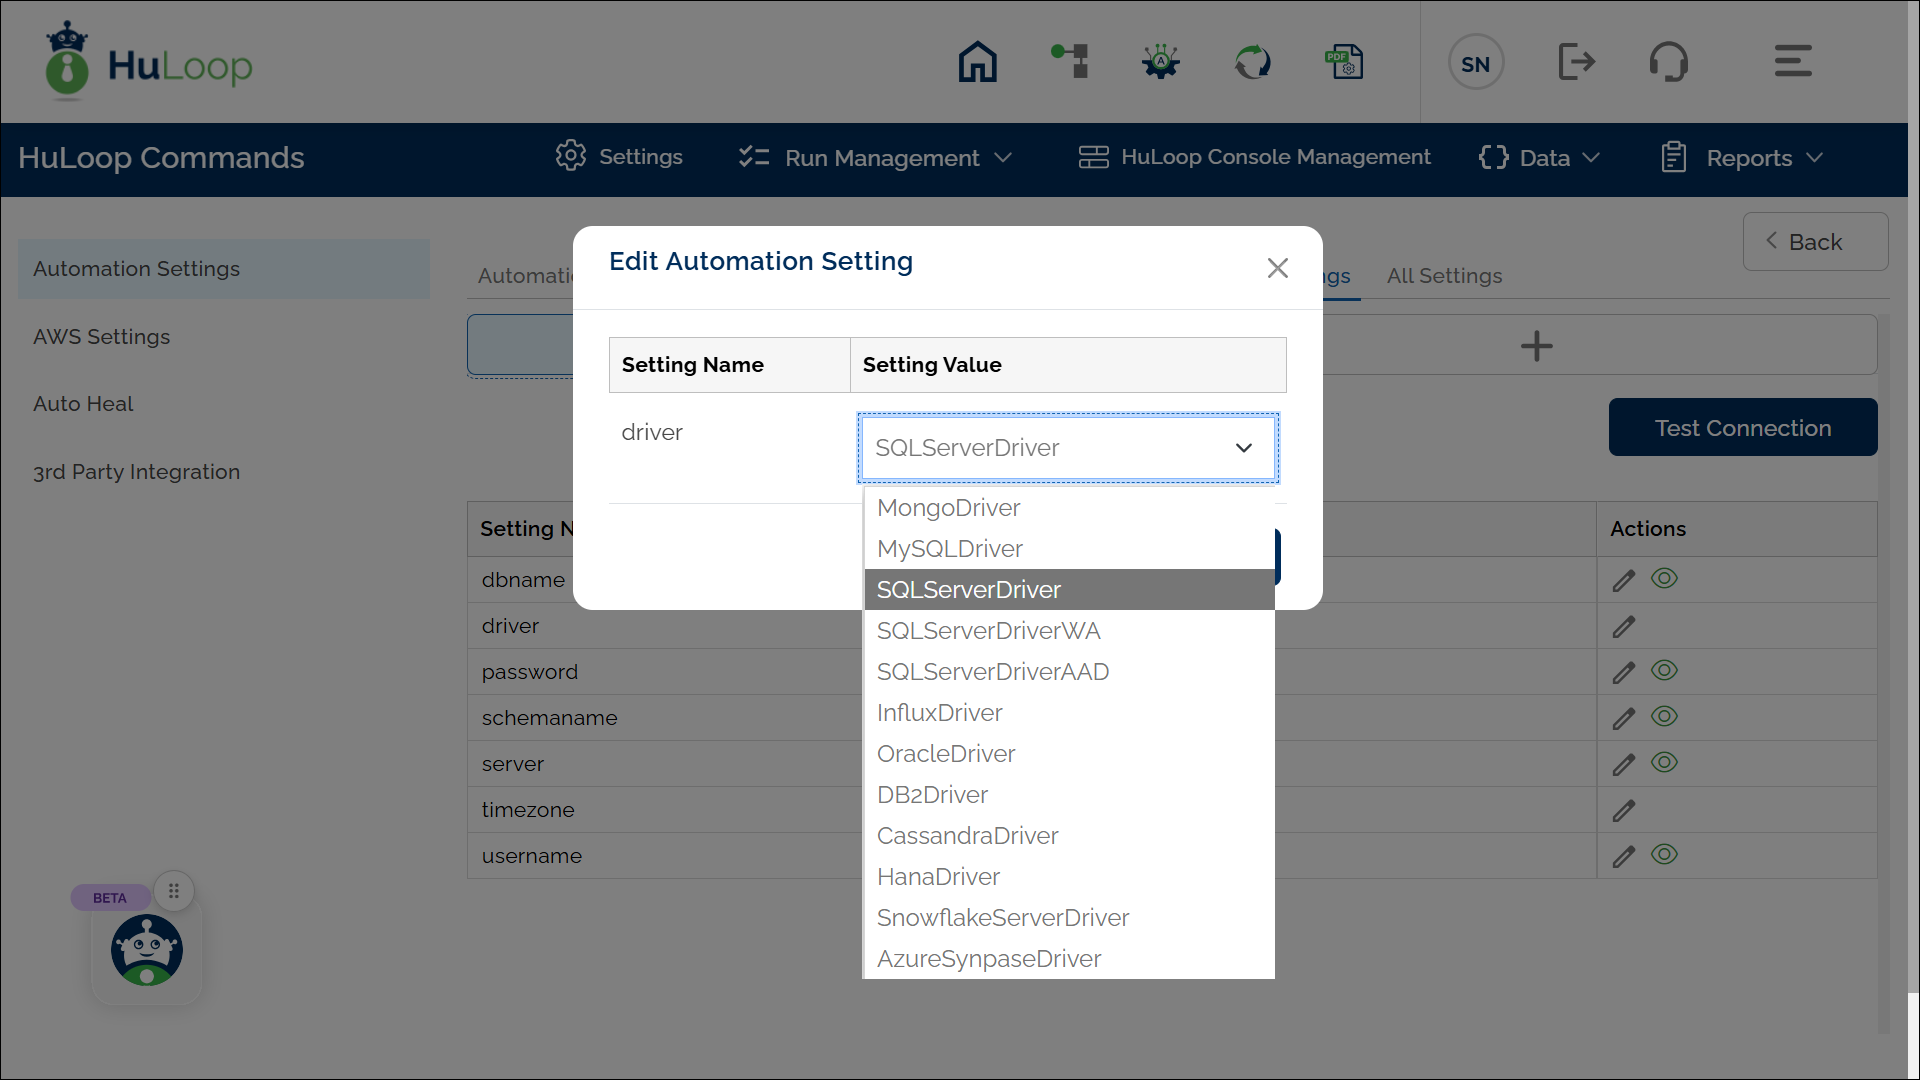
- driver: Click the icon under Actions choose the driver name from the dropdown depending upon your database, and click Save.
- driver: Click the
Note: SQLServerDriver is the default selection.
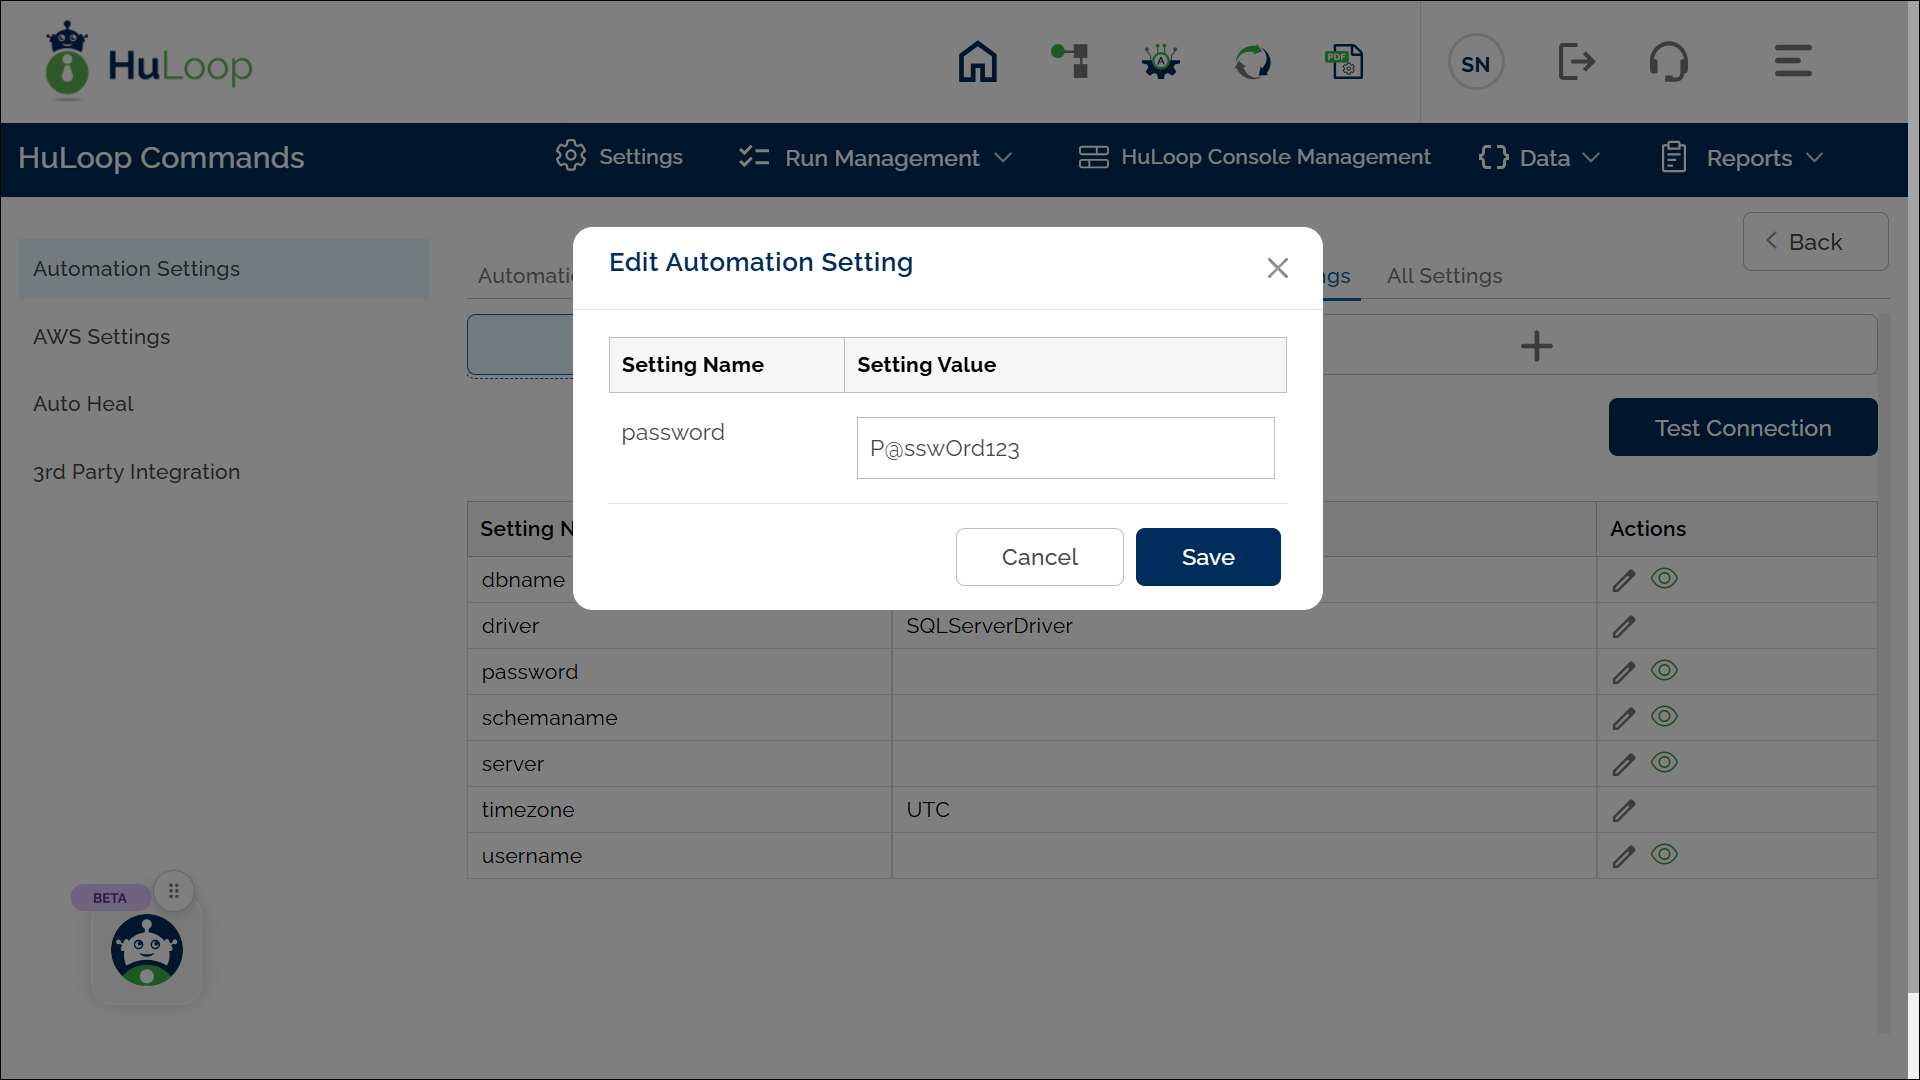
- password: Enter the password for the Database. To do so, click icon under Actions Specify the password in the pop-up and click Save.
- password: Enter the password for the Database. To do so, click
- schemaname: Enter the schema name by clicking the icon under Actions (optional).
- schemaname: Enter the schema name by clicking the

- server: Click the icon under Actions column and specify the server information in the pop-up and click Save.
- server: Click the
Note: The server information should include the IP address and the Port number.
E.g., 10.10.8.37:1433 where, 10.10.8.37 is the IP address and 1433 is the port number.
E.g., 10.10.8.37:1433 where, 10.10.8.37 is the IP address and 1433 is the port number.

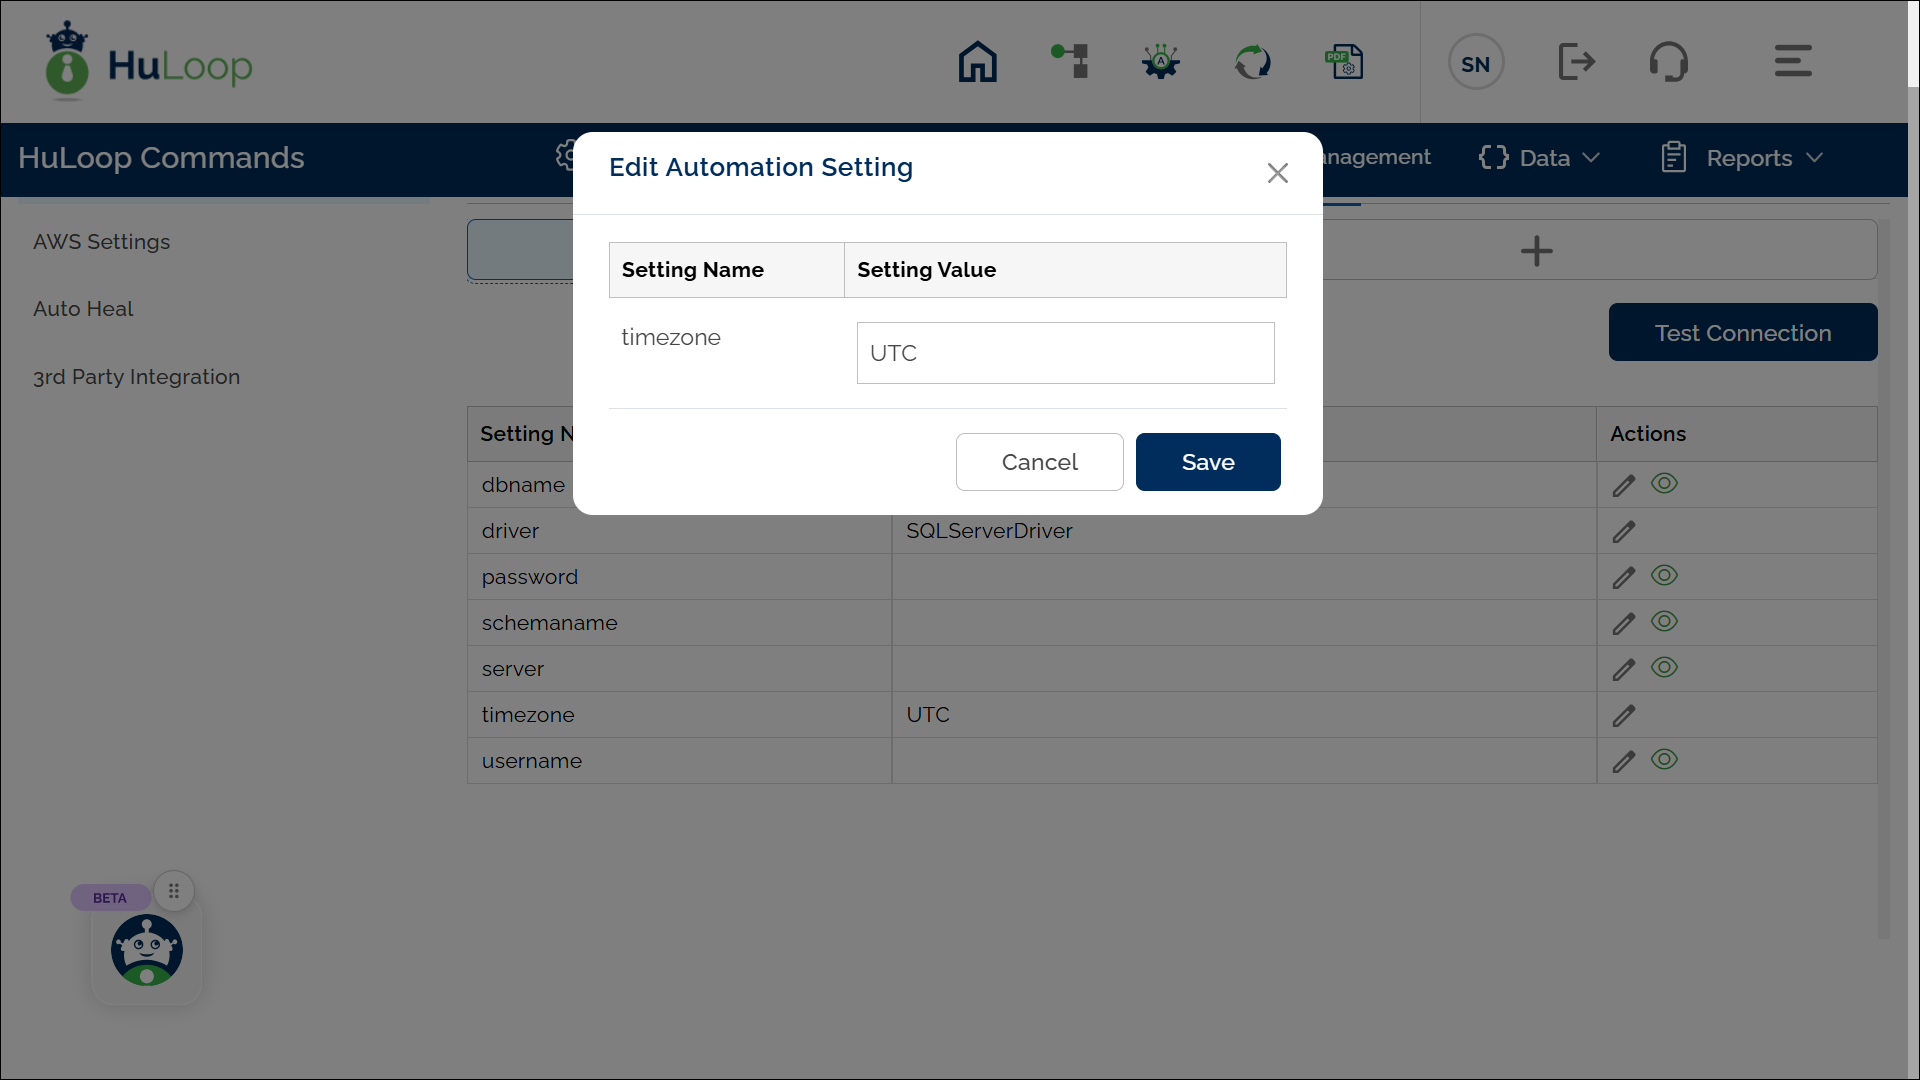
- timezone: Click the icon under Actions and specify your timezone in the pop-up and click Save.
- timezone: Click the
Note: The pop-up may display a default value. You can change it if required.
- username: Click the icon under Actions and specify the username in the pop-up and click Save.
- username: Click the
To enhance security, you can mask database setting values by clicking the eye-shaped ![]() icon next to the setting name.
icon next to the setting name.

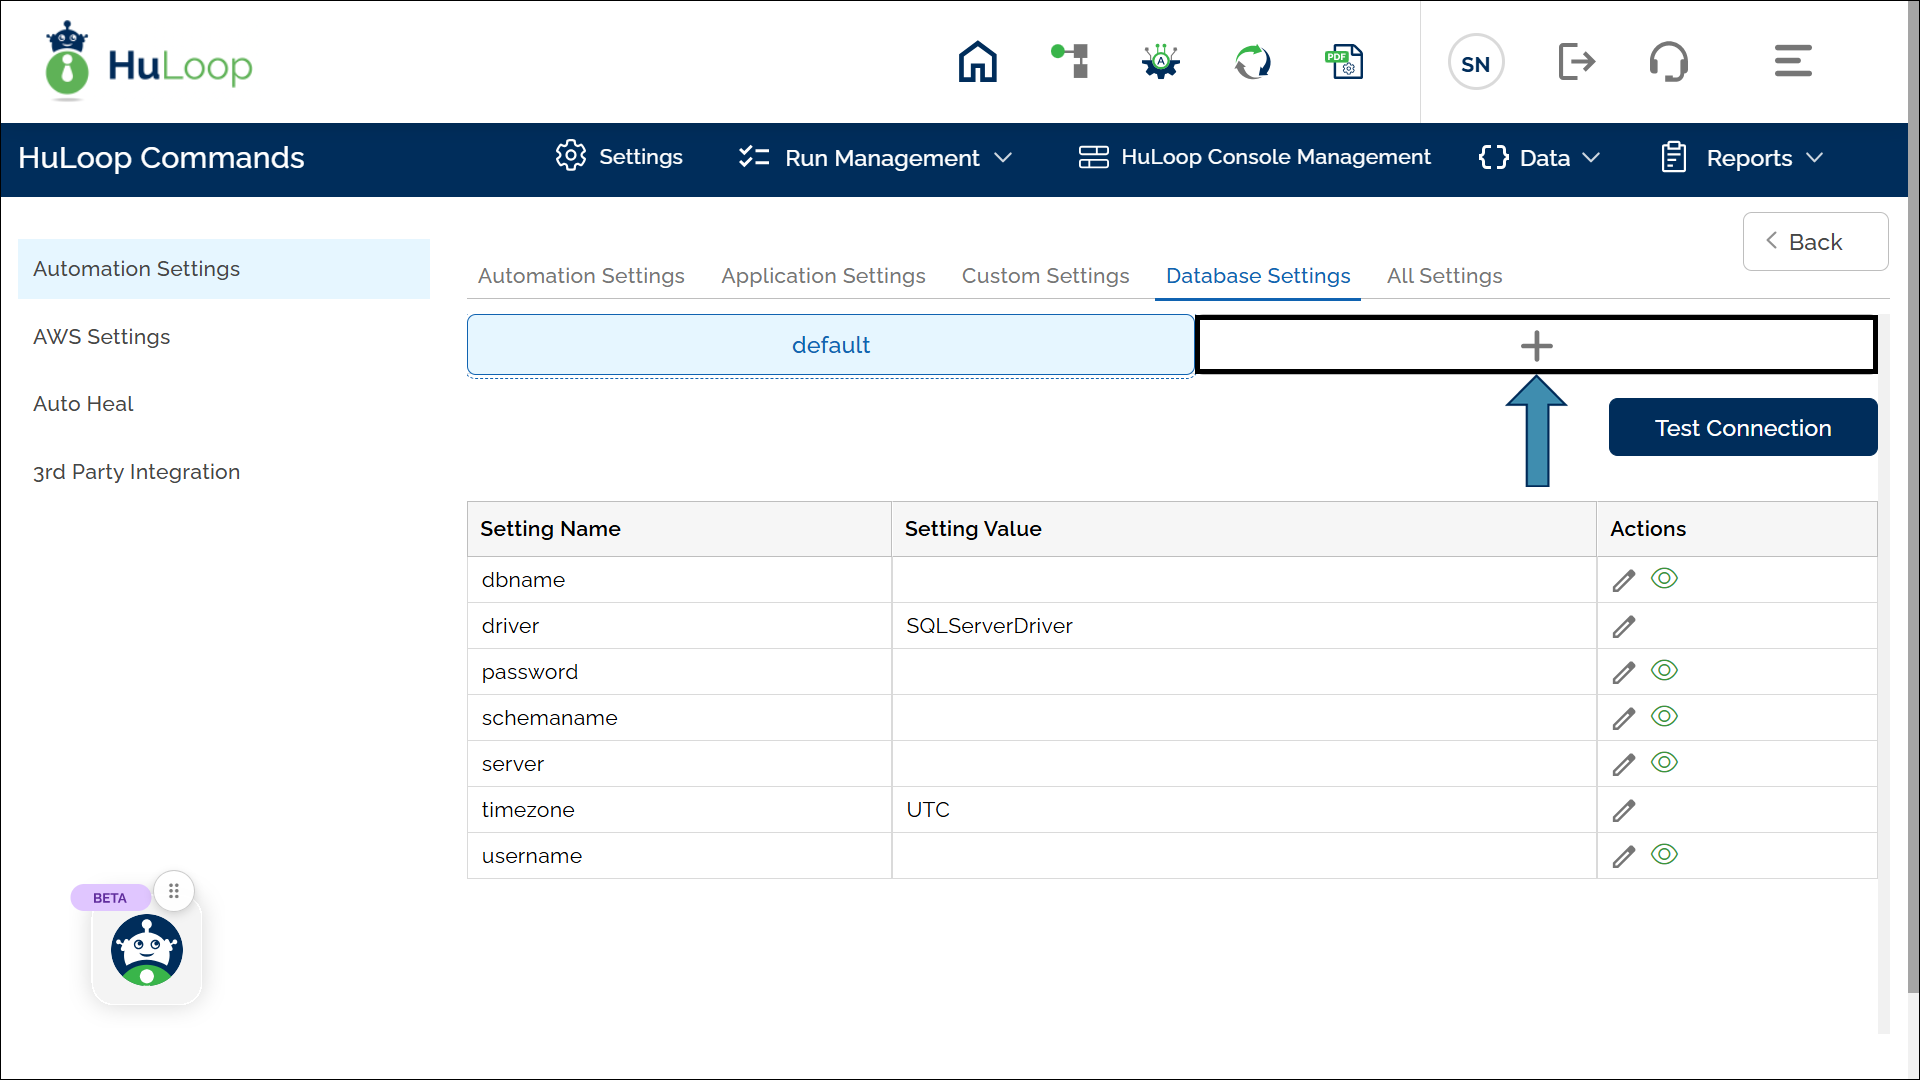
Multiple Database Connectivity
You can connect to multiple databases in a single automation, with a maximum limit of five connections. To add a new database, click the + icon next to the “default” tab. This will open a new tab where you can enter the name of the database connection (e.g., “SQLServer”) and provide the required connection details.