Adding a Step to a Case
Adding steps to Cases allows you to build or modify your Case to automate tasks. Each step performs a specific action that can be customized by selecting commands and defining parameters.
To create a Step within a Case, go to the Case where you want to define a step and follow these steps:
Click here to see how to access a case.
Adding a new step
To add an action step in, open the Case where you want to define a step.
- Click the ADD Step button to create a new step.
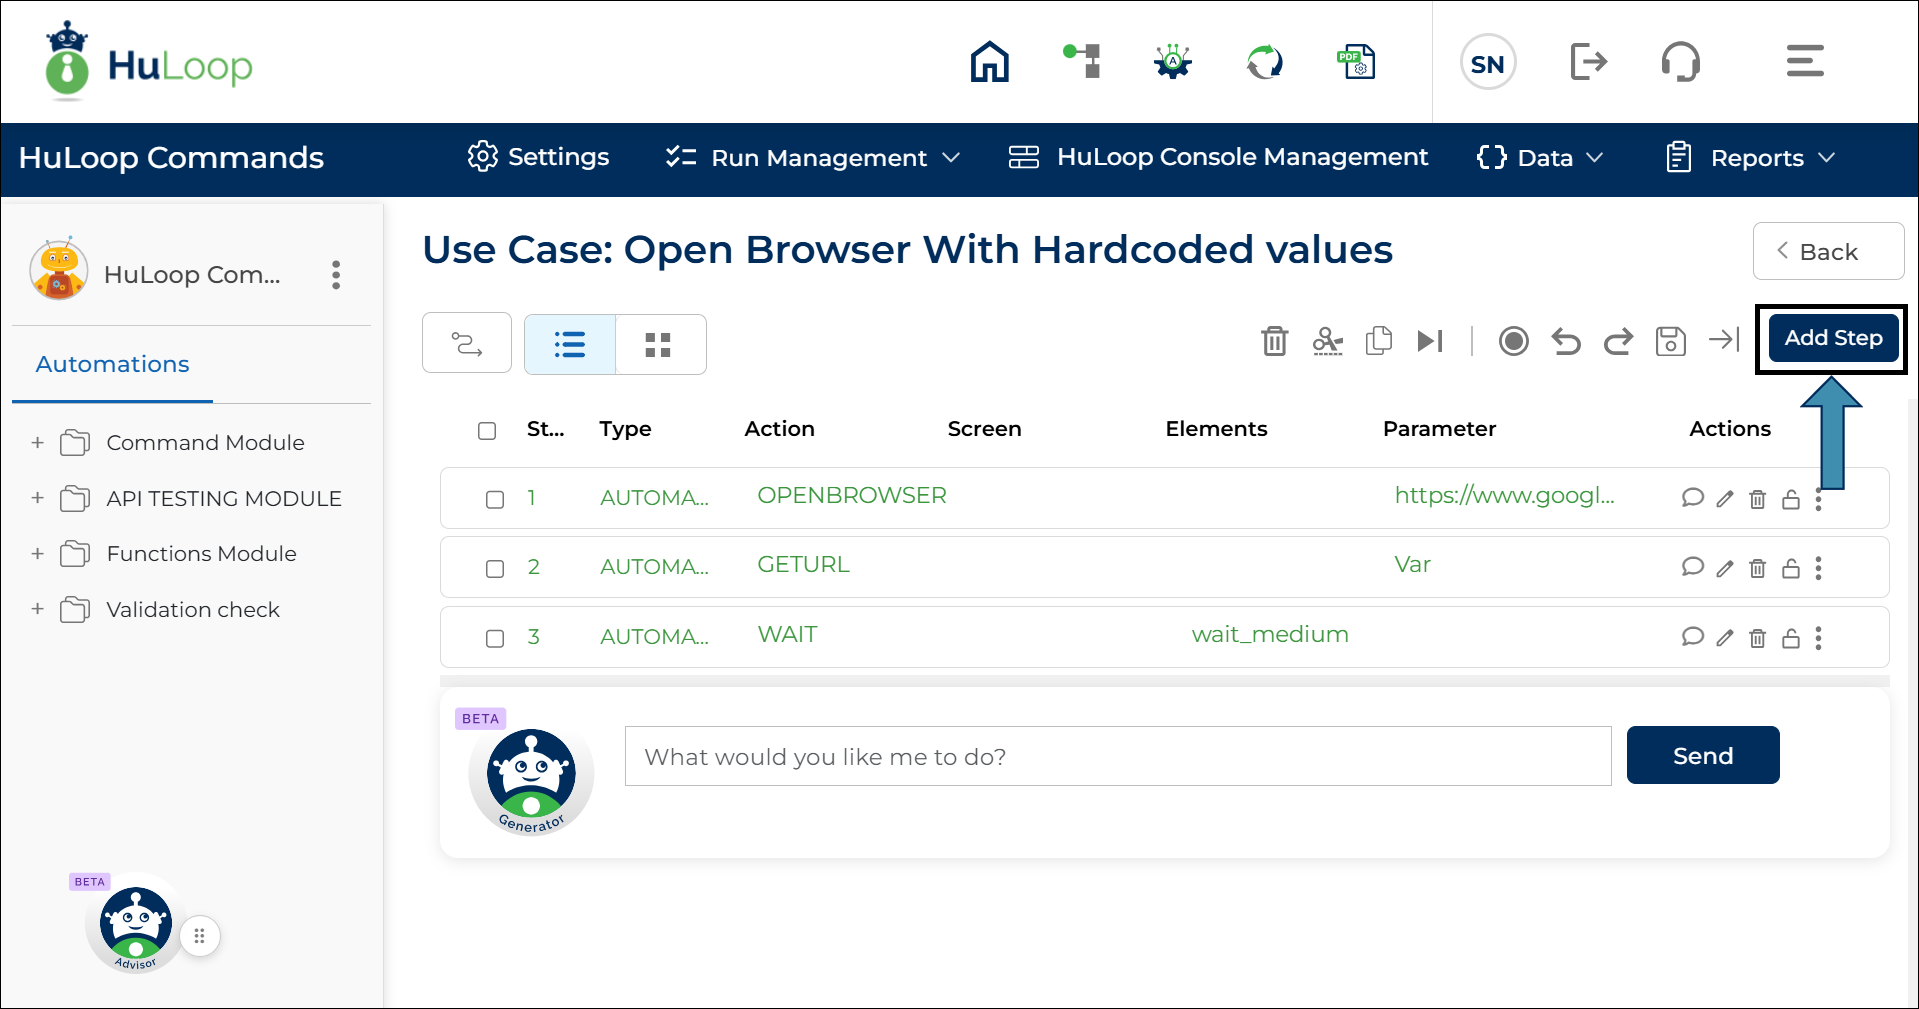

- The Add New Step pop-up will appear. This step will appear as the next step in the Case.


- The default action is Open Web Browser. If you want to change it, click
 to remove it and then click
  icon to get a list of actions.
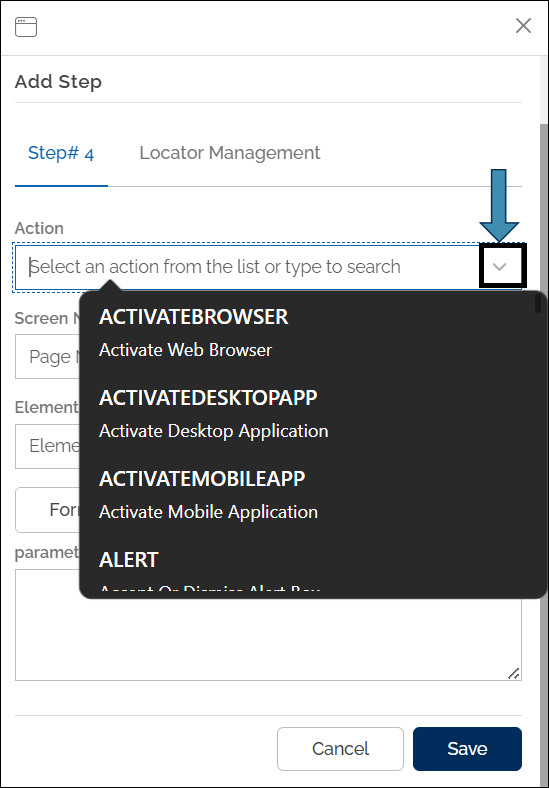
You can quickly find an Action by typing a keyword into the action field. As you type, a list of matching actions will appear, and you can select the desired action from the results. This makes it faster to locate and add actions, especially when dealing with many available options.
- From the Action drop-down, select the required action for the step.
- If required, fill in the Screen Name and Element Key and define the parameter’s value in the Parameters box.


- Click Save.
Adding a Step Using Drag and Drop
You can also add a new step using the drag-and-drop interface.
You can show or hide the Drag and Drop Elements panel anytime by selecting the drag-and-drop ![]() icon.
icon.
- You will see the Drag and Drop Elements section on the left side of the screen.
- In the search box, type a keyword to find the desired HuLoop command or function.


- Below the search box, browse different command and function groups. Expand a group by selecting the plus icon to view its items.


- Once you find the desired action or function, drag it and drop it before or after any step where you want it to appear.
- For example, to add a new step at index 3, drag and drop the item below Step 2.
- When you drop the action/function at the desired index, the Add Step pane appears on the right side of the screen.
- In this pane, define the step details by entering the Screen Name, Element Key, and Parameter Value, as applicable to the selected action or function.
- Select Save.


The new step is added to your use case at the specified index.
- In List View, you can click the plus icon next to any step to insert a new step directly after it. For example, selecting the icon next to Step 4 adds a new step at index 5.
- In Grid View, the plus icon appears only after the last step of the use case, and adds a new step at the end.