Preparing for CLI Execution
Before installing and using the HuLoop CLI Agent, you need to complete a few setup tasks. These tasks ensure that you can run automation successfully from the command line.
Creating a Run Setting
A Run Setting defines what part of your automation project should be executed. Whether you want to run the entire project or just a few cases like regression cases, smoke cases etc. You need to create a Run Setting to capture that selection. To do create a Run Setting:
- Sign into your HuLoop account.
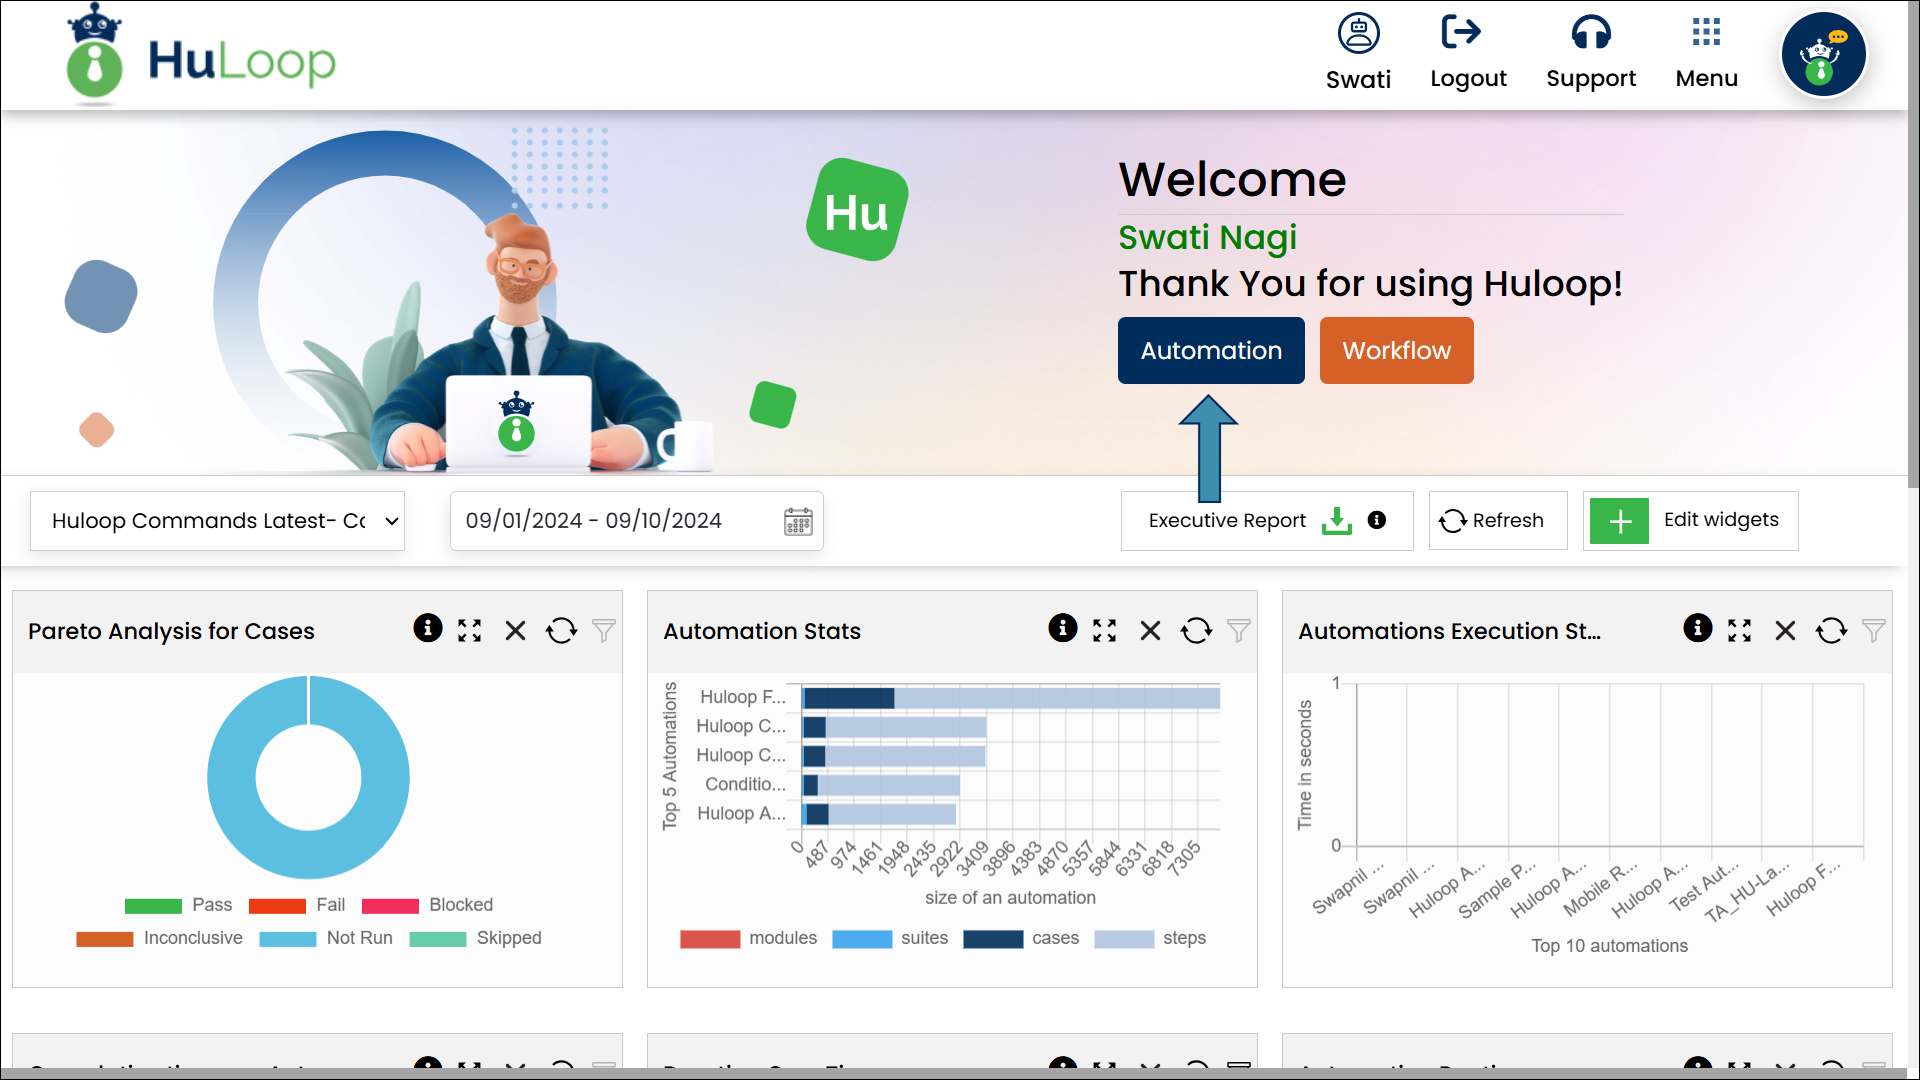
- You will be redirected to the HuLoop homepage. Select Automation.
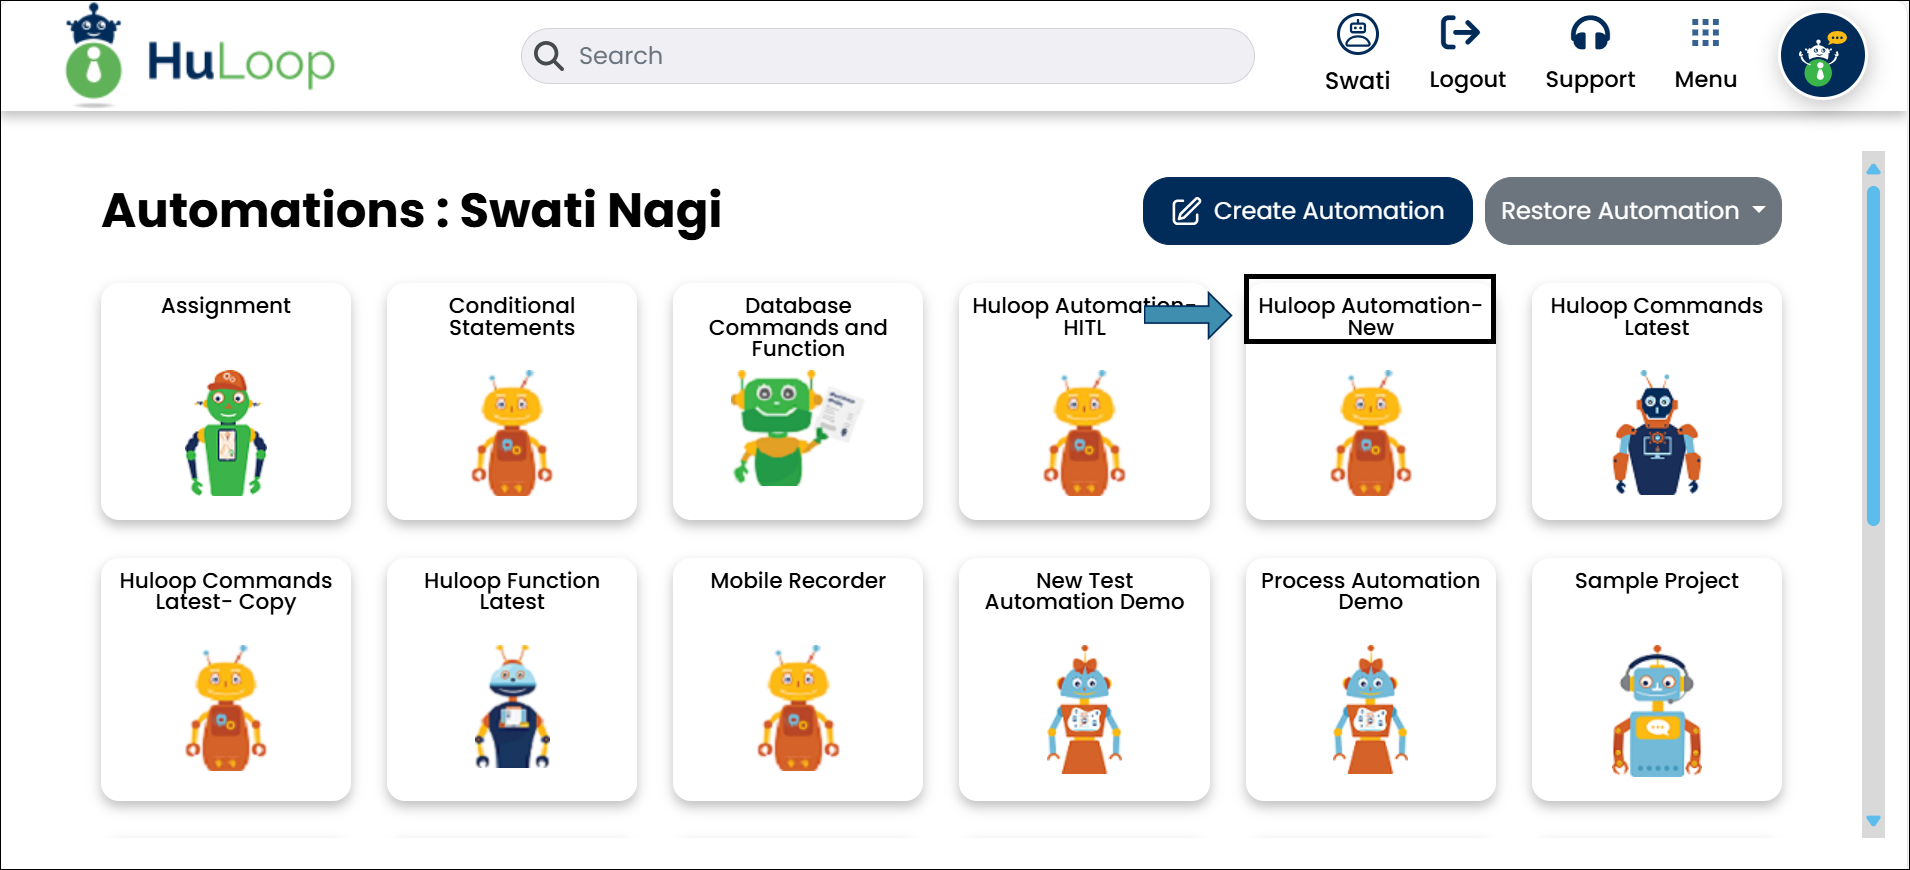
- Open the automation project where you want to create the Run Setting. To do so, click the title of the Automation Project, as shown:
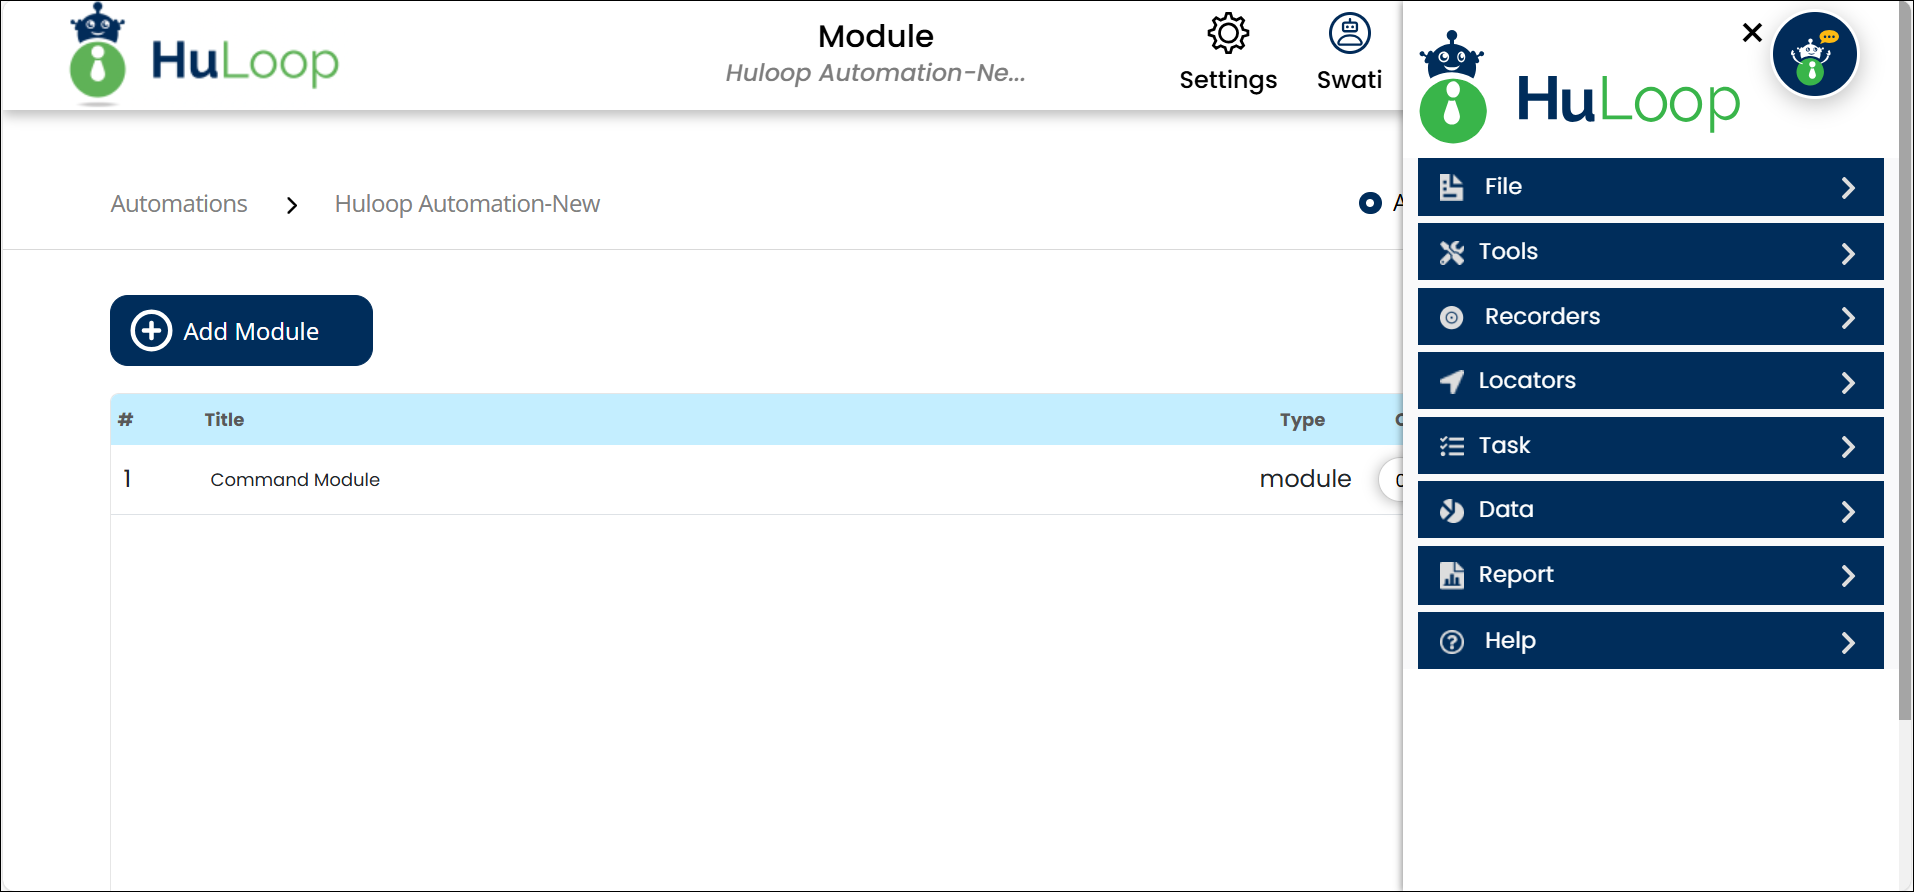
- Click the Menu
 available on the top right of the screen and you will get the following options:
![]()
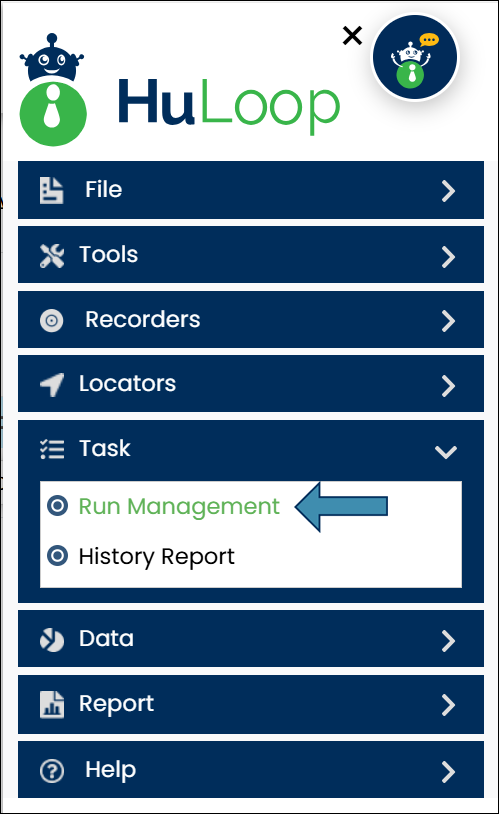
- Expand the Task option and select Run Management:
- You will be redirected to the Run Management page:
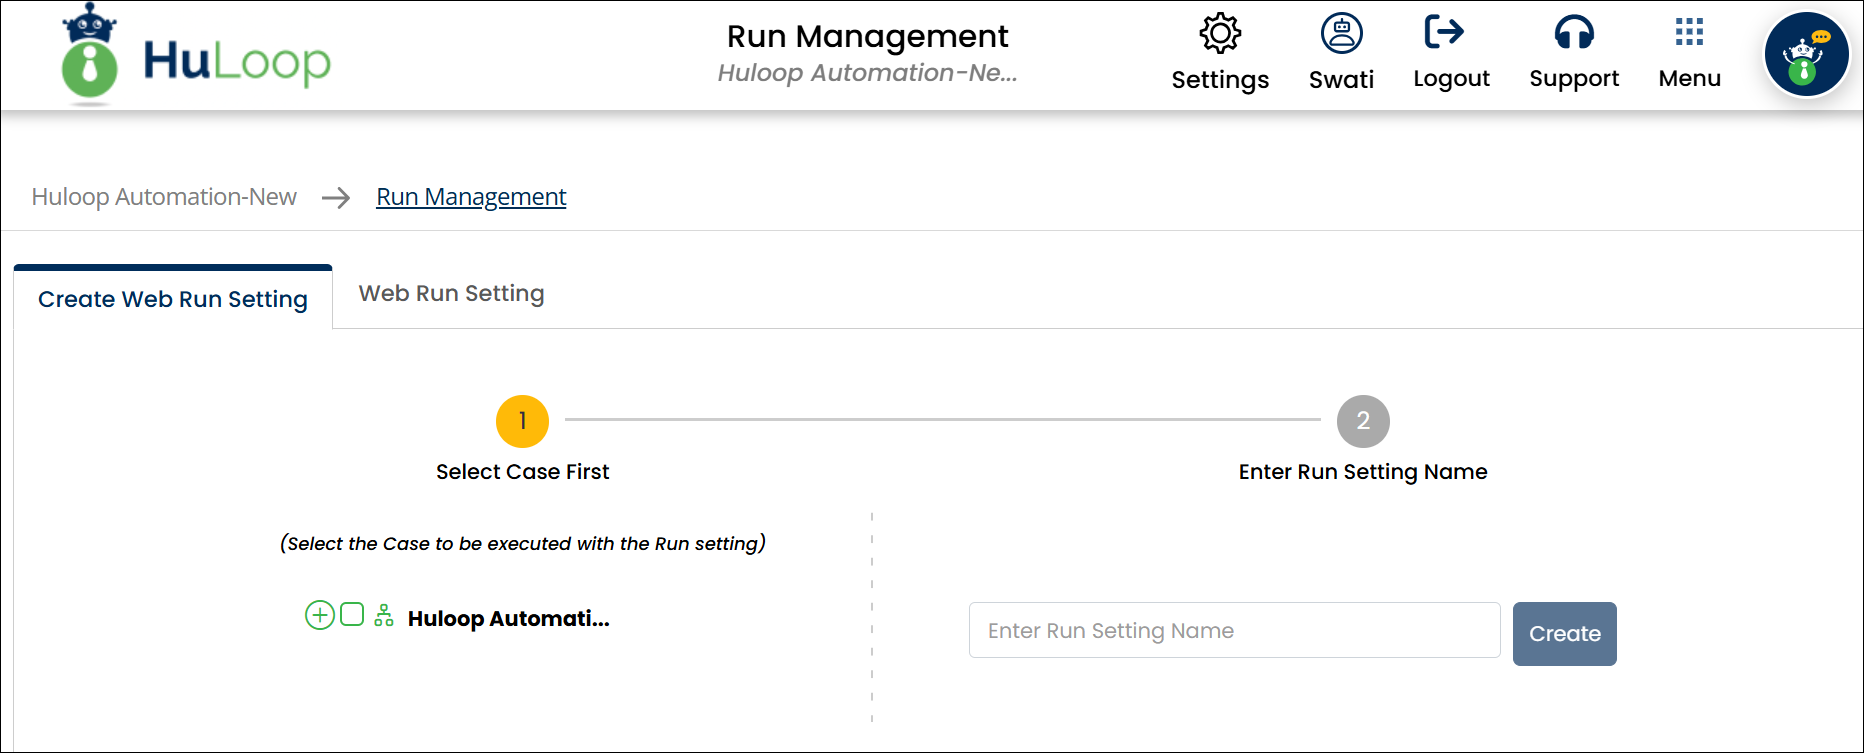
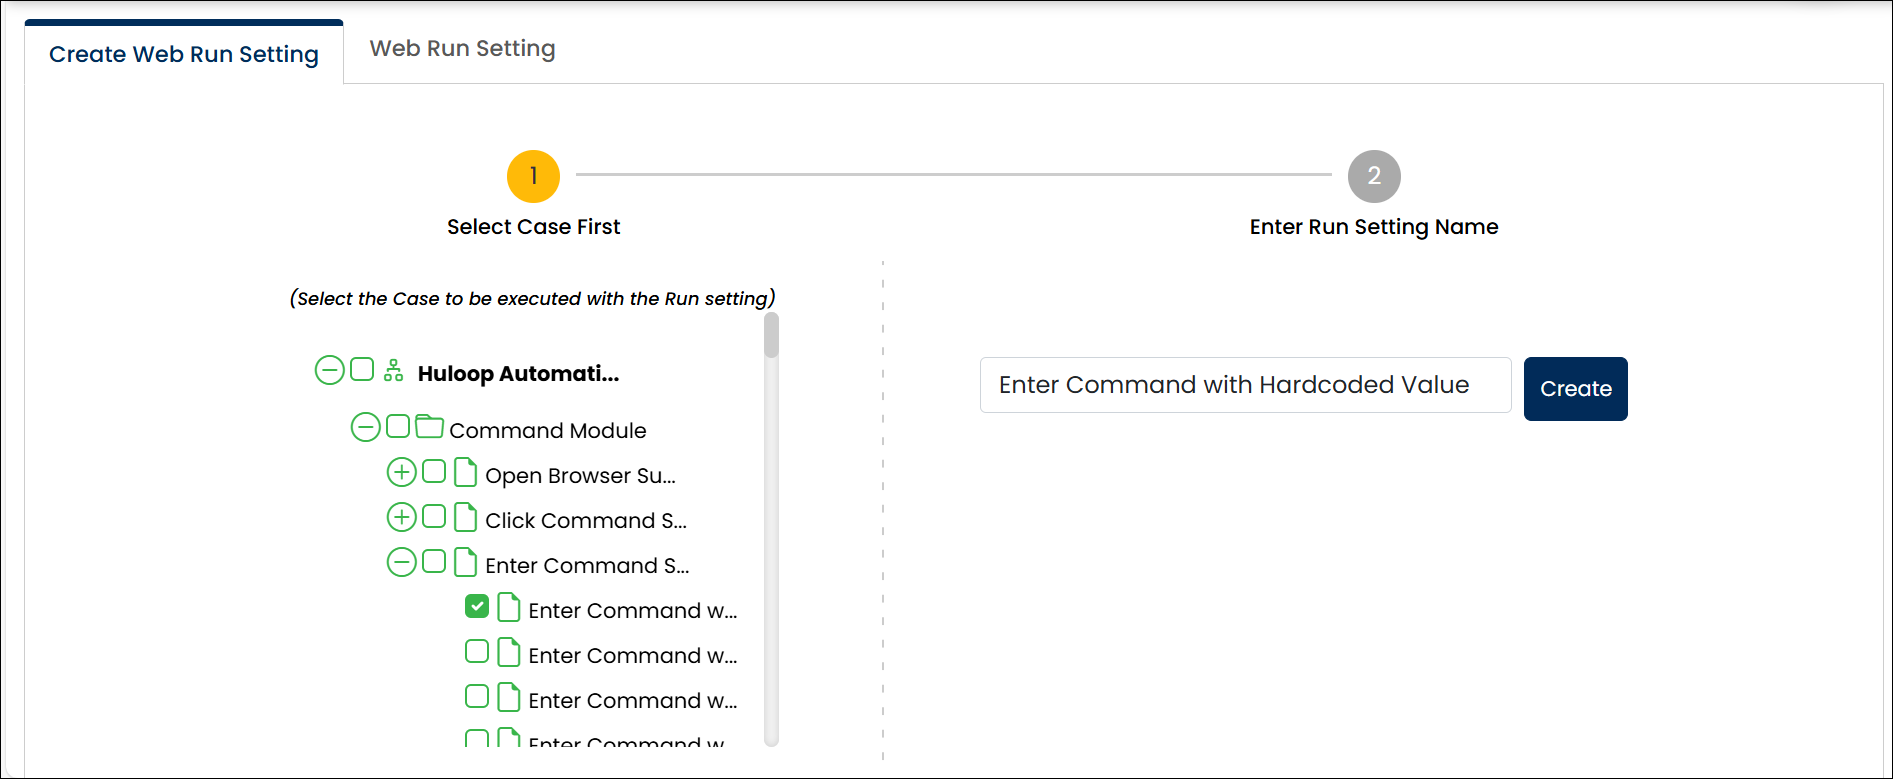
- Select the items you want to execute based on your requirements. Use the plus
 icon to expand each level of the project hierarchy and select the checkbox next to the item name you want to execute.
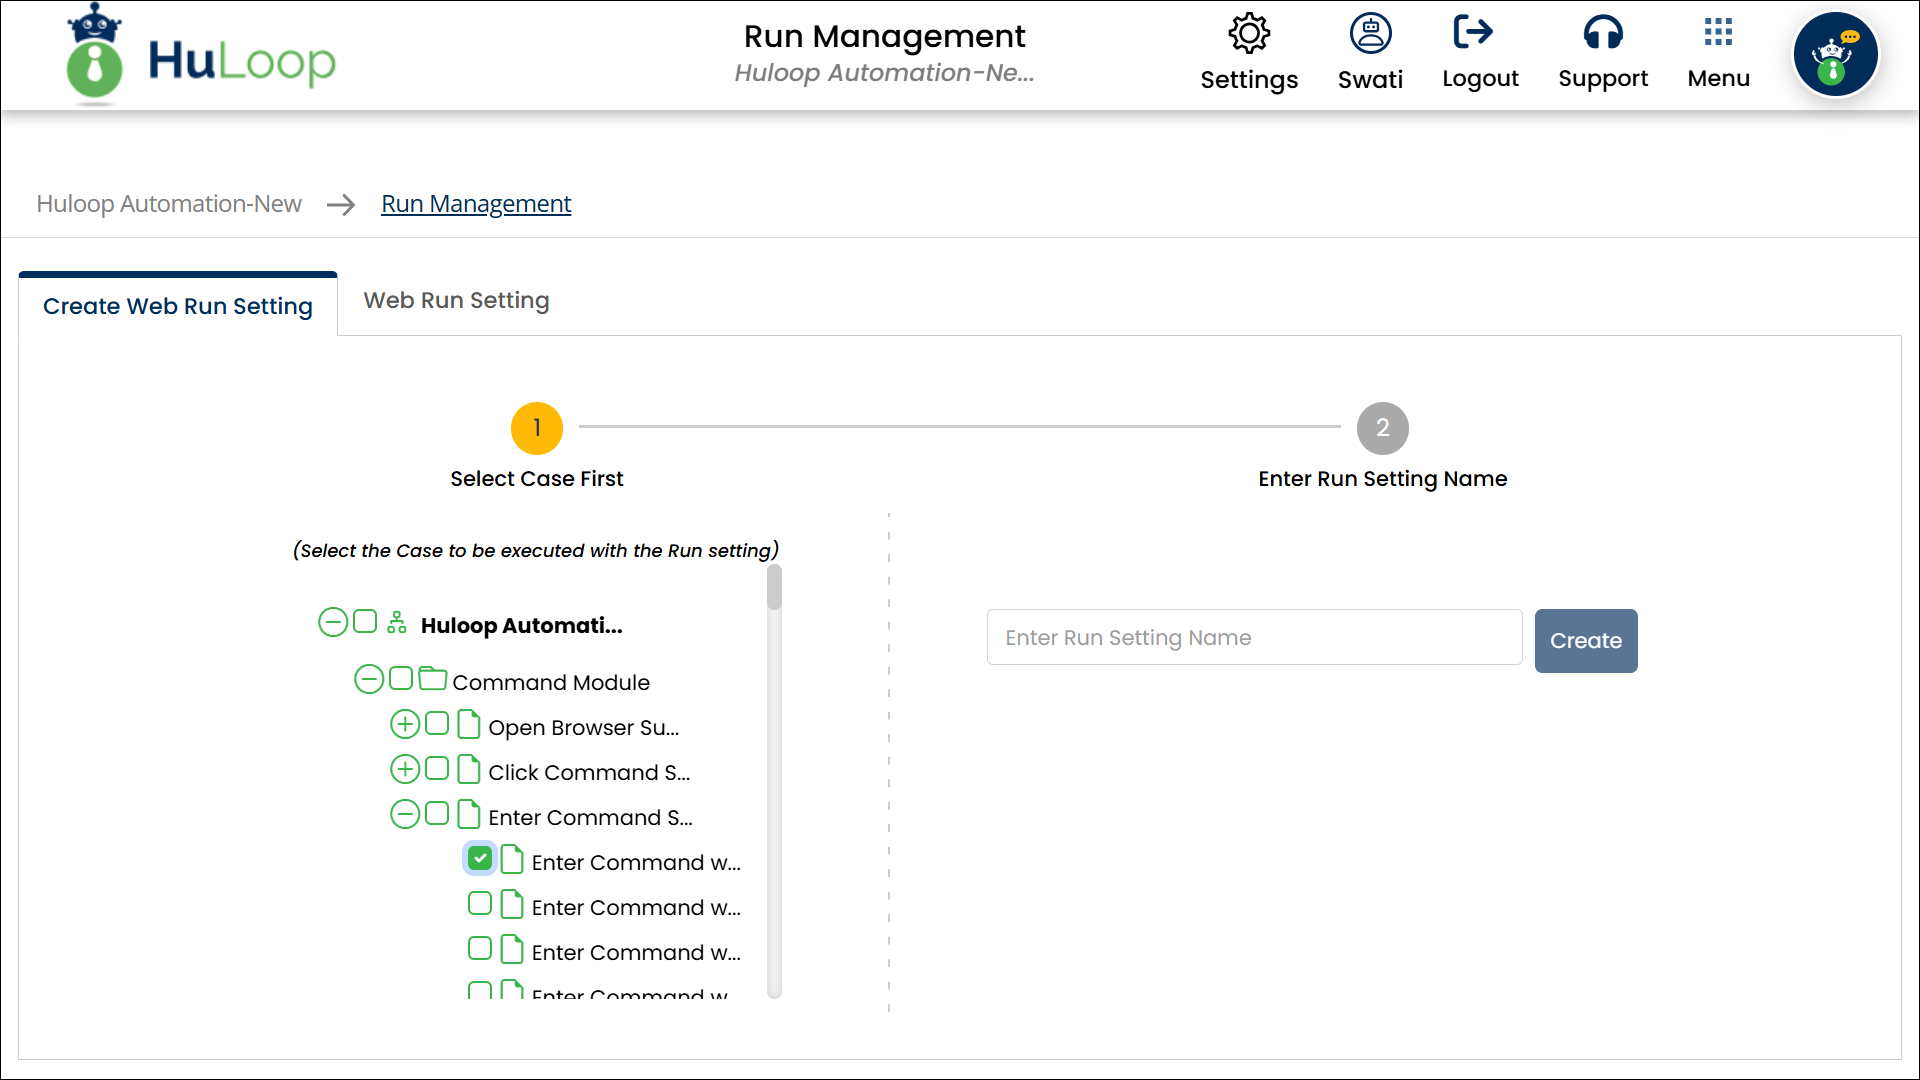
- Use the plus icon to expand each level of the project hierarchy (Project ➔ Suite ➔ Module ➔ Cases).
- To execute the entire Project, select the checkbox next to the project name.
- Use the minus
 icon to collapse the hierarchy when needed.
- Assign a Run Setting Name and click Create.
- Switch to the Web Run Setting tab:
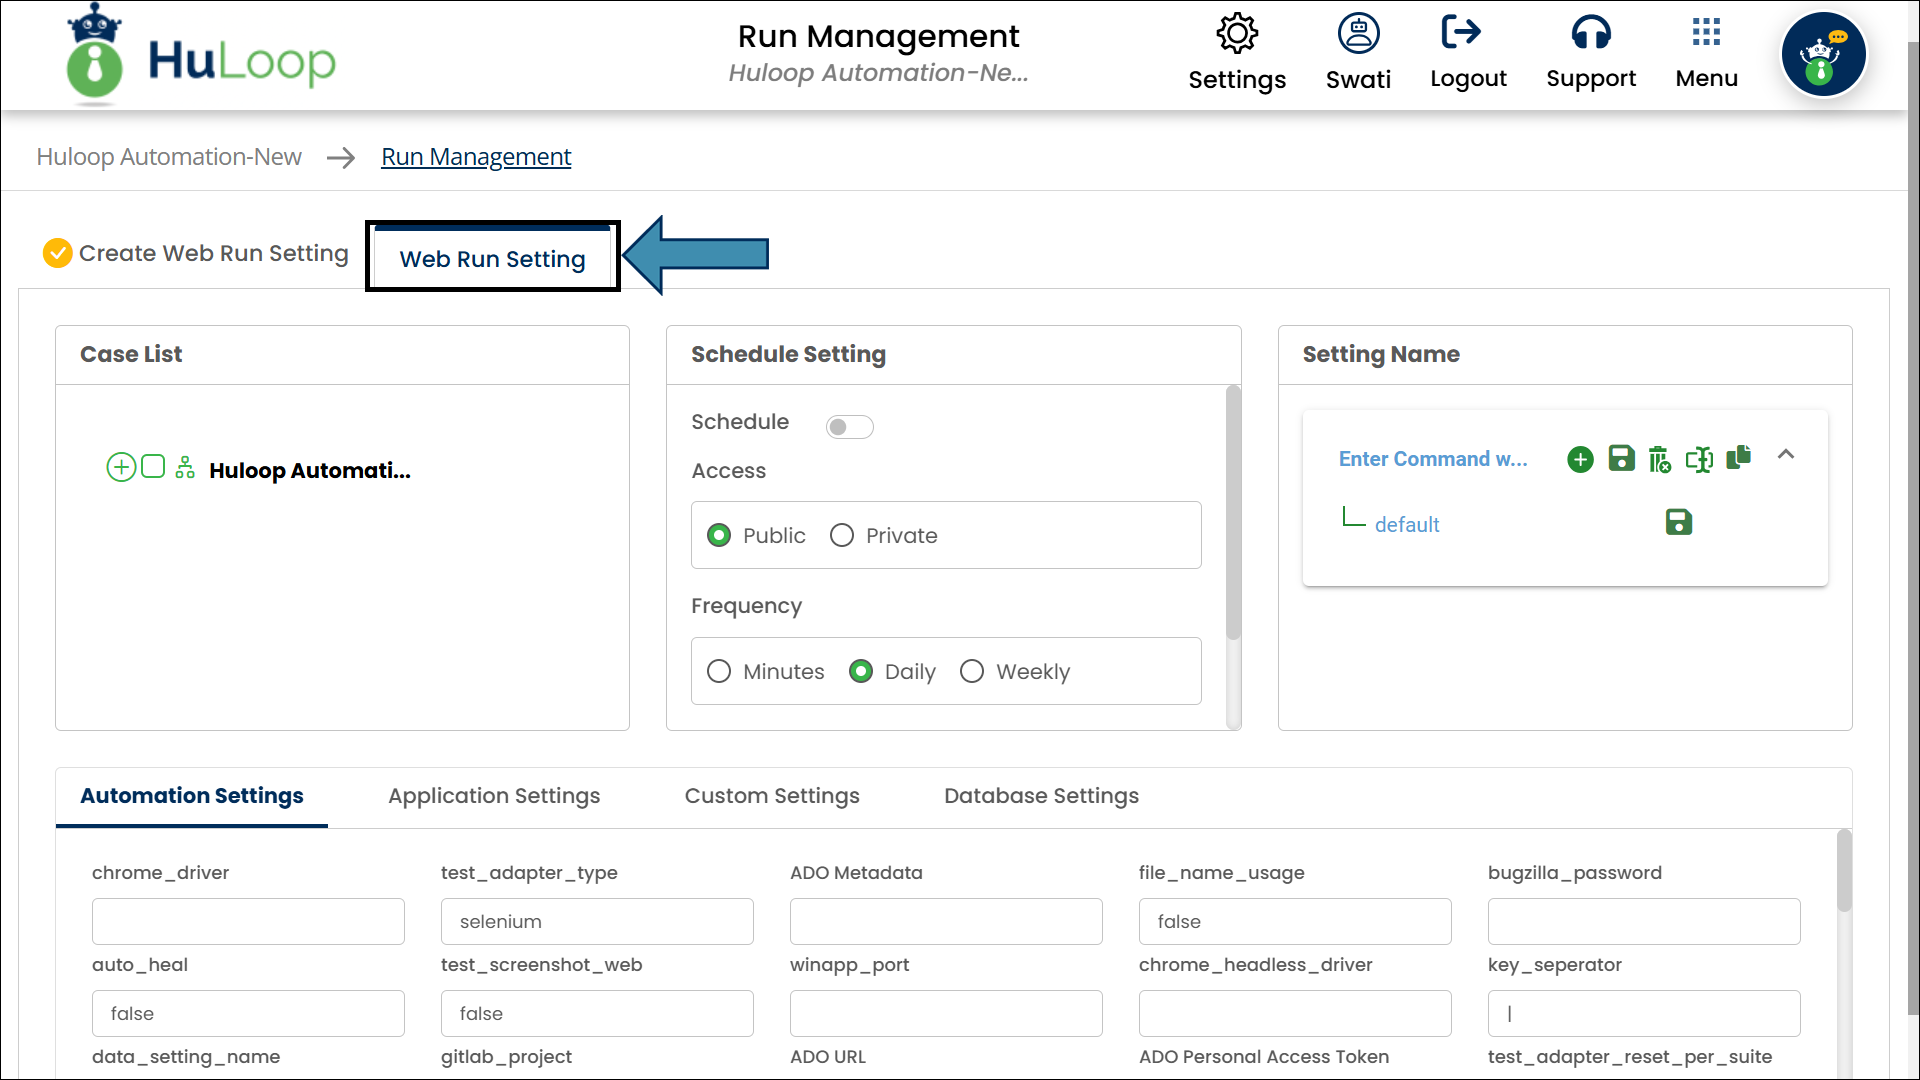
- Update the Automation Settings, Application Settings, Custom Settings, and Database Settings if needed for this execution.
These settings allow you to modify specific configurations for this run.
Changes made here will apply only to this execution and will not affect the original project configuration.
Also, all these settings are mapped to the original project settings which user can change here if required.
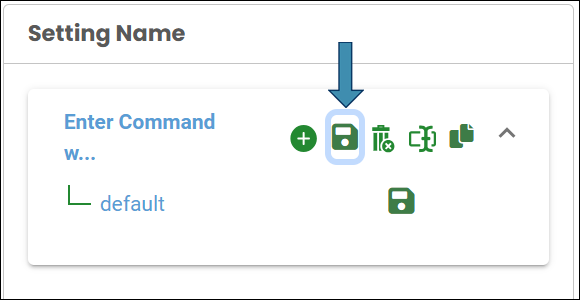
- Save the Run Setting by clicking the Save icon, as shown.
Generating Console Execution id
To trigger an execution from the command line, you need to create Console Execution id. This includes key details like the project name, Run Setting, and report preferences that the CLI tool will use during execution. Follow these steps to create Console Execution id:
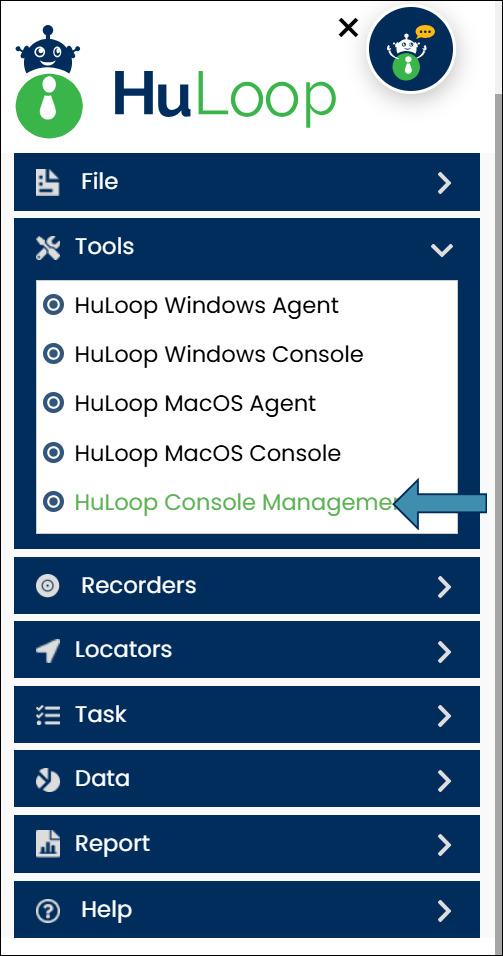
- Click Menu and expand the Tools
- Select HuLoop Console Management.
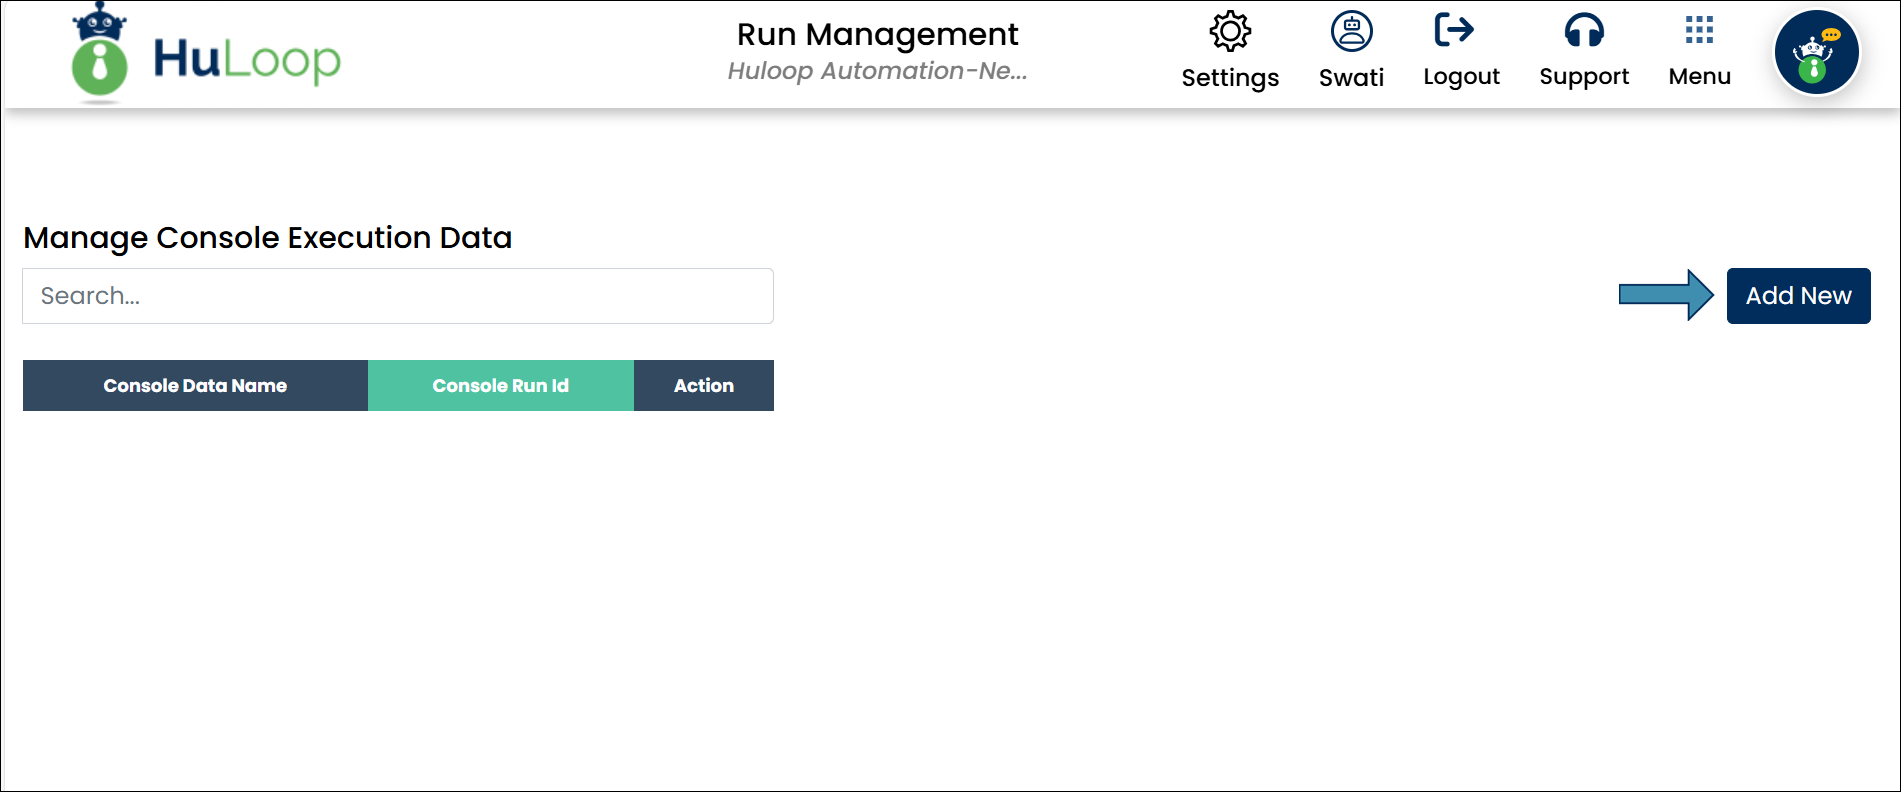
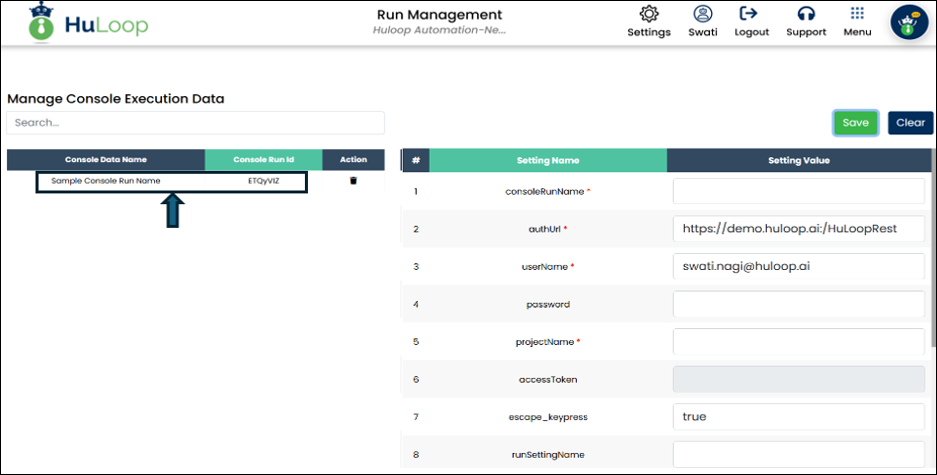
- You’ll see the following page where you can create and manage the console execution data.
- Click Add New.
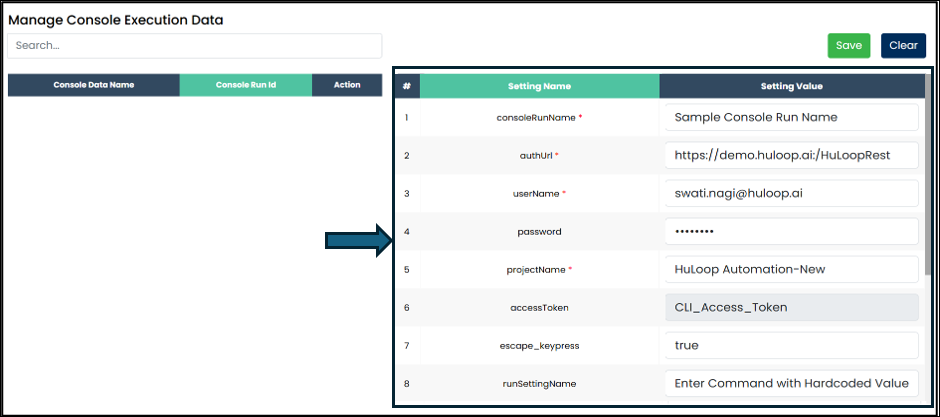
- A pane will appear on the right where you can define different settings. You will observe that some settings values are auto-populated, while you need to define the values for some.
- Complete the
- consoleRunName: Any name for this execution.
- authUrl: Auto-filled authentication URL.
- userName: Auto-filled logged-in username.
- password: Password for the logged-in user.
- accessToken: Another way of authentication. You can use an access token instead of the password. Learn how to create and use an access token.
- projectName: Project containing the Run Setting.
- escape_keypress: Auto-filled as ‘true’.
- runSettingName: Name of the created Run Setting.
- sleepInterval: Enter numeric value (milliseconds).
- detailReport: Set to true to receive a detailed Excel report.
- local: Set to true to sync data locally.
- emailID: Email address to receive the detailed report.
- notificationEmailID: Email address to receive execution notifications.
- consolidatedReport: true or false.
- consolidatedProjectReport: true or false.
- Click Save. The Console Run ID will be listed on the left panel.
Creating a Run Setting and Console Execution Data is typically a one-time setup. Even if you update cases or automation content, those changes are automatically reflected in the execution.
Using Access Tokens for CLI Execution
HuLoop CLI supports authentication using an access token. This method is more secure and flexible than entering a password. When generating Console Execution Data, you can use an access token instead of filling in the password field.
Creating an Access Token
To create an access token for your user account:
- Sign in to your HuLoop account and open the Automation you want to work on.
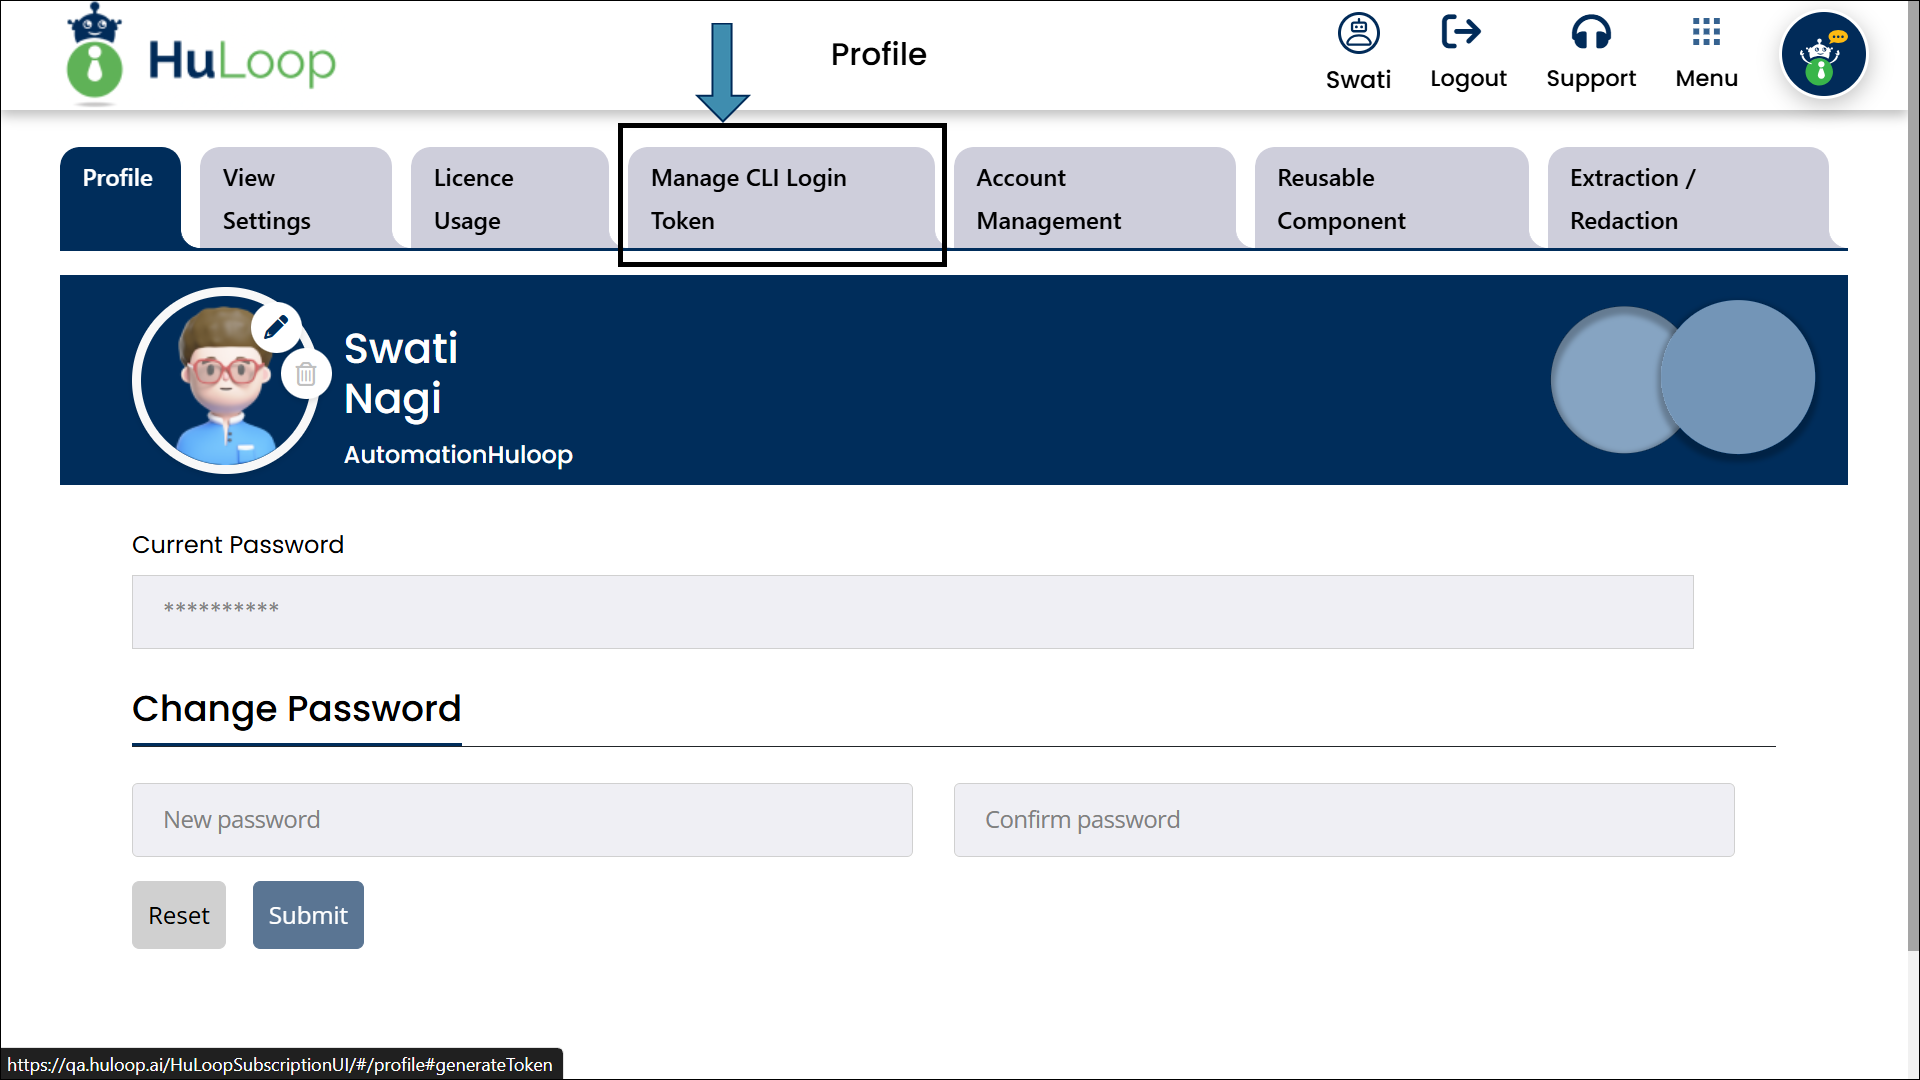
- Click your profile icon in the top-right corner of the screen.
- On the profile page, go to the Manage CLI Token tab.
- Click the Generate Token button.
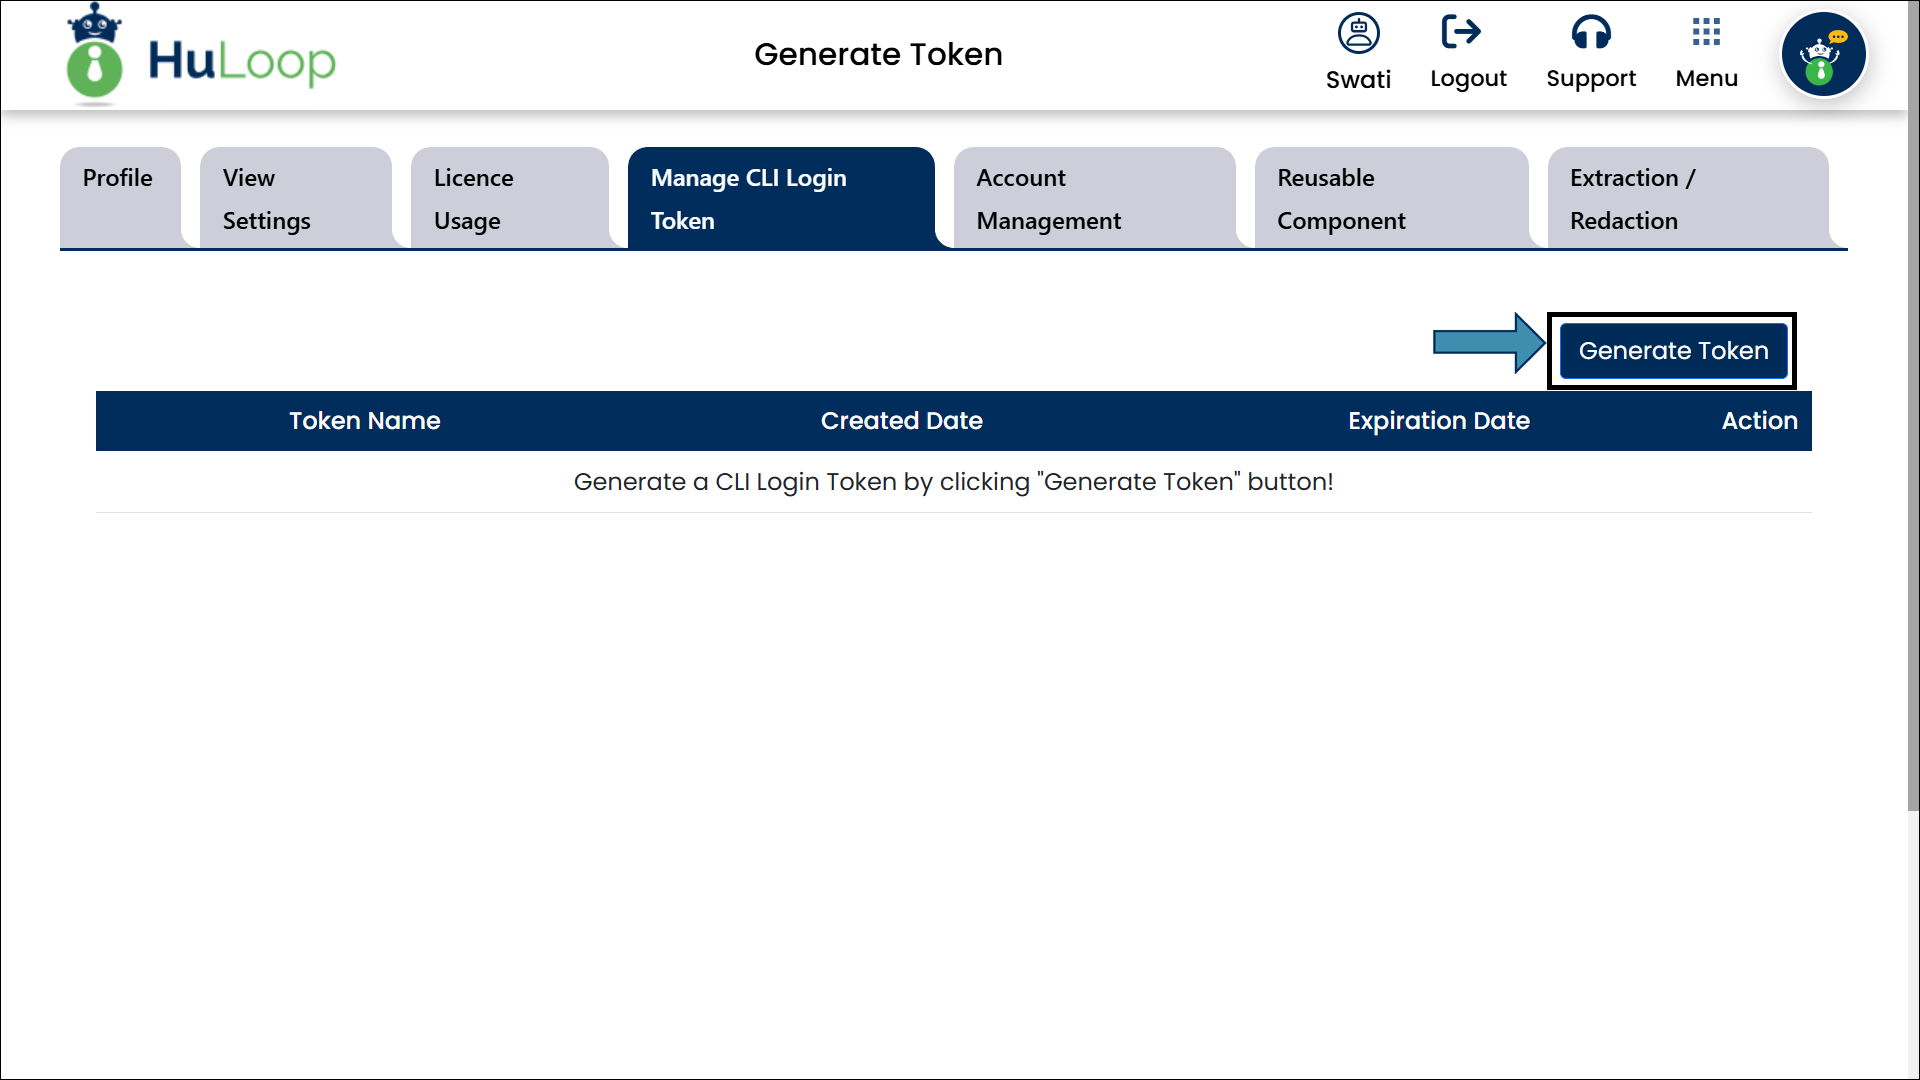
- A pop-up window appears. Use the calendar icon to set an expiration date for your token.
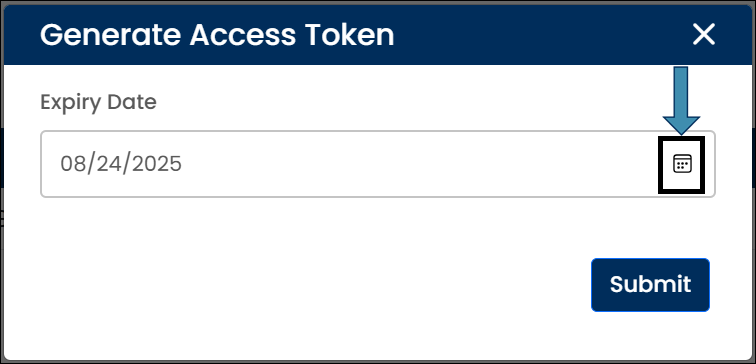
- Click Submit button.
A modal window will appear showing the token. Close the window by clicking Done.

After closing the window:
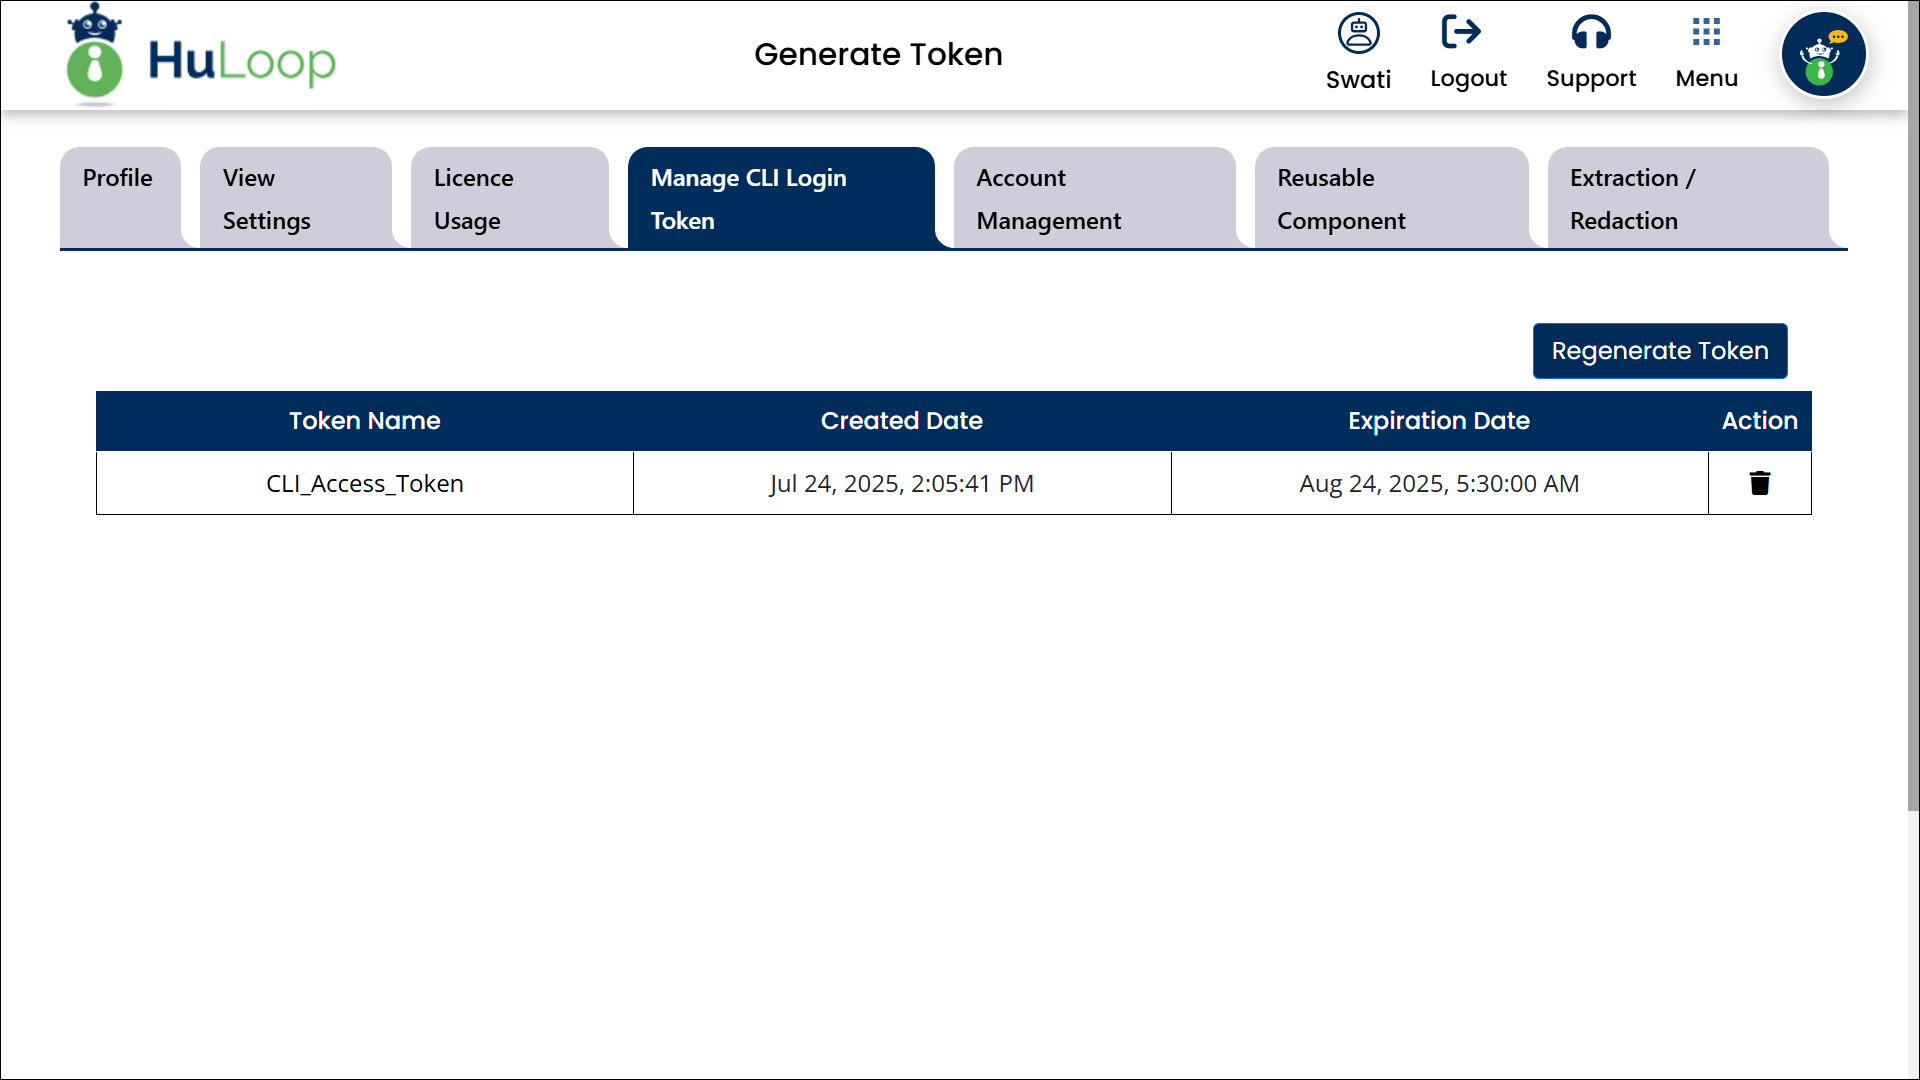
- The token will appear in the Manage CLI Token tab.
For your security, treat your access token like a password. Do not share it.
Using the Access Token in Console Execution Data
Once you’ve generated the access token:
- Go to the Manage Console Execution Data page.
- The token will get auto-filled in the accessToken field.
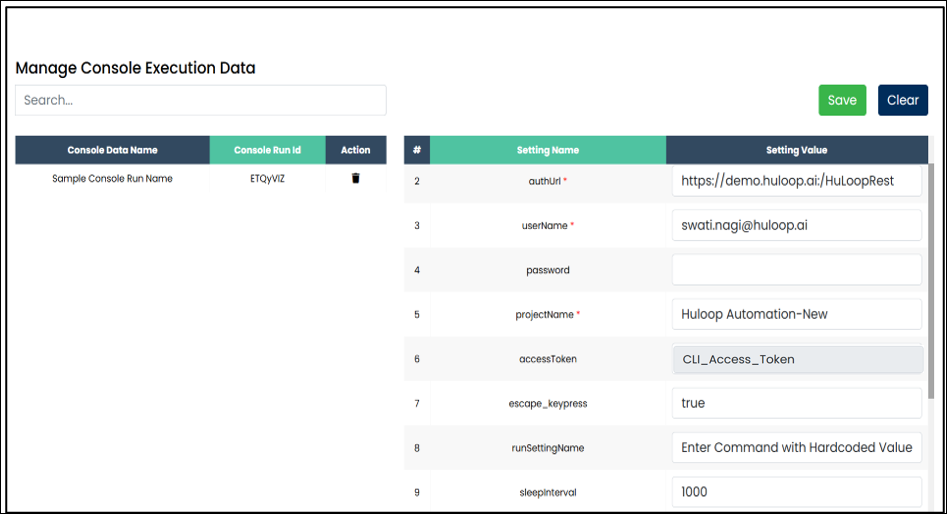
- Leave the password field blank.
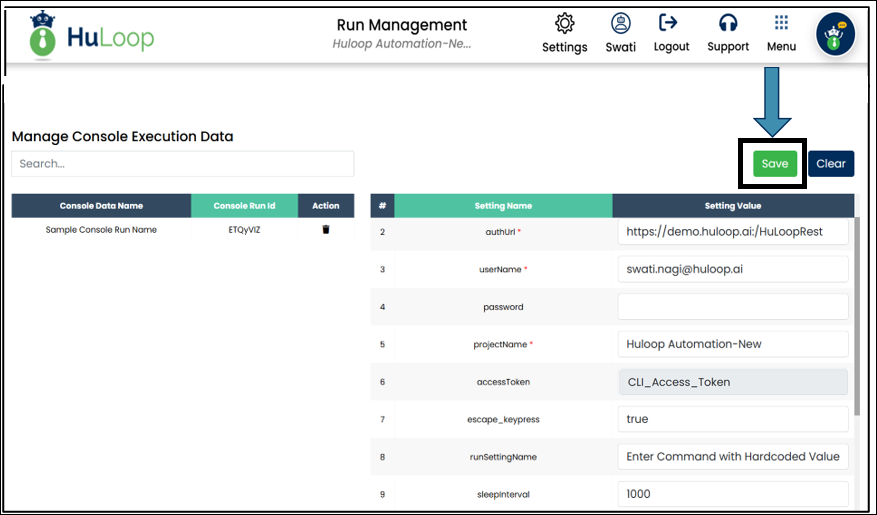
- Click Save button.
Your CLI execution is now configured to use the access token.
Important Notes:
- The access token is user-specific. Each user must generate their own token.
- It is recommended to use an access token instead of your password for improved security and flexibility.
- If both an access token and password are entered, the password will be used.