Defining the Test Data in HuLoop
- Login to your HuLoop Account.
- Open the Automation project you are working on.
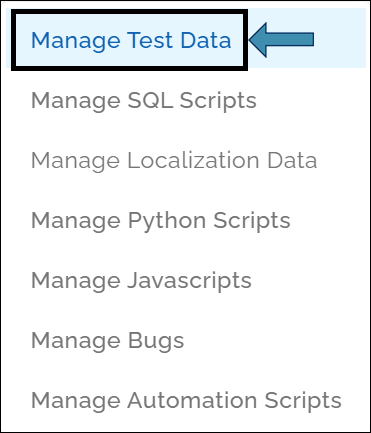
- Expand the Data option and select Manage Automation Scripts:

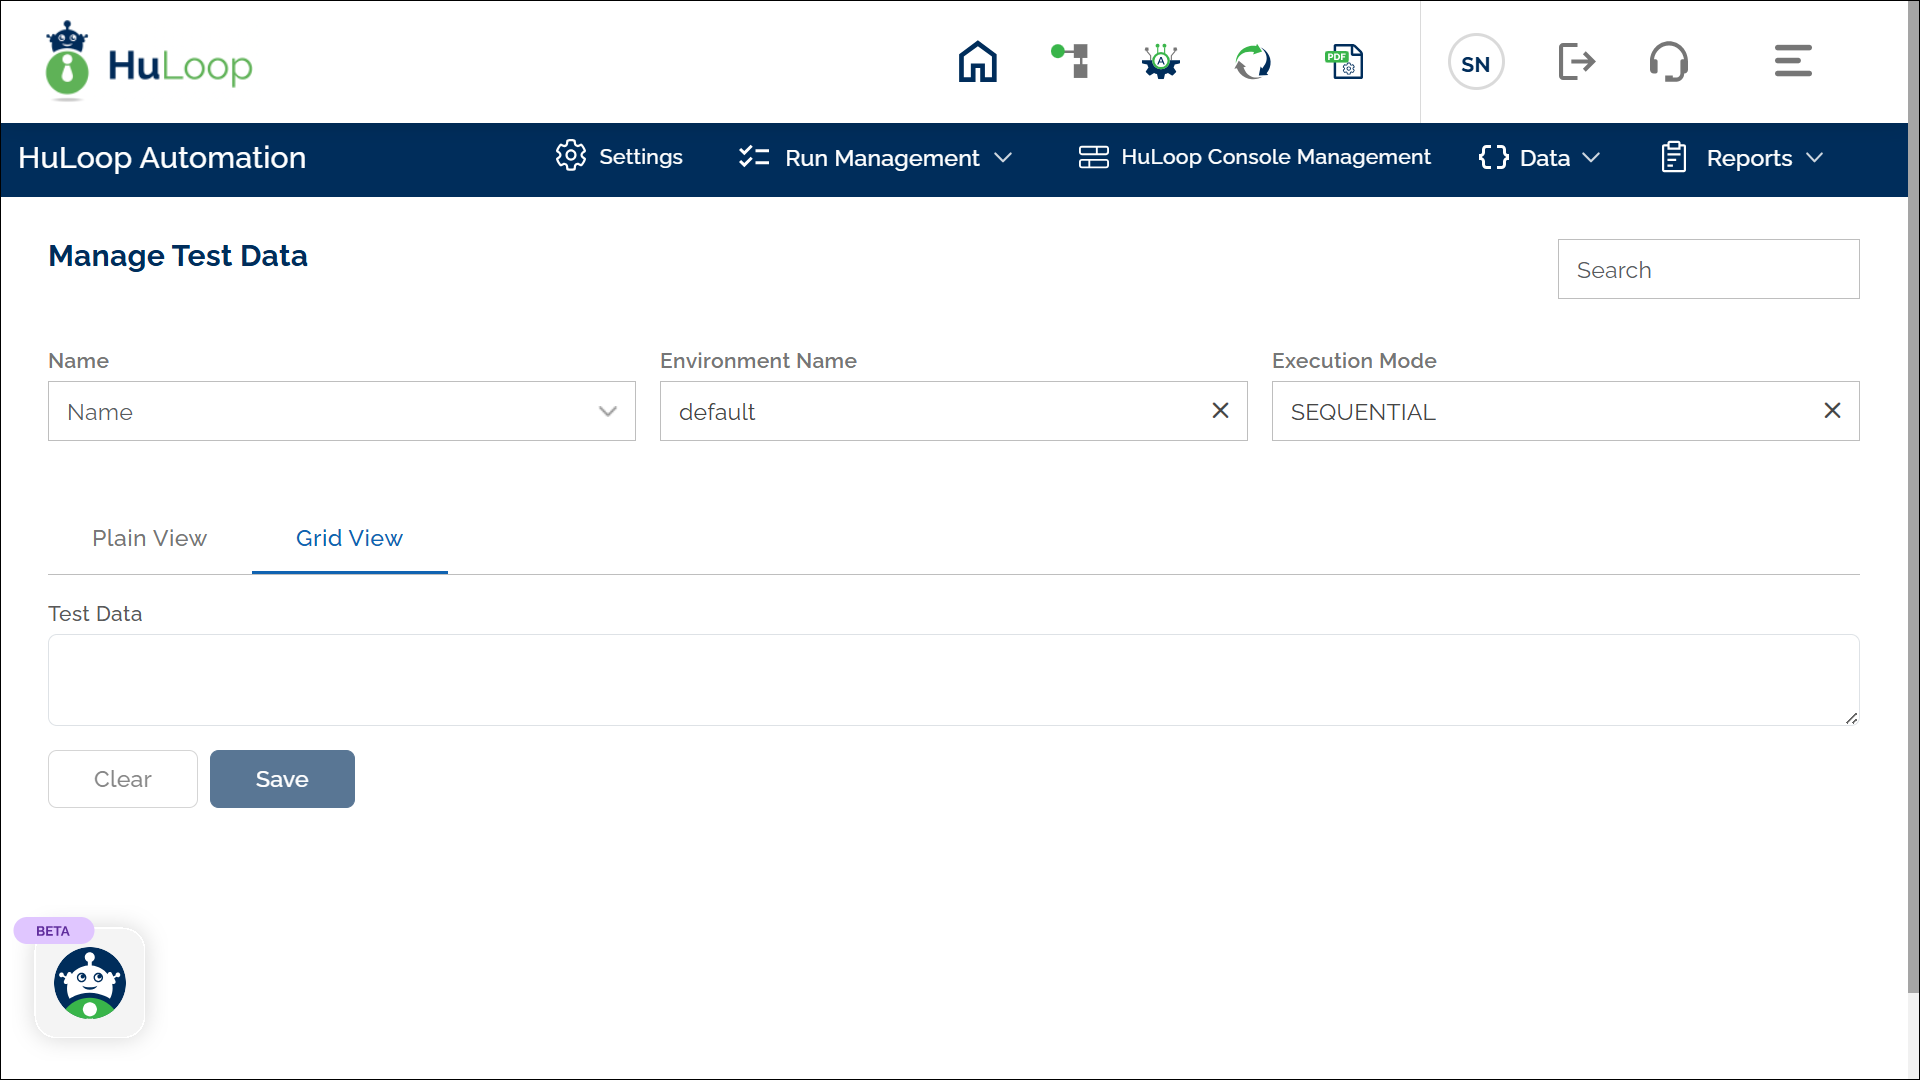
- You will see the Manage Test Data page:
To define the test data, follow these steps:
On the Manage Test Data page:
- Enter a Name for the test data in the Name field.
- Keep the Environment Name value as default.
- Keep the Execution Mode to Sequential.
- In the Test Data text area, define your test data using key-value pairs.
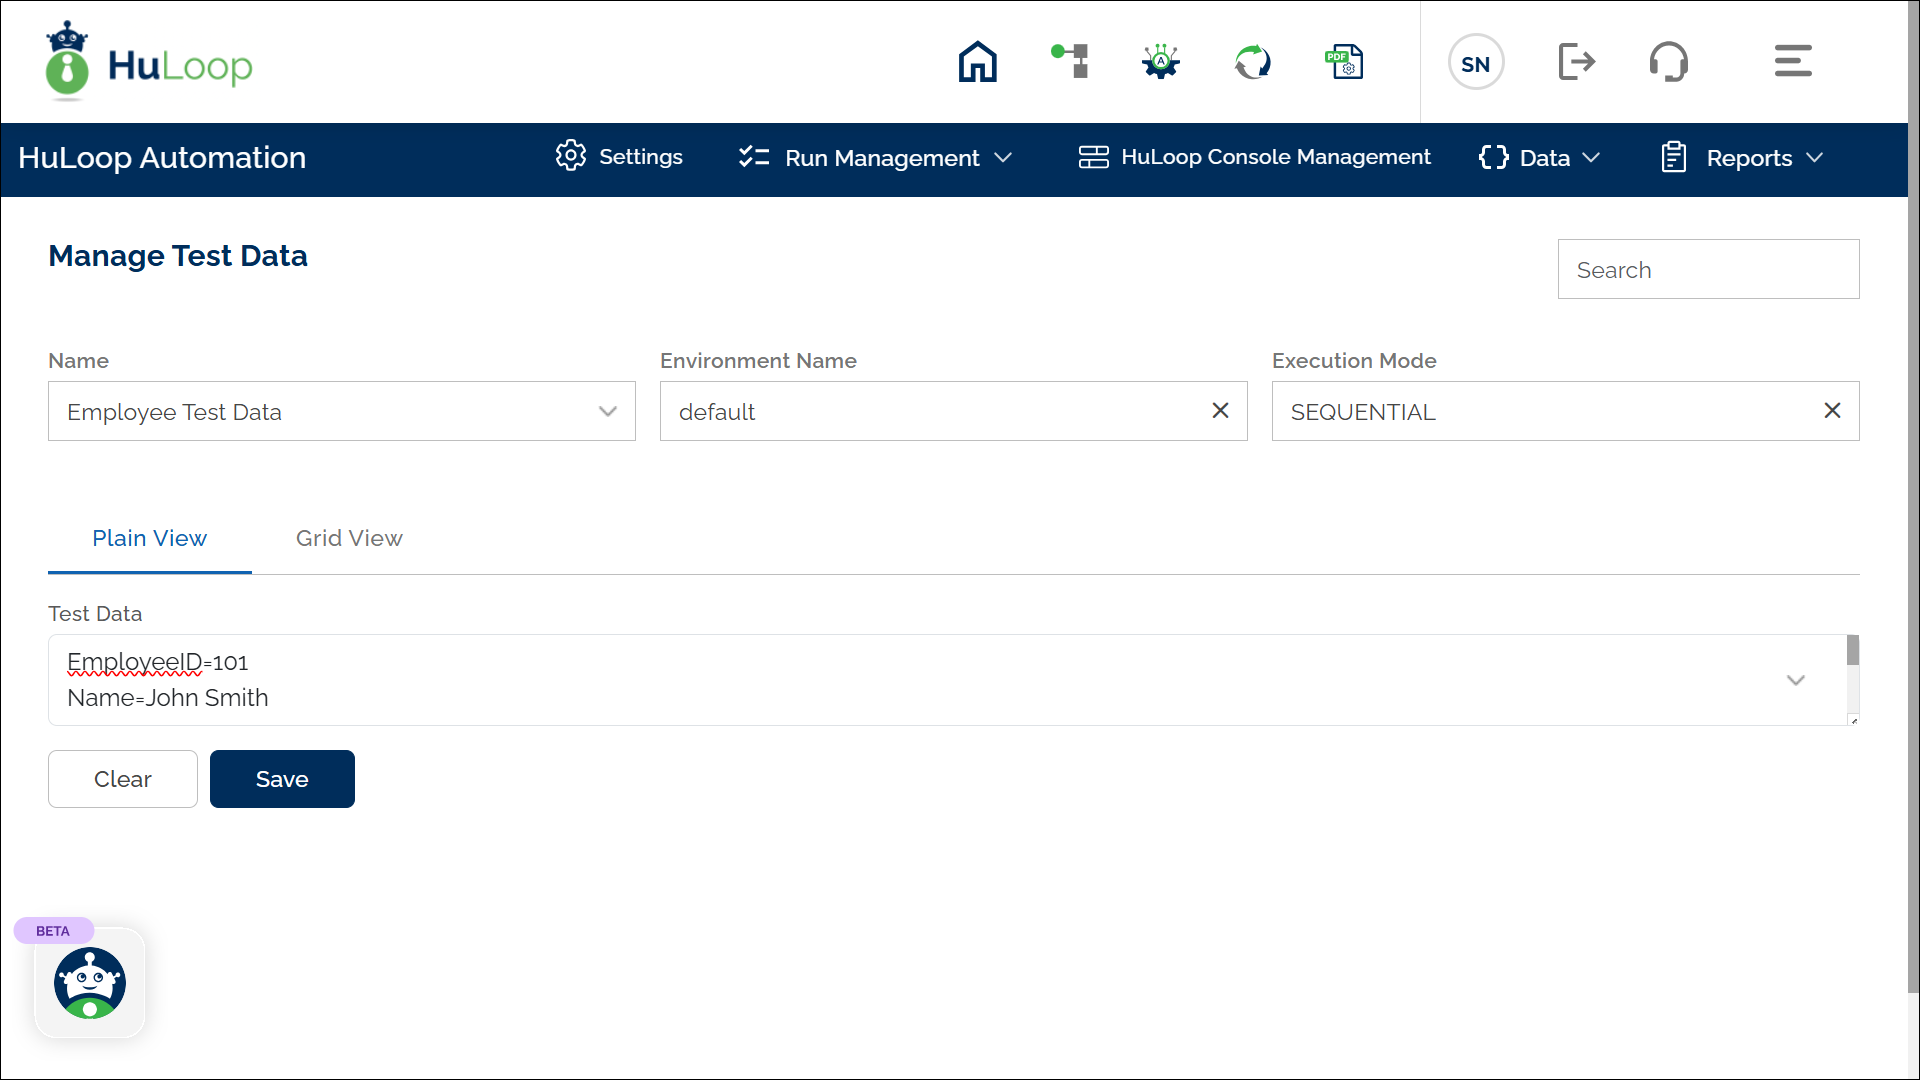
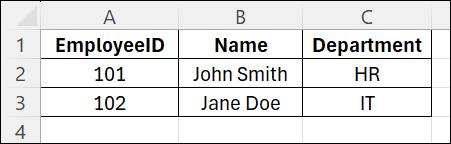
For example, if you need to define the following test data for employee details:

You should define it in HuLoop Test Data Format as shown:
EmployeeID=101
Name=John Smith
Department=HR
Salary=60000
Joining Date=23-09-2022
Note:
- Avoid using commas in numerical values (e.g., Salary=60000 instead of Salary=60,000), as commas are interpreted as separators for multiple values.
- If you need to include a comma within a value, enclose the entire value in double quotes (e.g., Address=”123, Main Street, NY”).
- Click Save to store the test data.
You can modify test data in the following ways:
- Modify Test Data in Plain View
- Modify Test Data in Grid View
- Modify Test Data by Importing an Excel File
Modify Test Data in Plain View
- Go to the Manage Test Data page and you will see a list of test data (if any) under the Manage Test Data section, as shown.
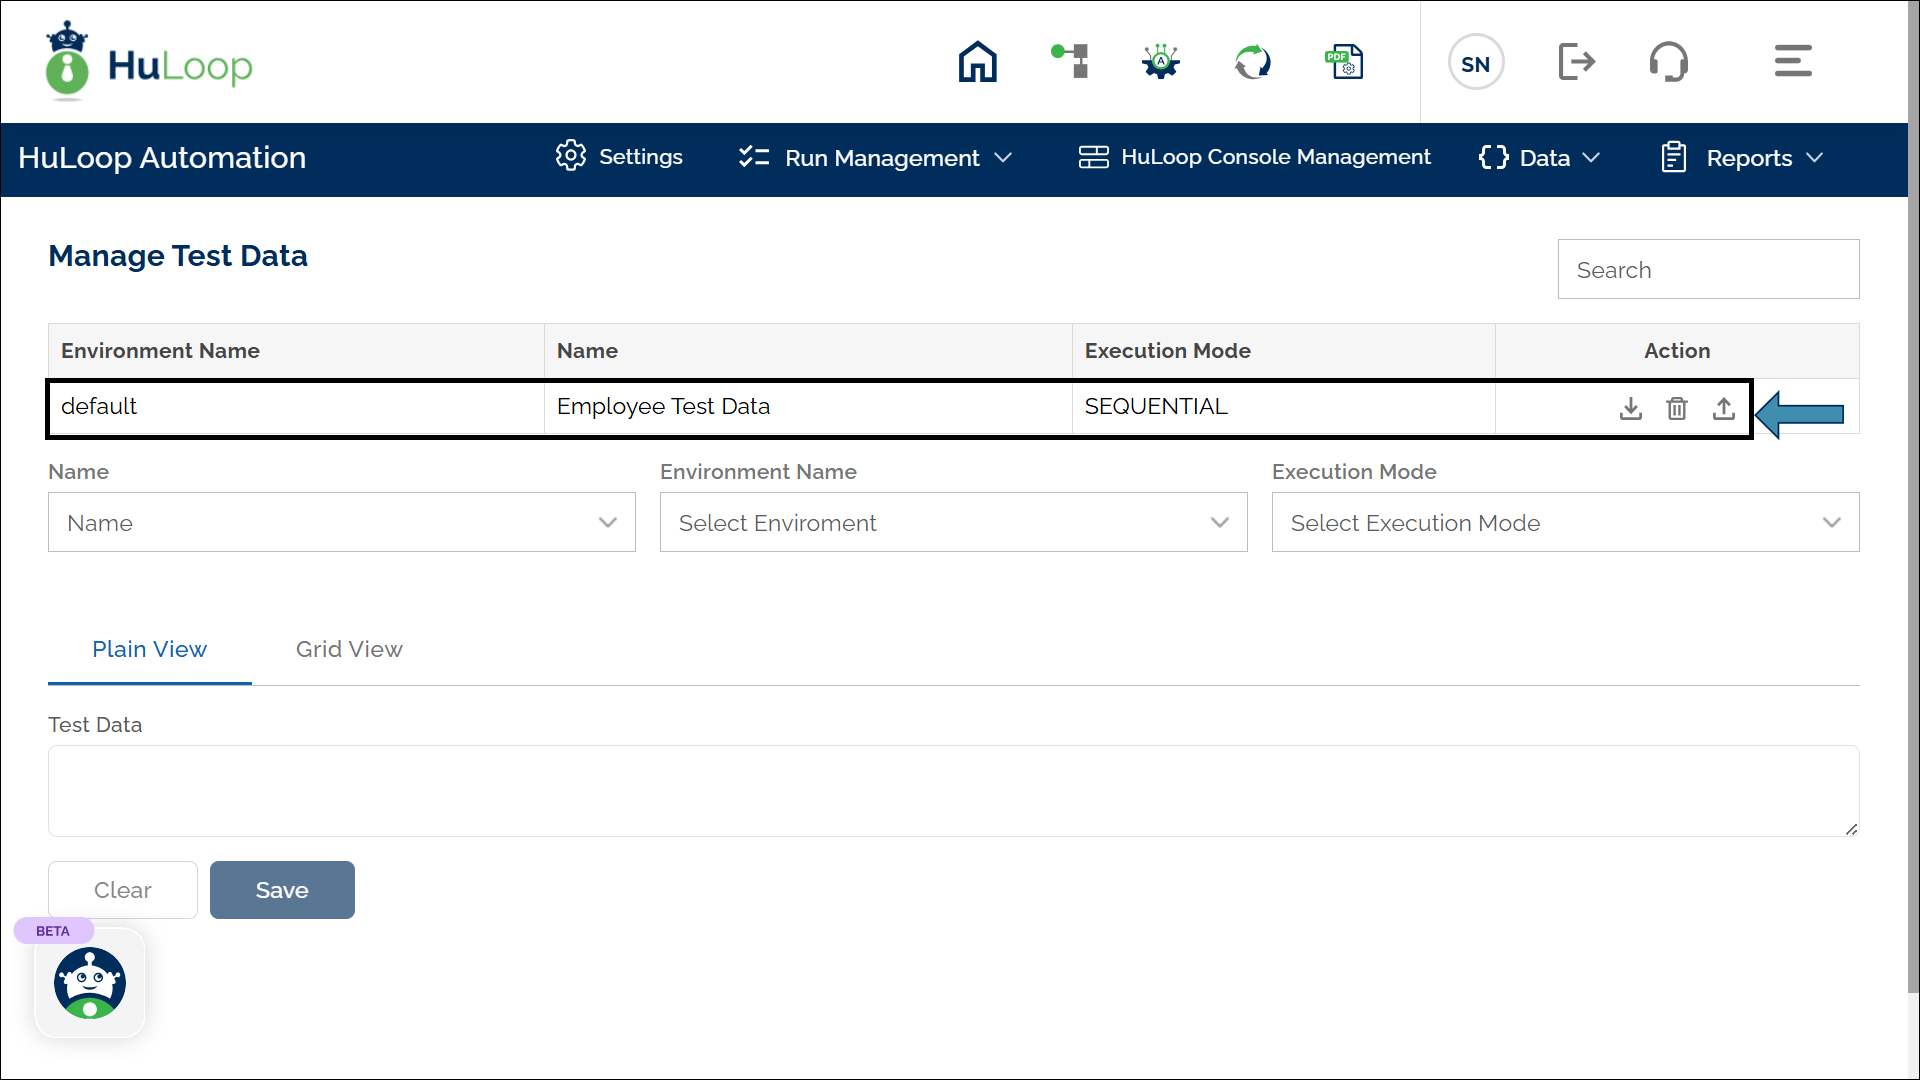
- Click the desired test data name. It will appear in the Test Data section at the bottom of the screen:
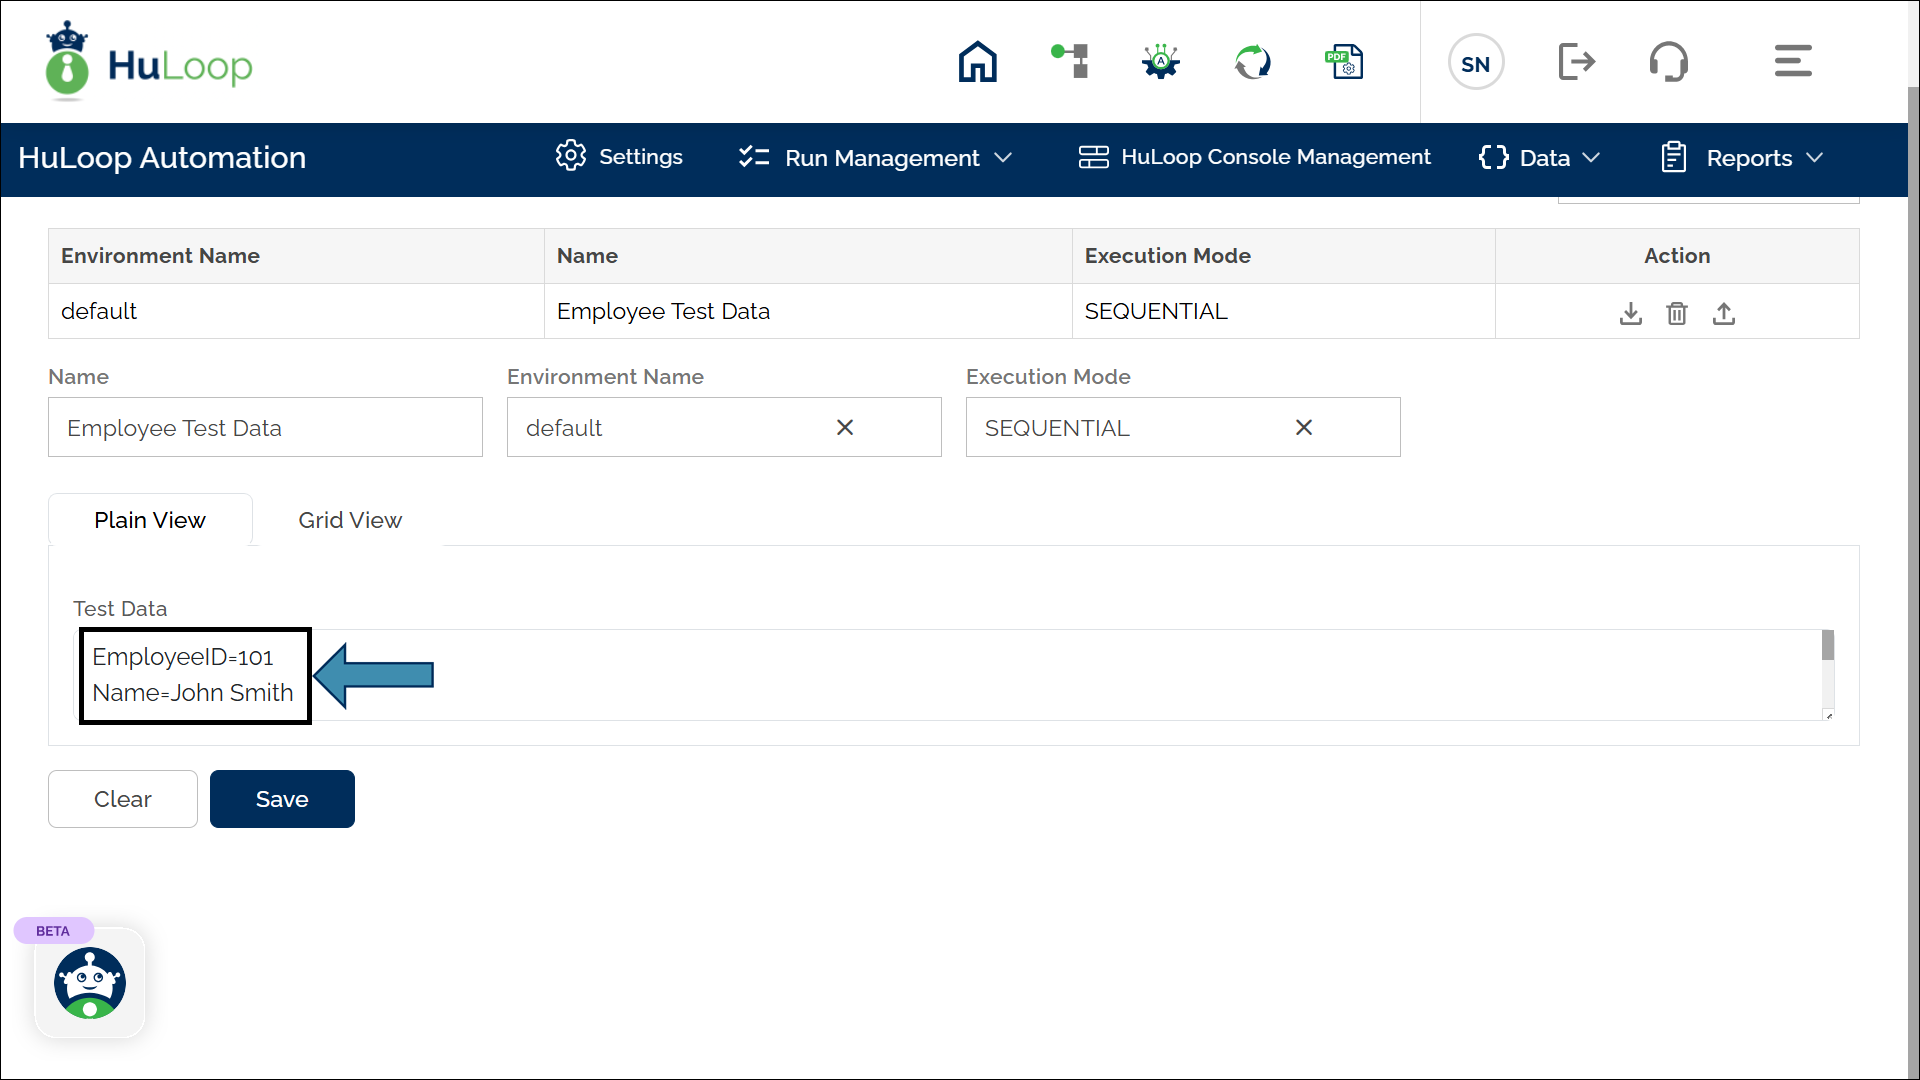
- Modify the values as needed.
- Click Save to apply the changes.
Modify Test Data in Grid View
- Go to the Manage Test Data page and click the test data name you want to modify. It will appear in the Test Data section at the bottom of the screen.
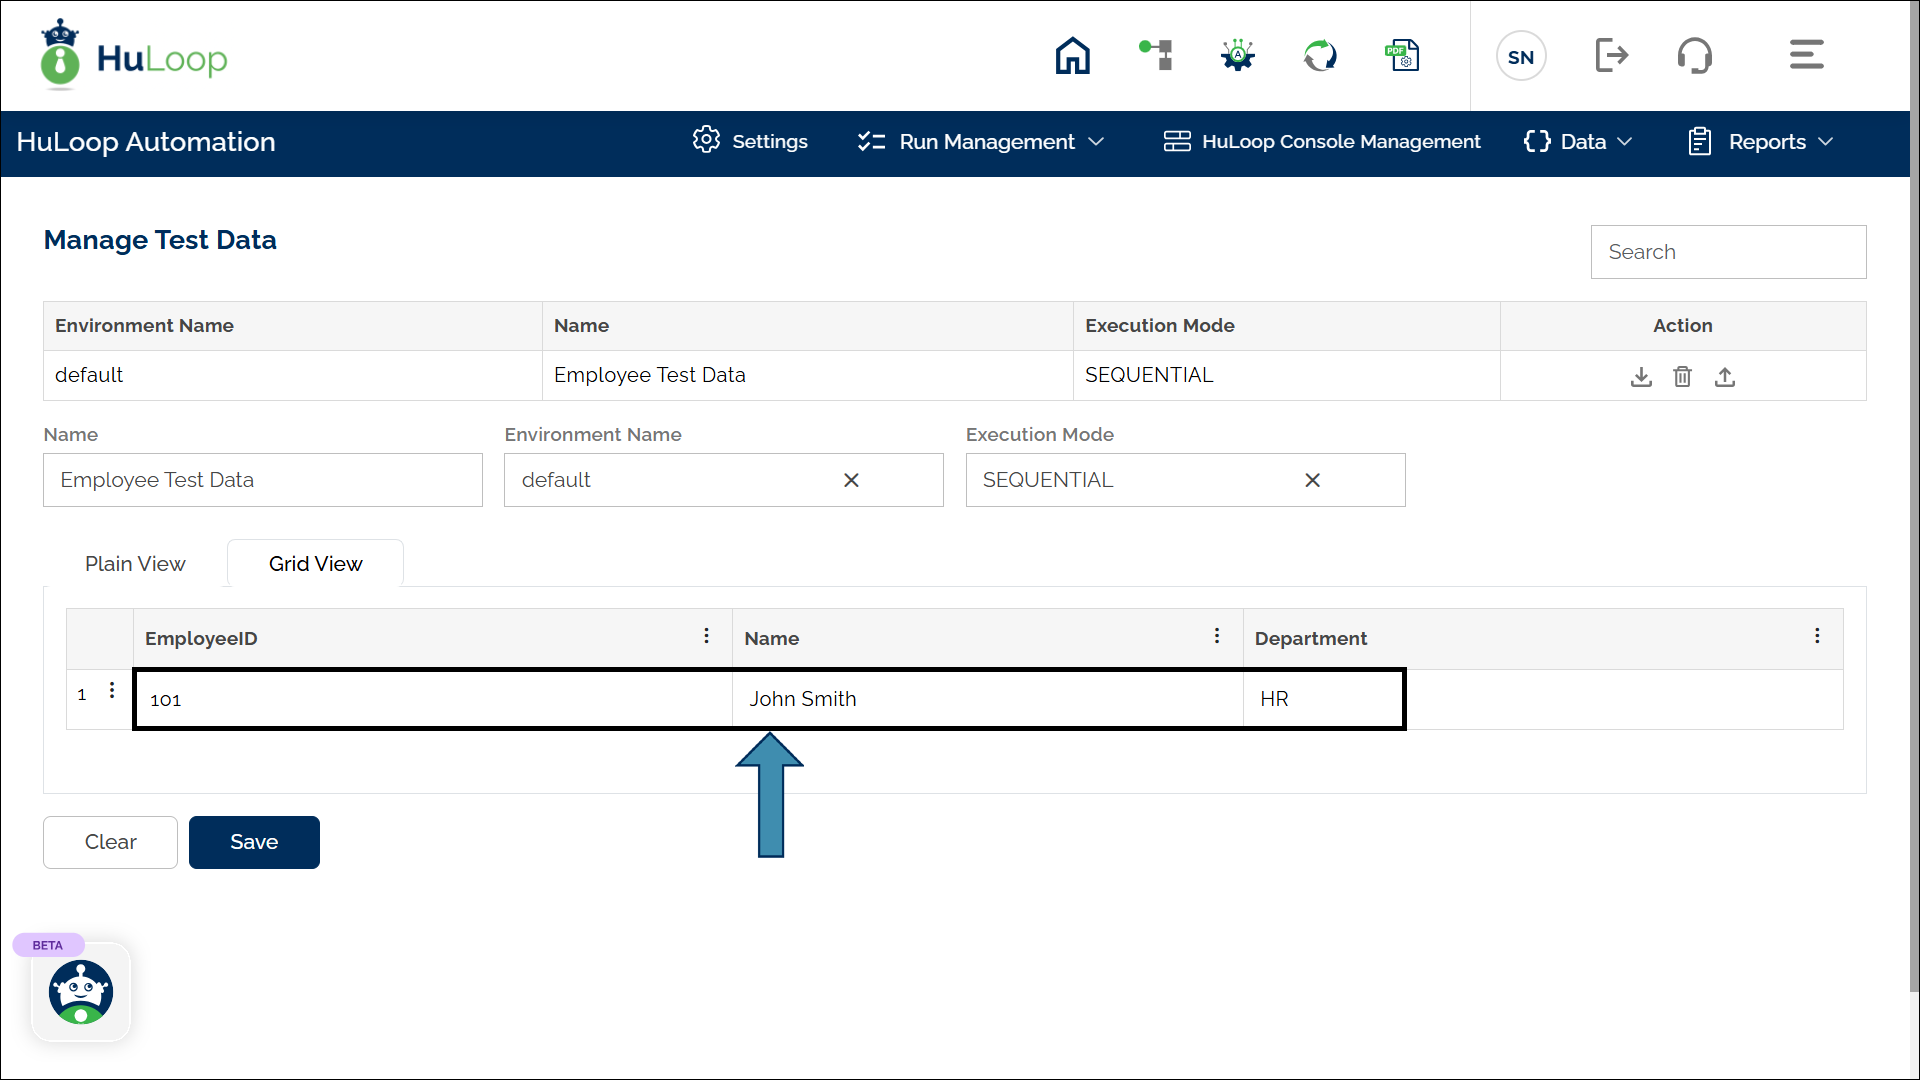
- Click Grid View to display the data in a table format.
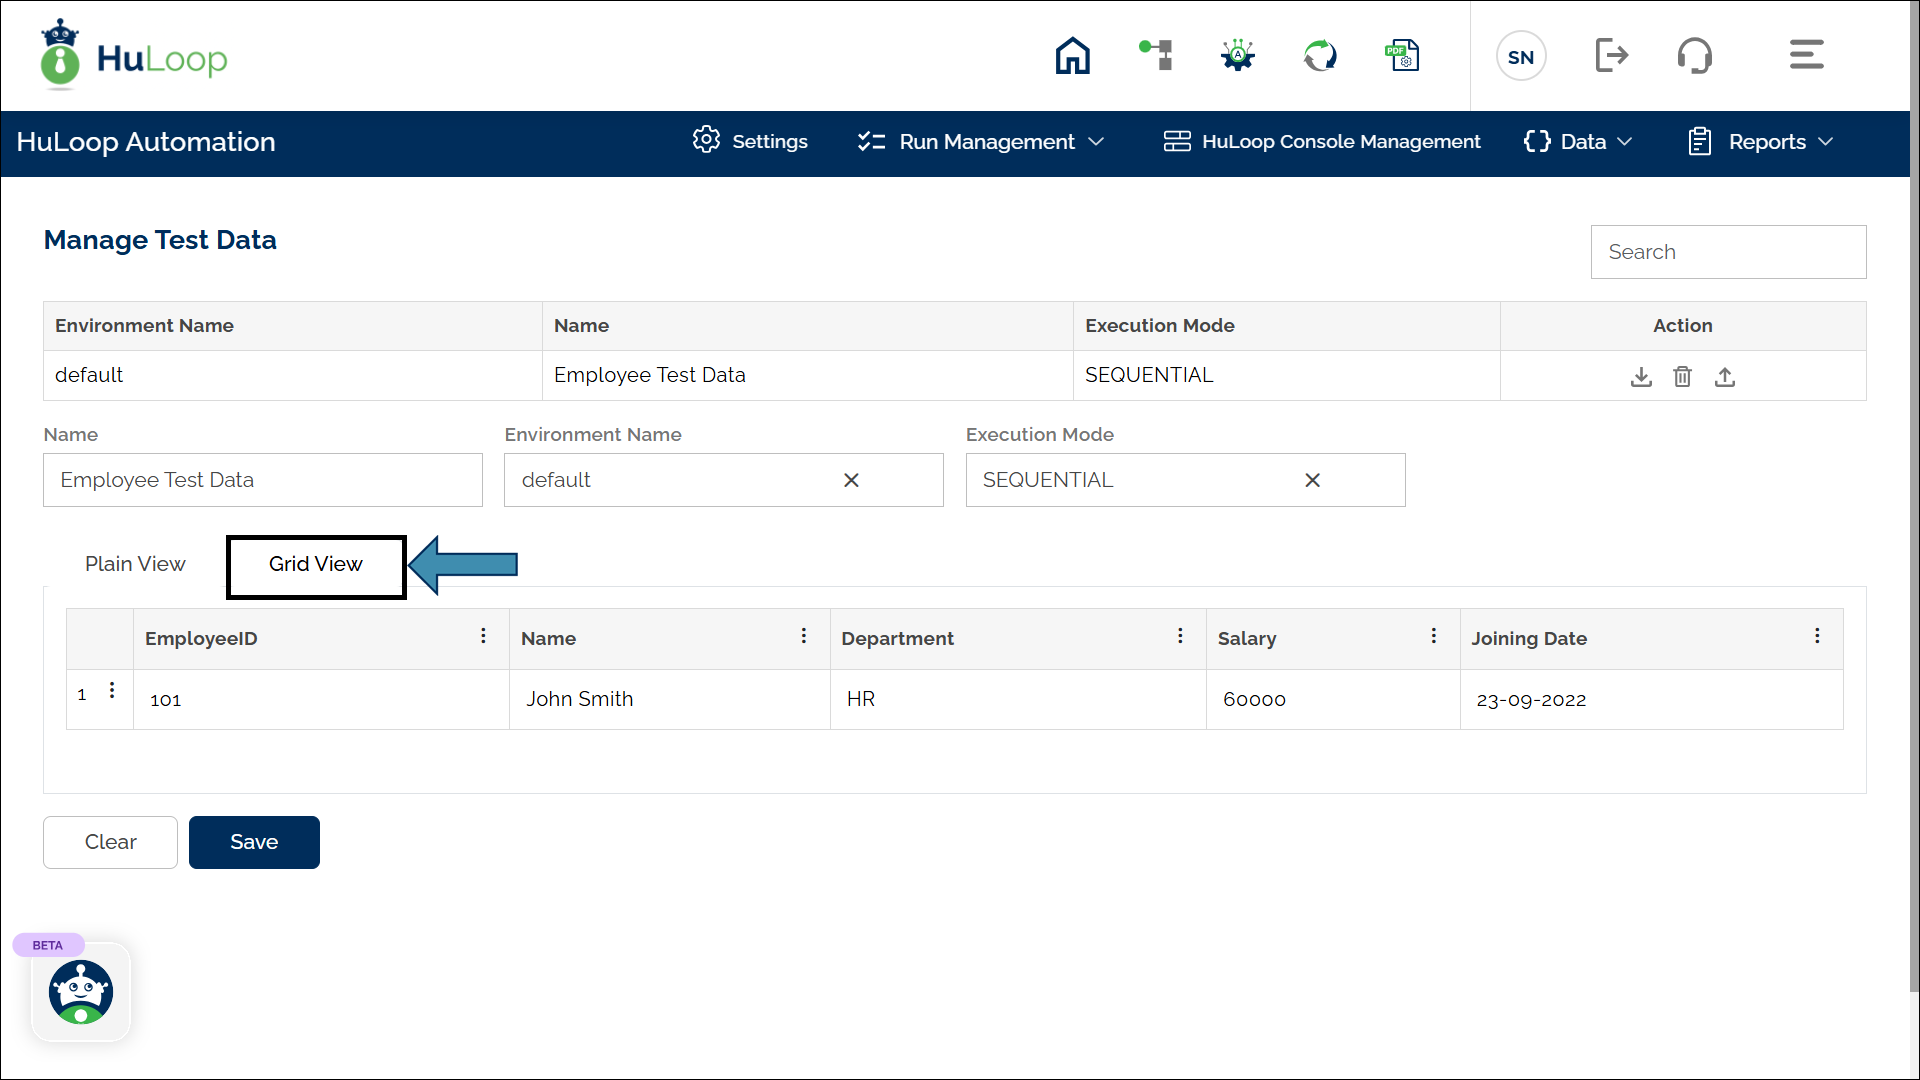
- Each variable appears as a column header, with values as row entries.
- Click on the variable value and it will become editable. Make the changes and click Save button.

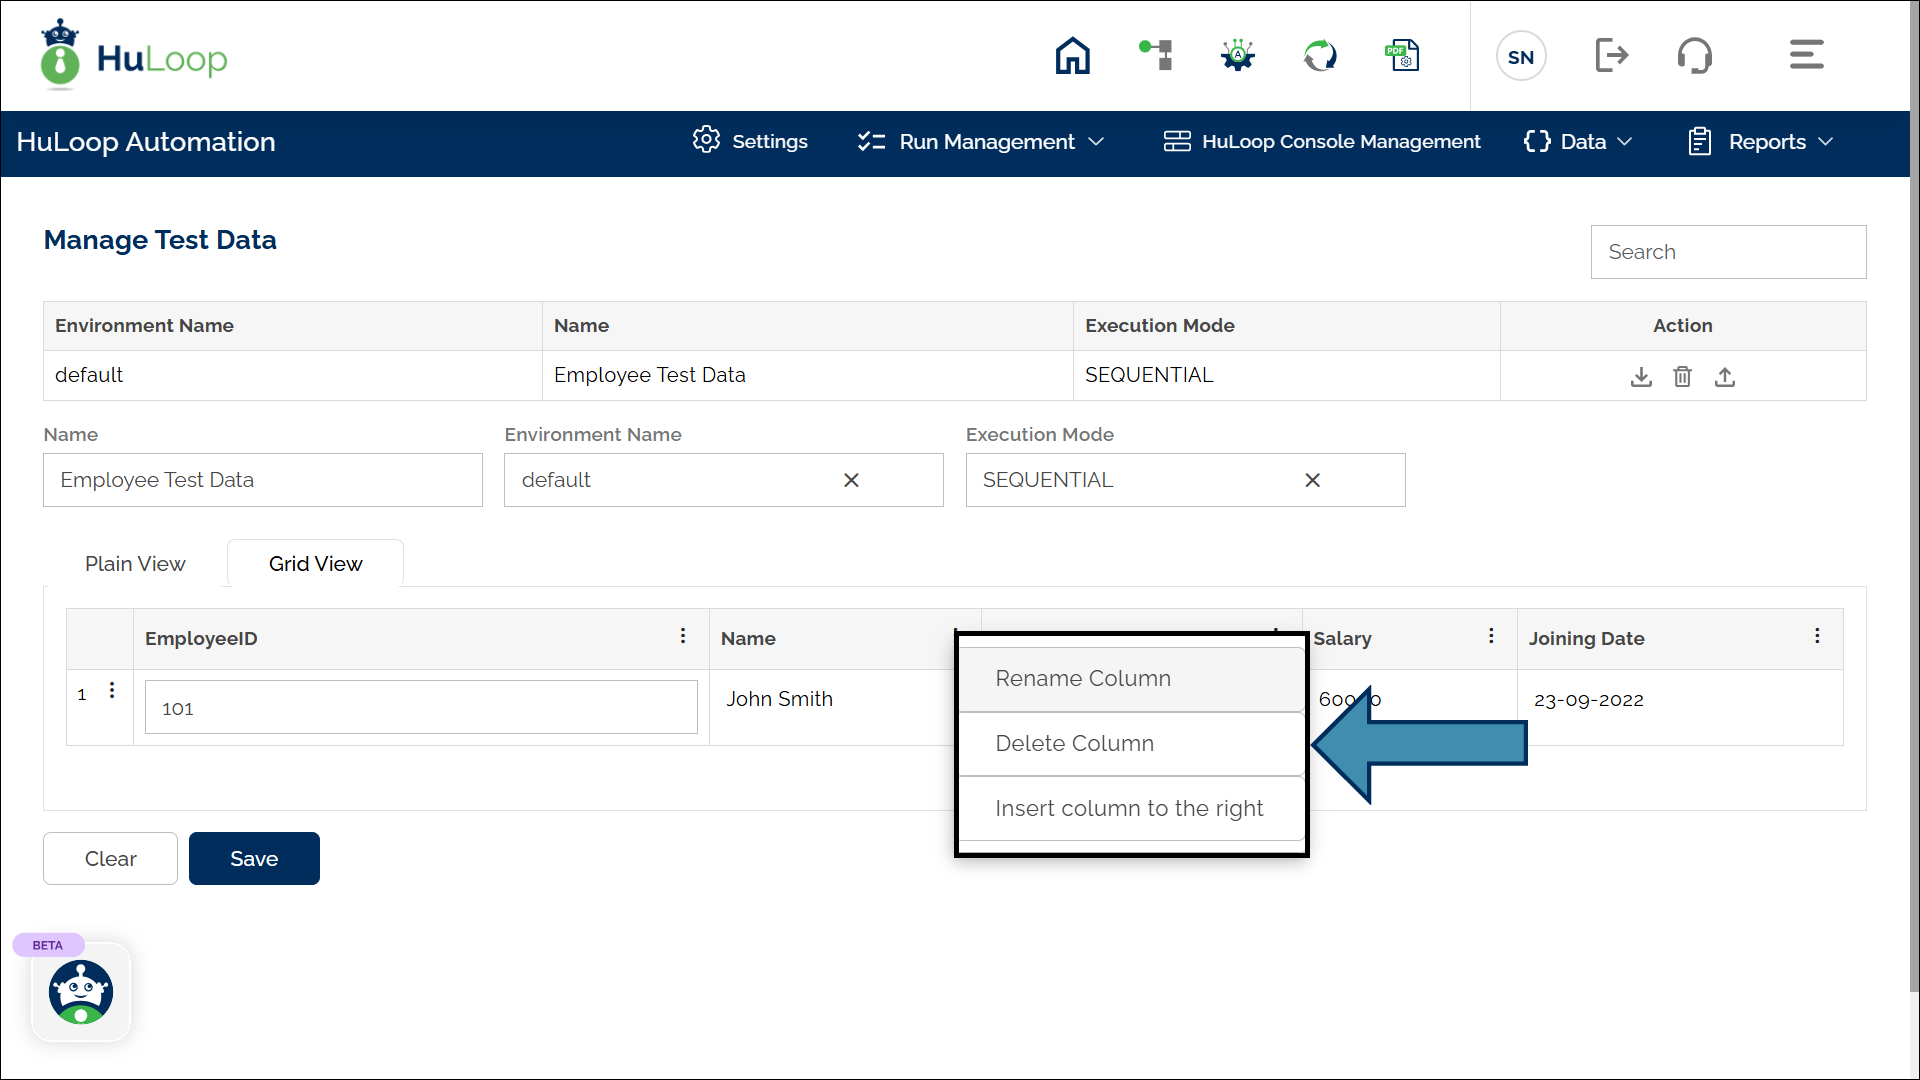
- Click the three dots next to a row to insert or remove a row.
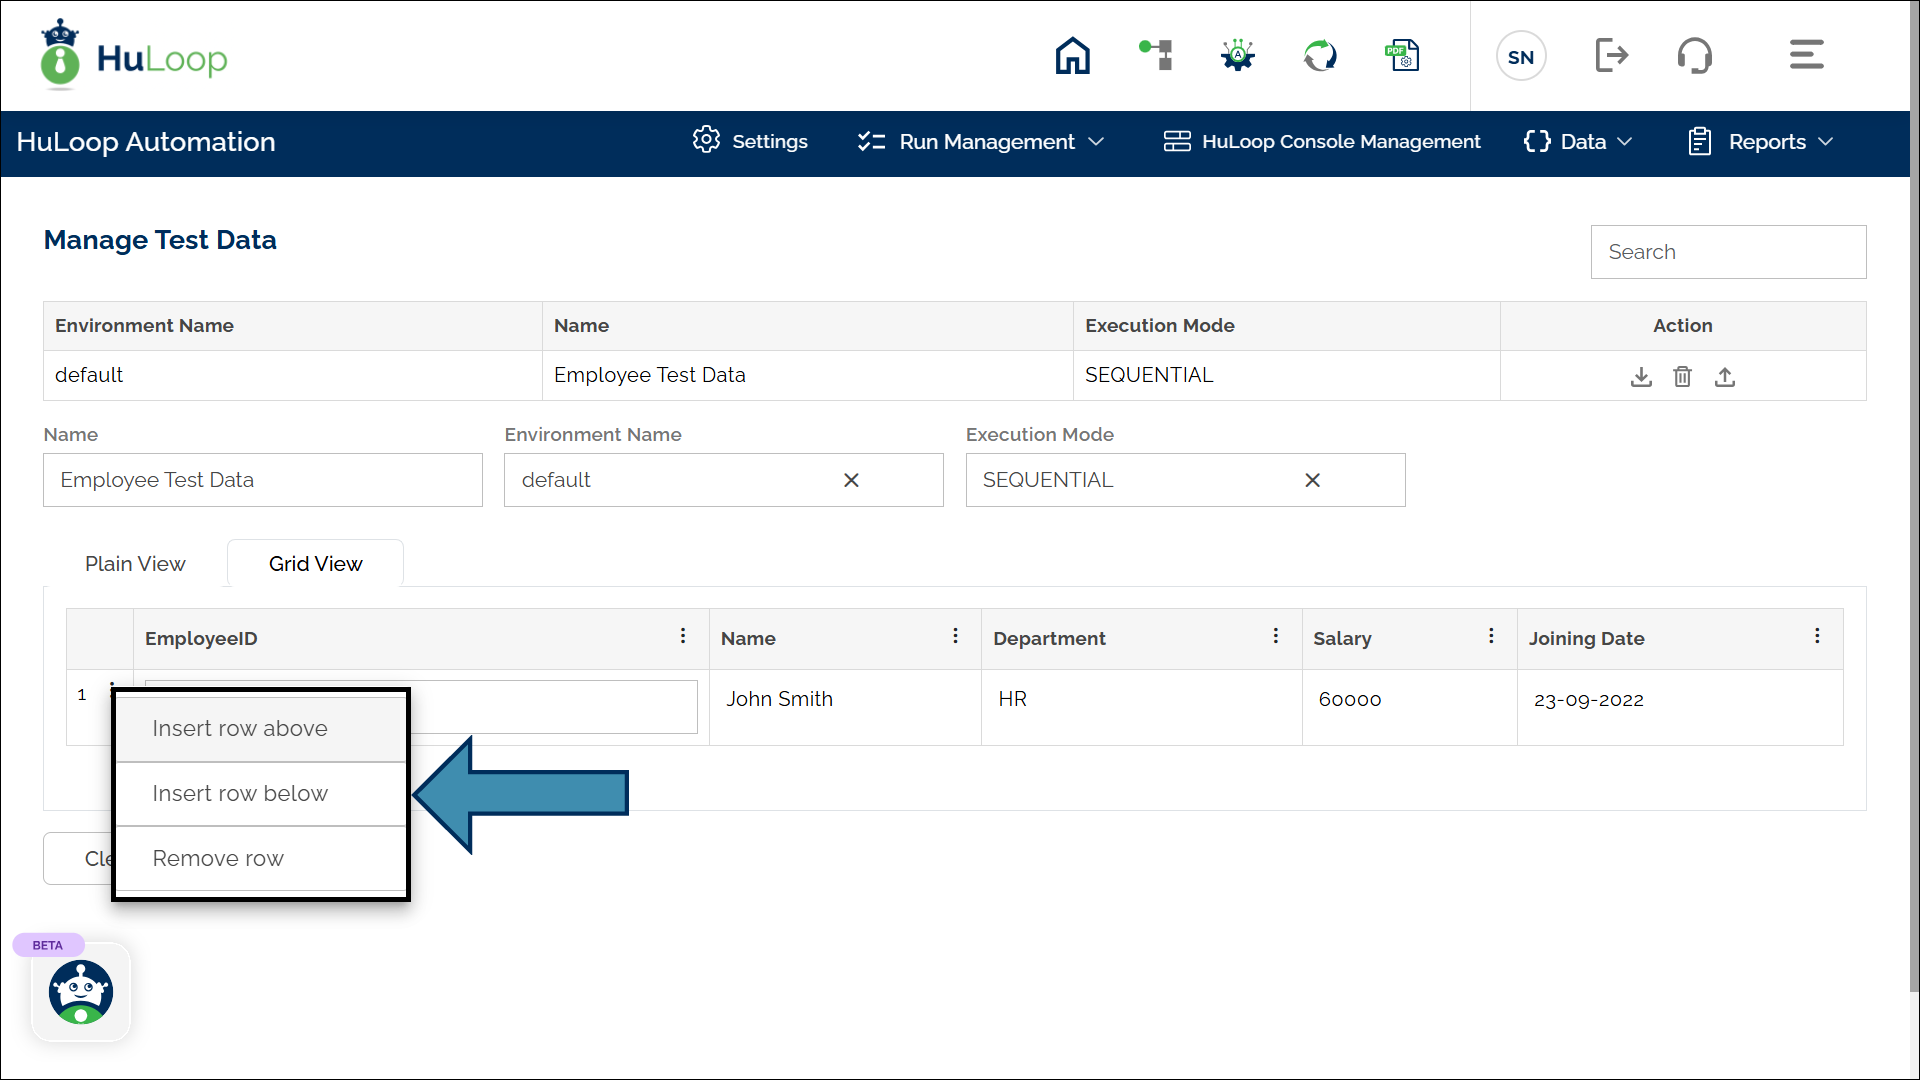
- Click the three dots next to a column name to rename, delete, or insert a new column.
Modify Test Data by Importing an Excel File
- Create an Excel file containing test data formatted like Grid View (column names as variables and row data as values).
- Go to the Manage Test Data page.
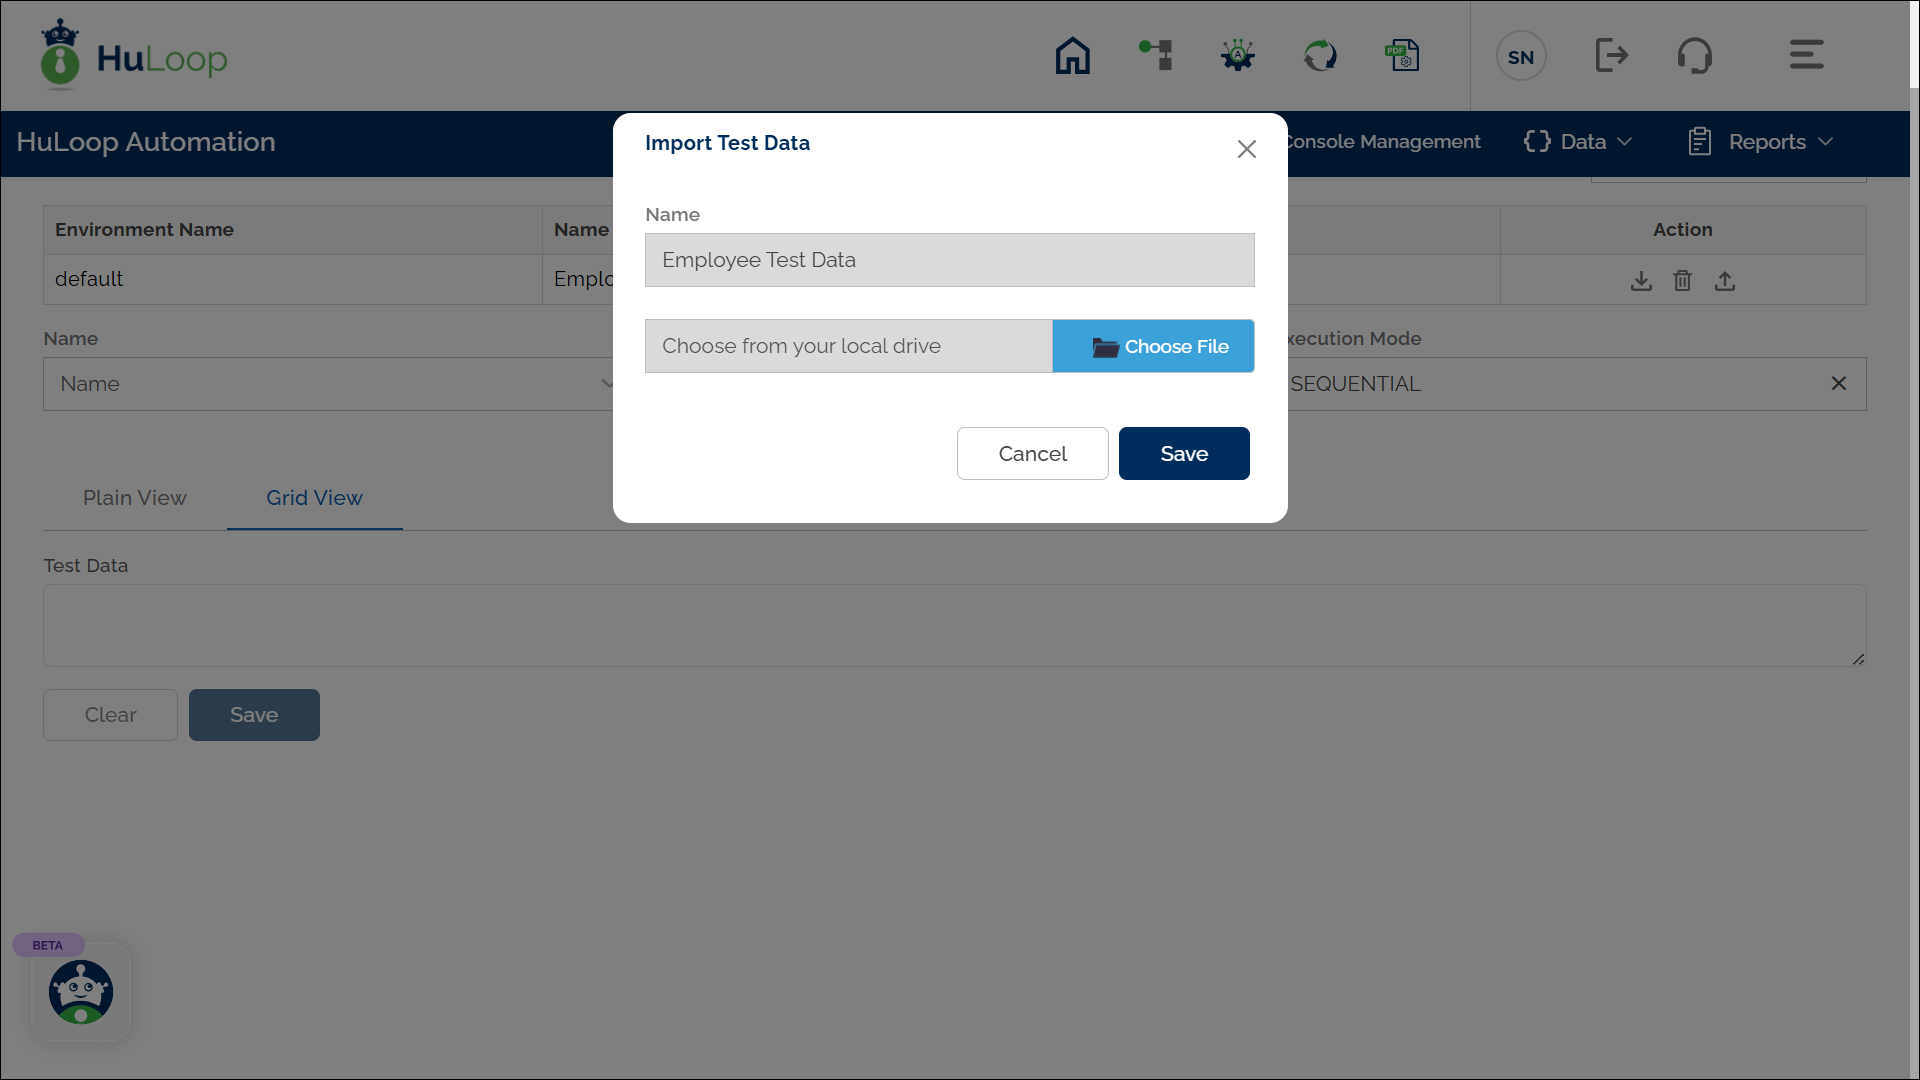
- Click the upload icon next to the test data name you want to modify.
![]()
- You will see a pop-up to upload the Excel file.
- After a successful upload, verify the test data in Plain View or Grid View by clicking the Test Data name.
How to Download Test Data as Excel File?
- Go to the Manage Test Data page.
- Click the download icon next to the test data name you want to download as excel file.

- The Excel file will get downloaded in your Downloads folder.
- You can save the test data Excel file with an appropriate name and store it in a preferred location on your computer.
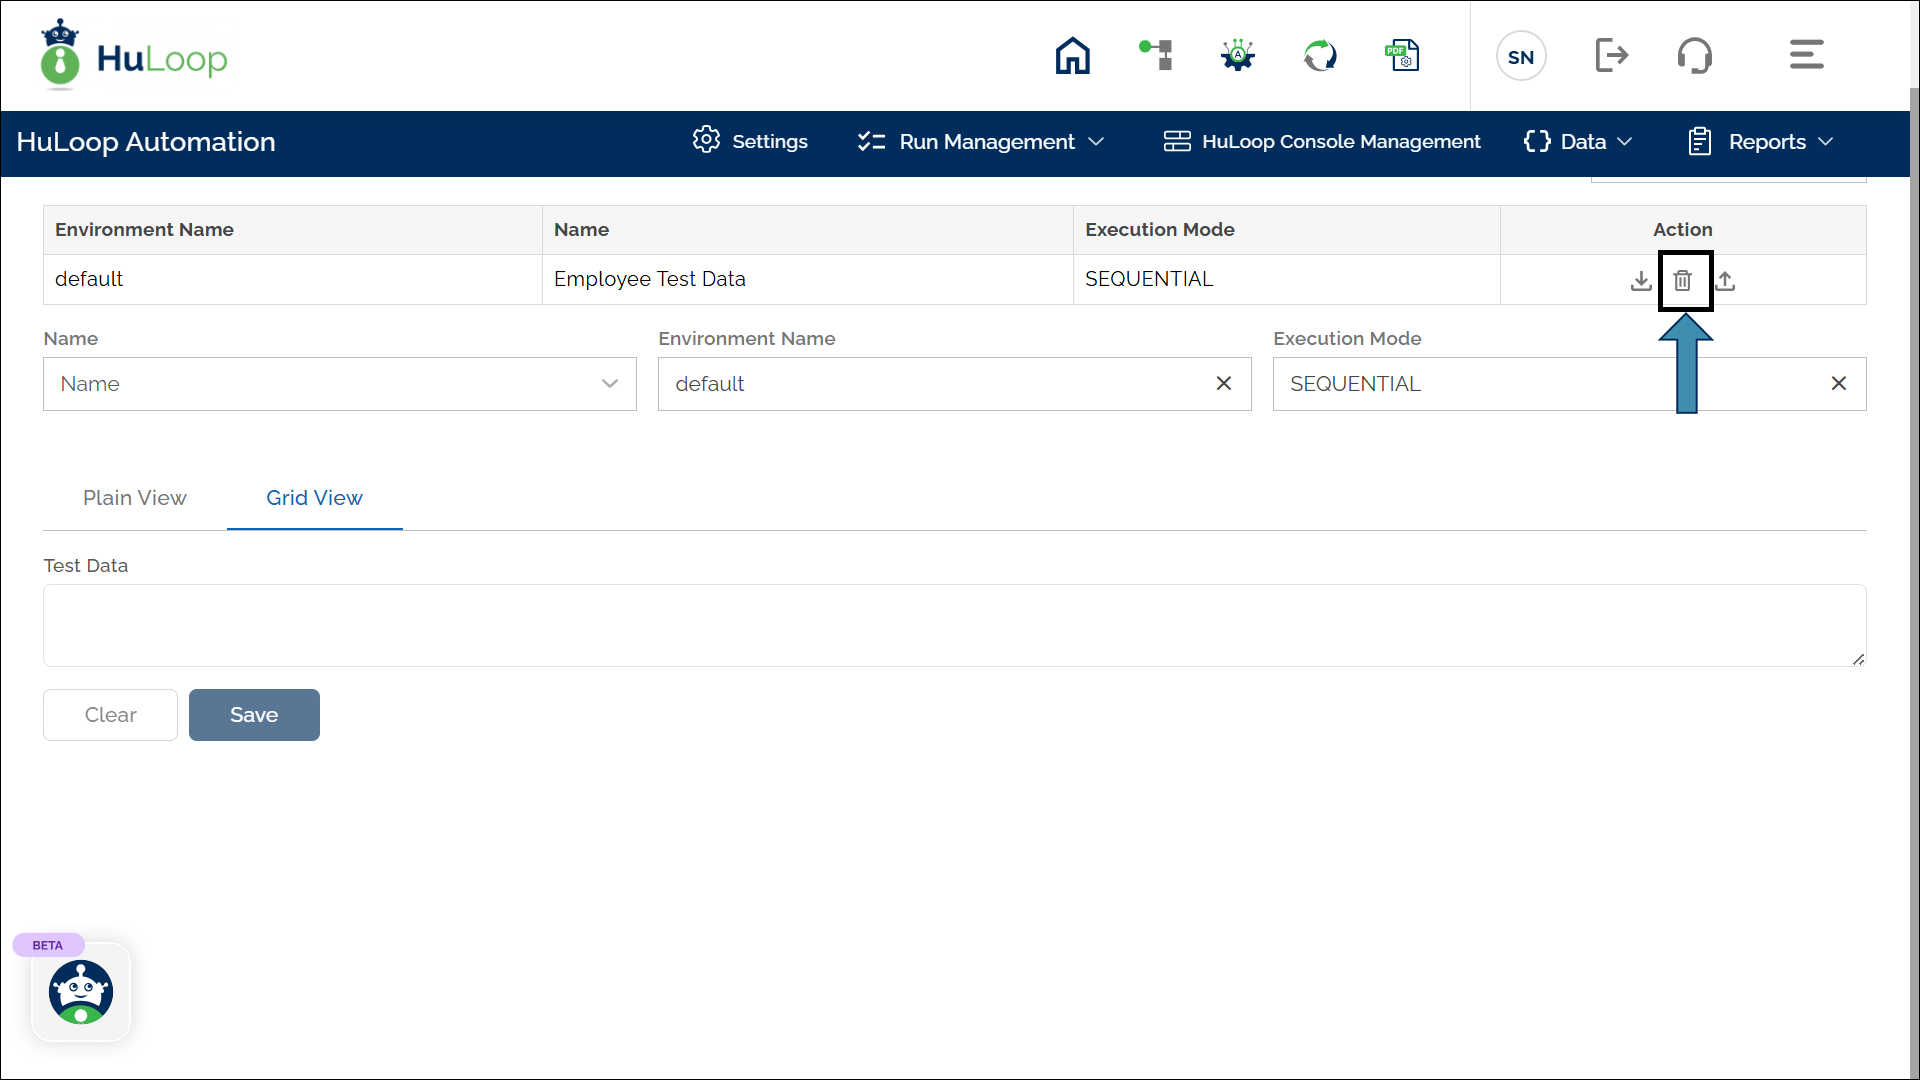
How to Delete Test Data?
- Go to the Manage Test Data page.
- Click the delete icon next to the test data name you want to delete.