Steps to Run HuLoop Mobile Recorder on Android Real Device
Download and Install Requirements:
- Download and install Appium from Appium Releases.
- Make sure Android Studio is installed, and you have access to the SDK folder for ADB tools:
- Download Android Studio:
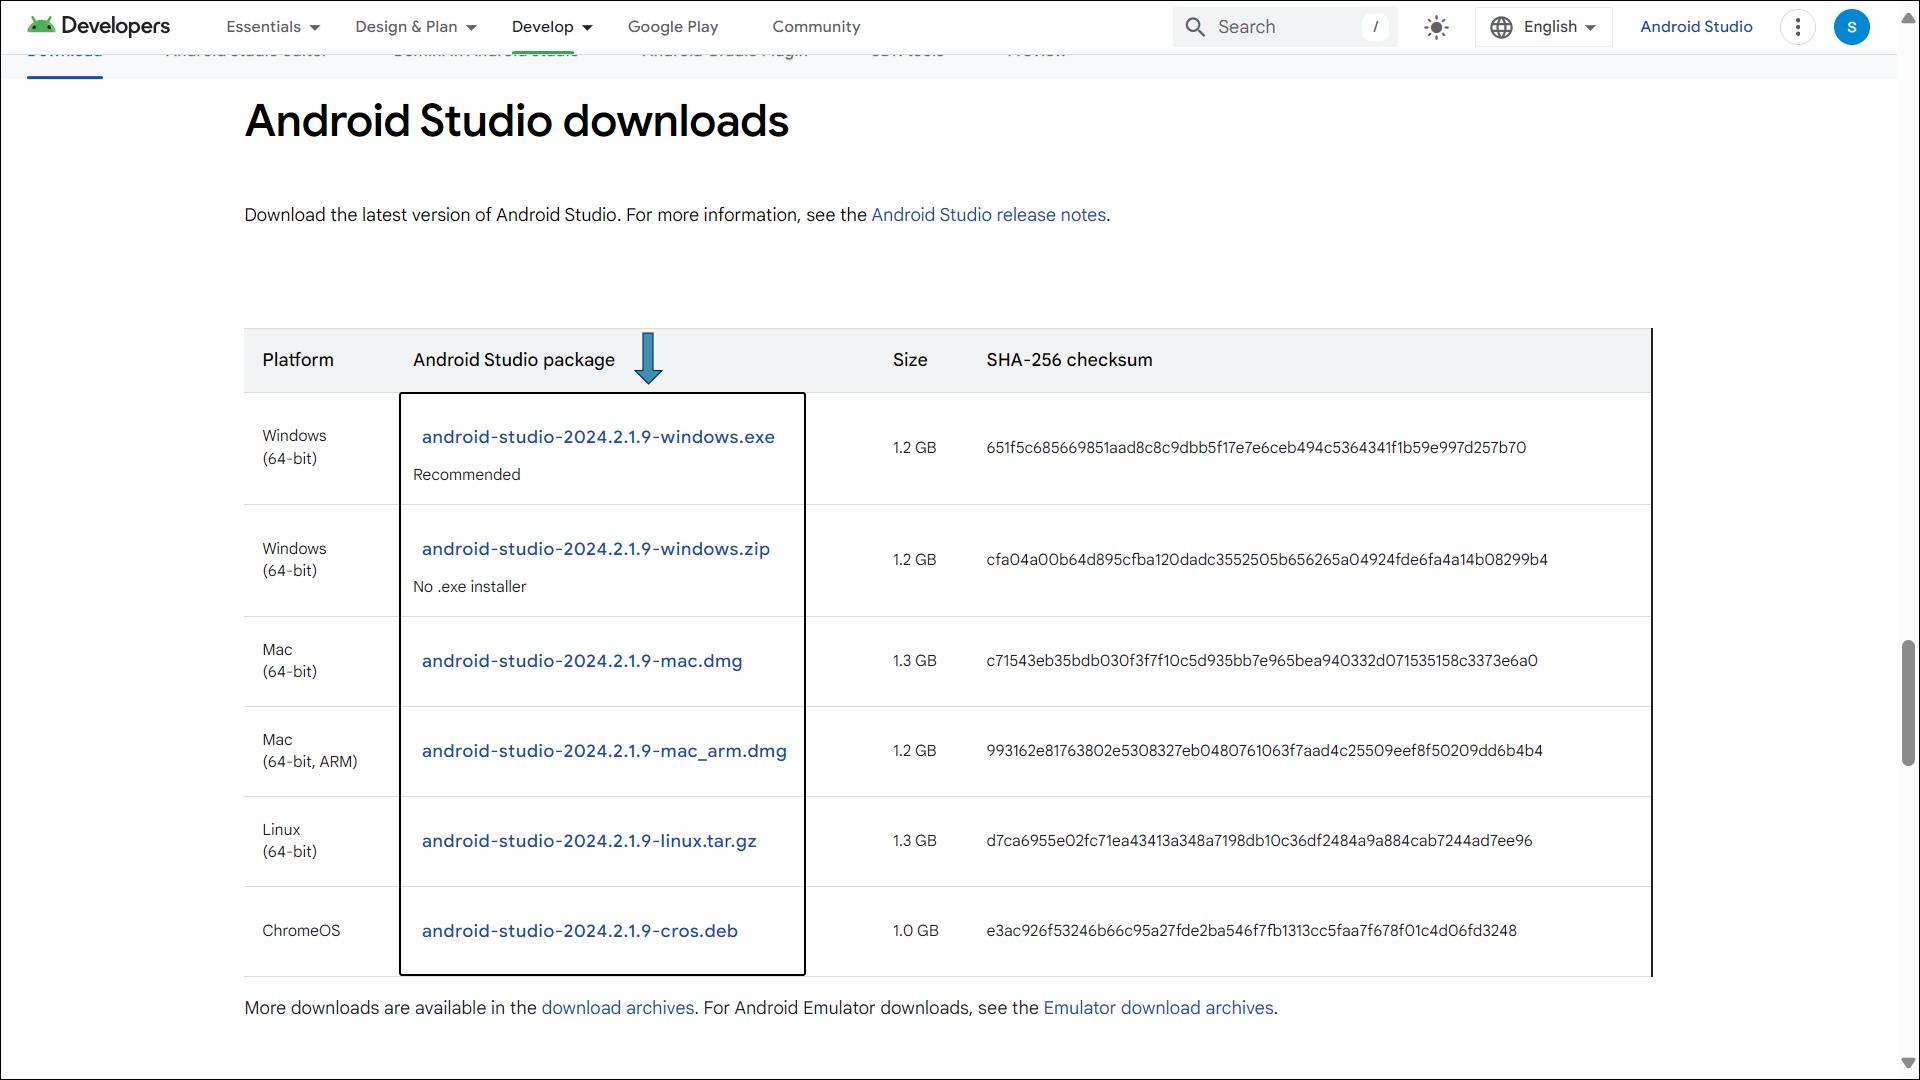
- Visit the official Android Studio website: Download Android Studio.
- Scroll down and download the latest version of Android Studio for your operating system by clicking the specific Android Studio Package link:
- Download Android Studio:
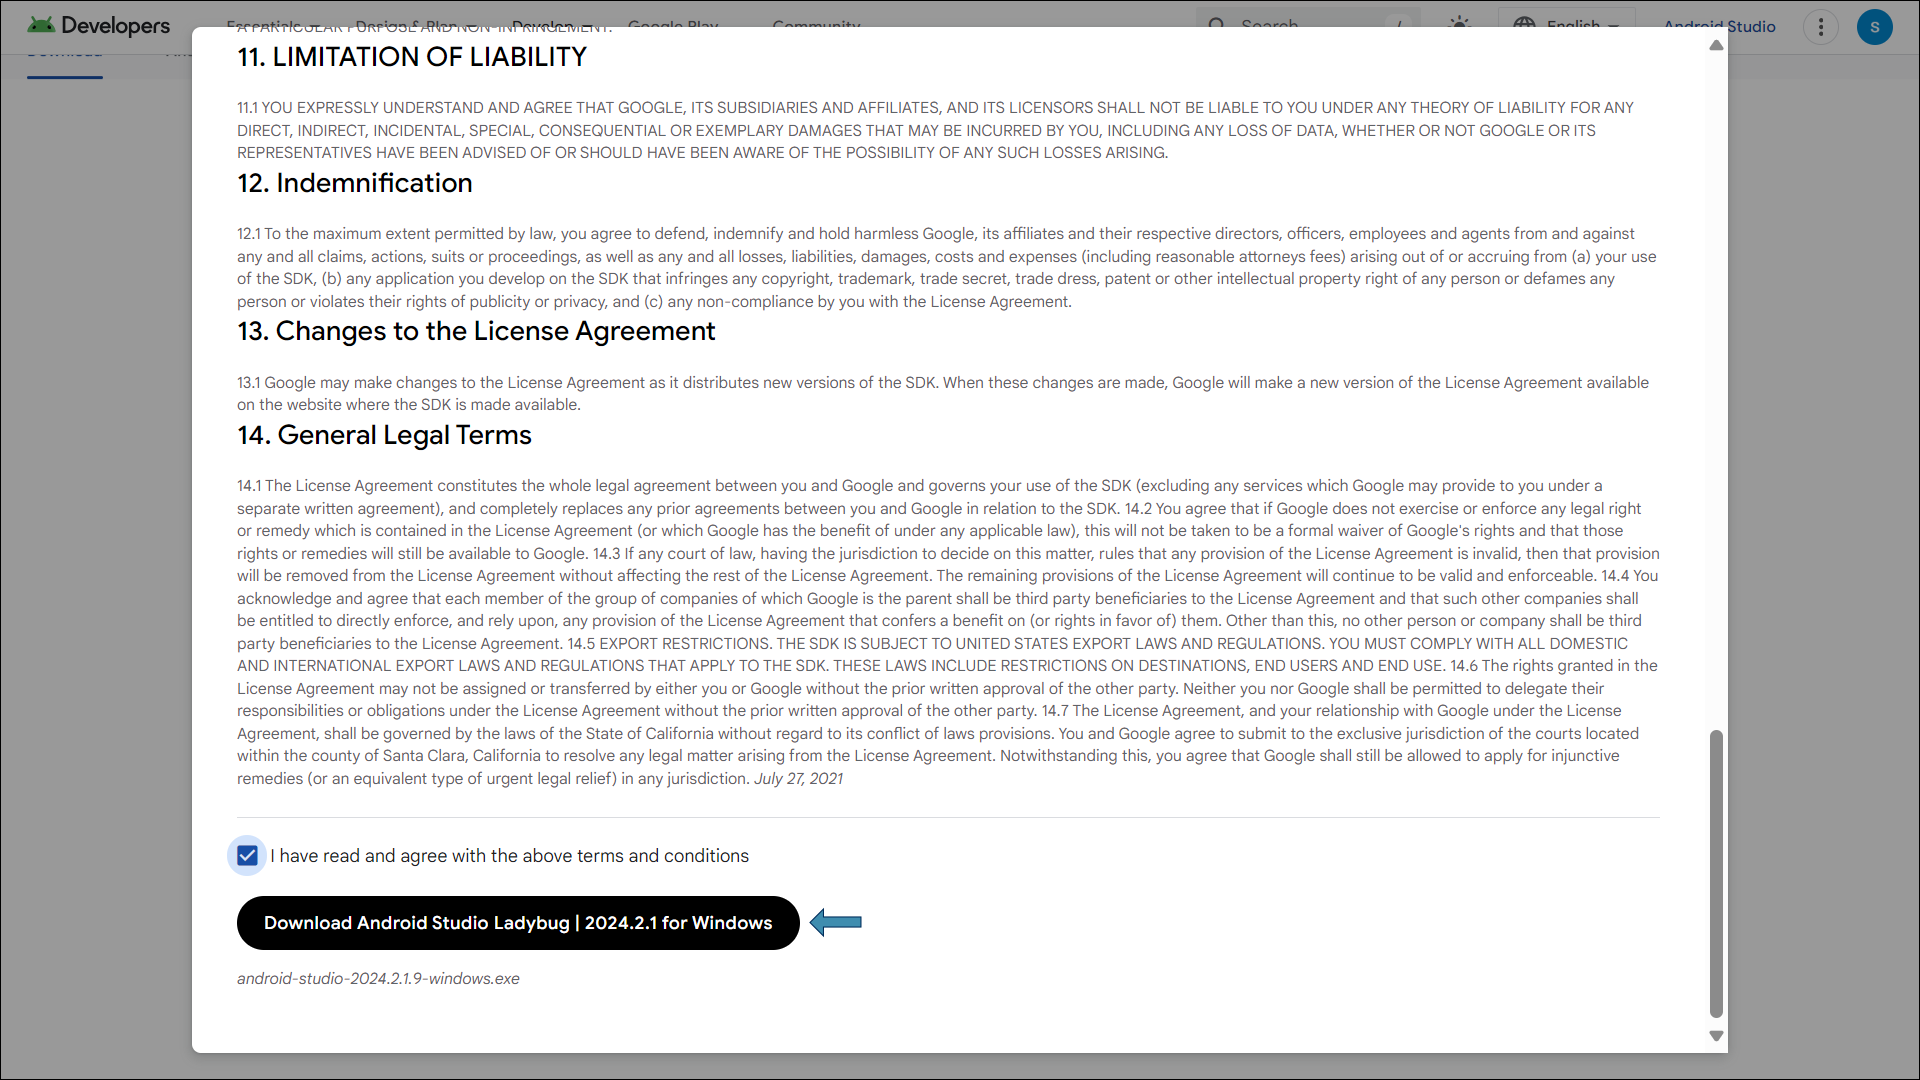
- You will see a pop-up with terms and conditions. Scroll down and accept them by clicking the checkbox against “I have read and agree with the above terms and conditions”.
- Download the Android Studio.
- When prompted, save the file to a location where you can easily locate it, such as the Downloads folder.
- Install Android Studio on Windows
- Open the folder where you saved the Android Studio installation file.
- Double-click the downloaded file to begin installation.
- A pop-up will appear asking for Admin credentials. Enter the credentials to continue.
- Install Android Studio on Windows
Note: If you don’t have Admin credentials, ask your IT team for assistance.
- The Welcome to Android Studio Setup dialog will appear.
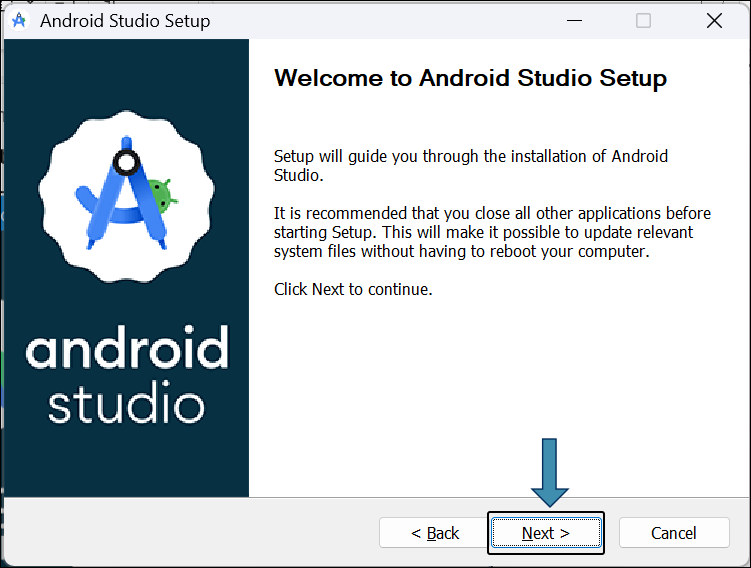
- Click Next to start the installation.
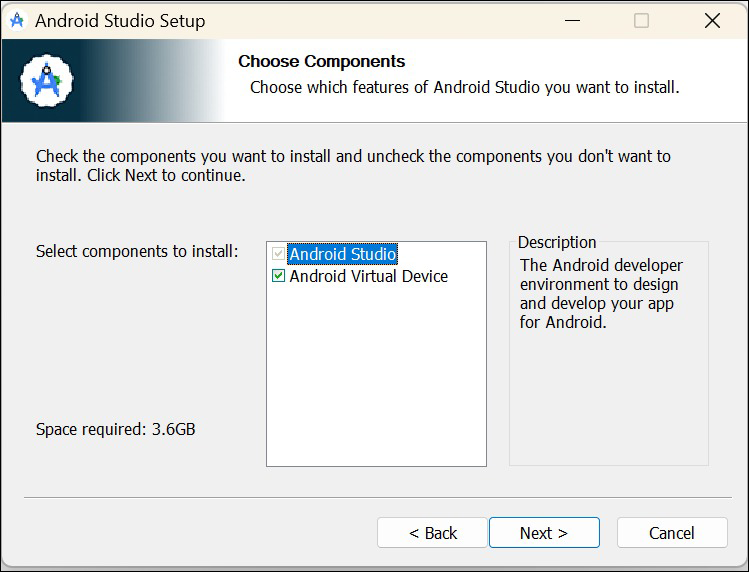
- The following pop-up will to select components for installation. Check the components you want to install and uncheck those you don’t want to install.
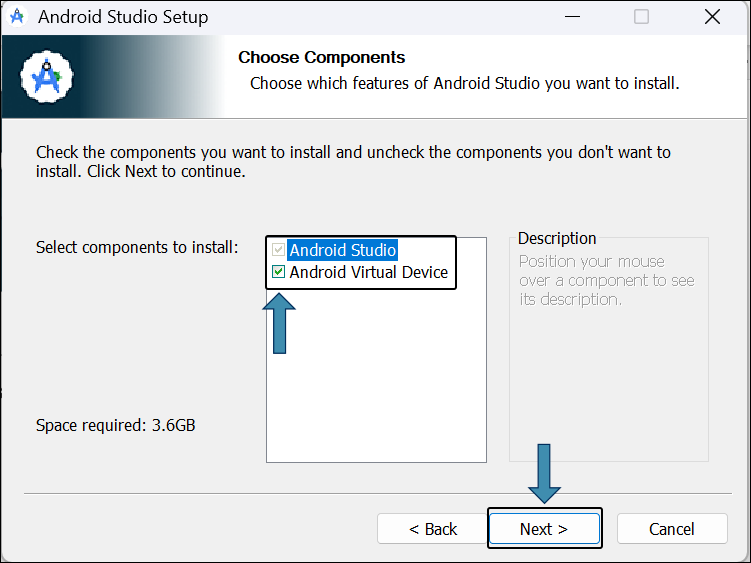
- Click Next.
Position your mouse over a component to see its description.
- You’ll see the following pop-up to select the Android Studio installation location.
- To download it to the default location, (here C:\Program Files\Android\Android Studio) click Next.
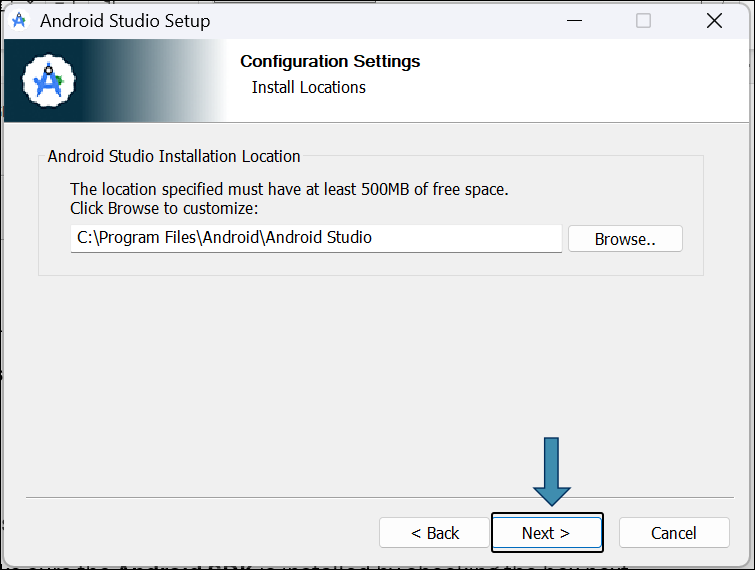
Note: Choose a custom location, click Browse, select the desired location, and click Next.
- A pop-up will appear to create a Start menu shortcut for Android Studio.
- Use the default name (Android Studio) or enter a different name.

Note: If you do not want to create a shortcut, check “Do not create shortcuts”.
- Click Install.
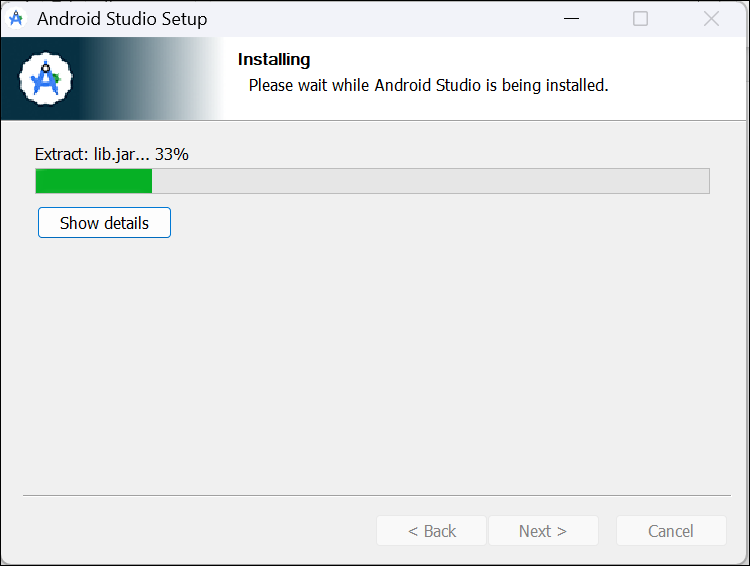
- You’ll see the following pop-up to track the installation progress:
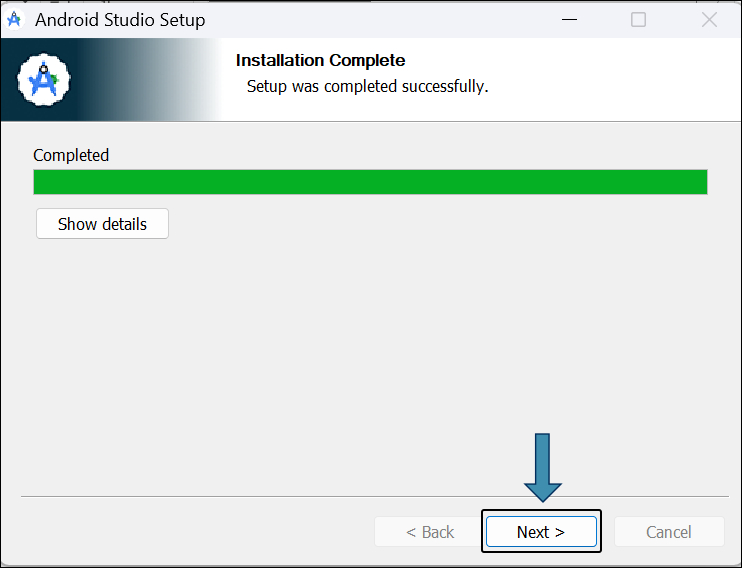
- Once the installation is complete, click Next.
- A confirmation pop-up will appear. Click Finish to close the setup.

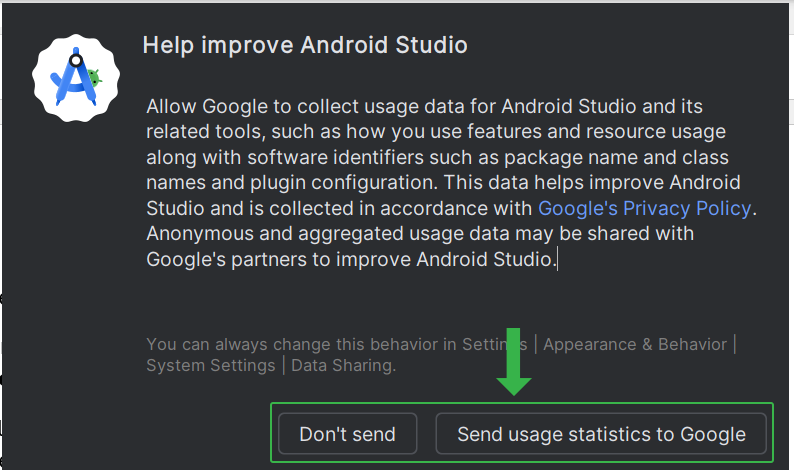
- A new pop-up will ask if you want to share your usage data with Google. Click Don’t send or Send usage statistics to Google, depending on your preference.
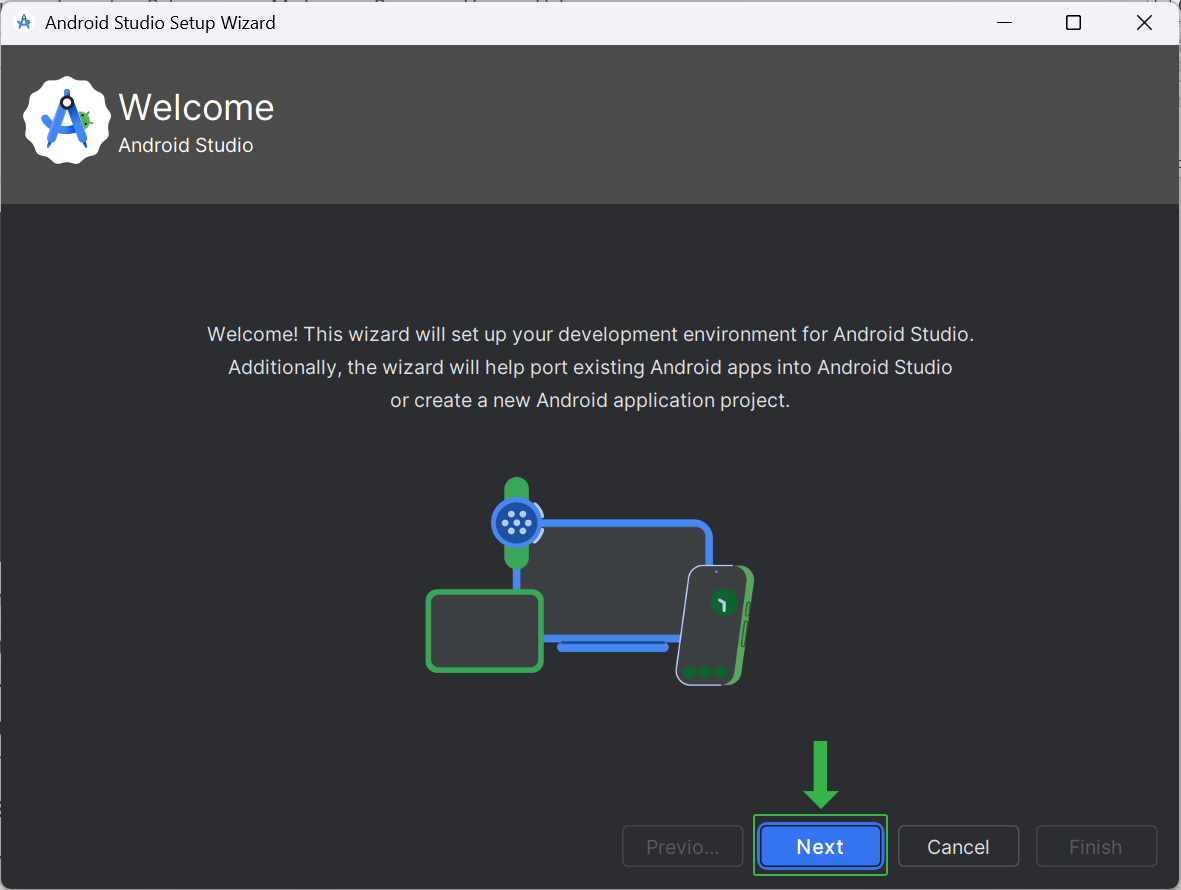
- You will now see the Android Studio developer environment screen. Click Next.
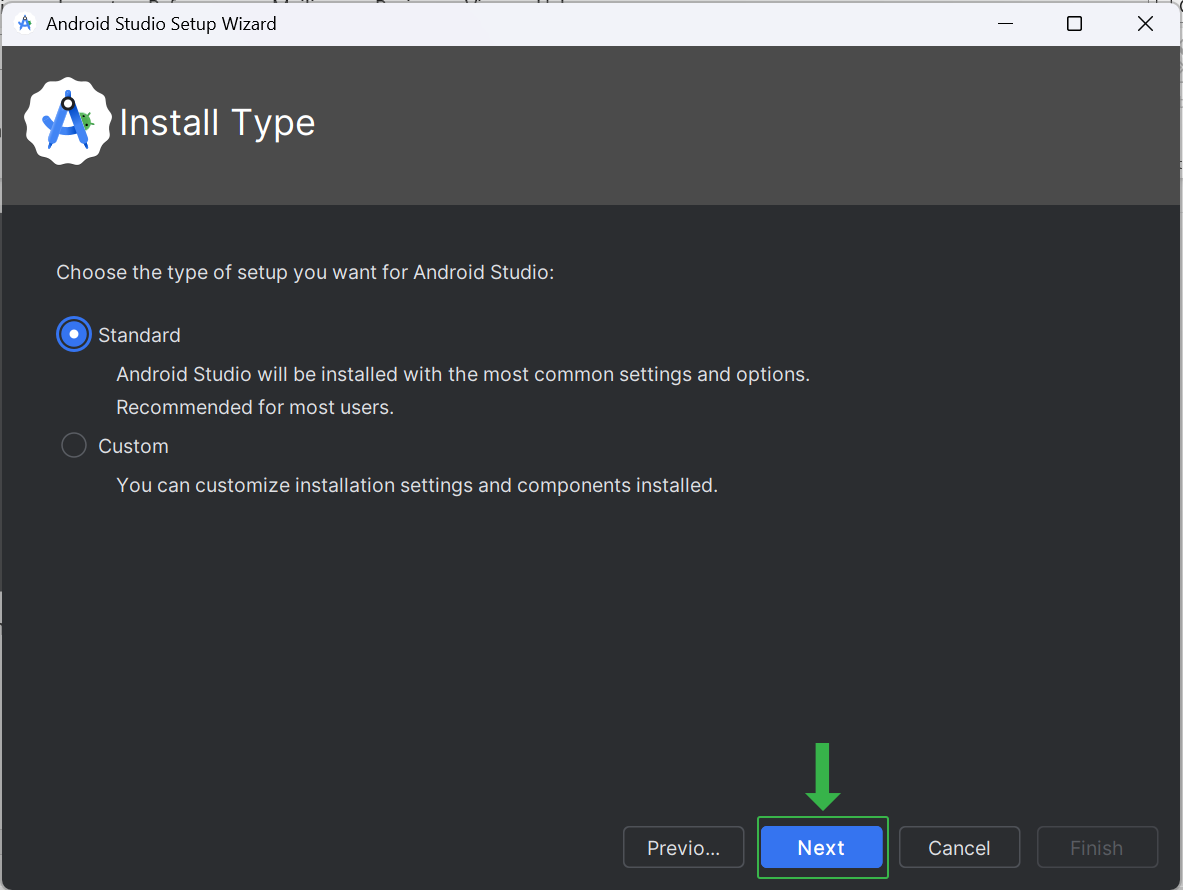
- Choose the type of setup you want for Android Studio: Standard or Custom.
- Click Next.
- Verify the setup details including Setup type, SDK folder location, total download size, and SDK components.
- Click Next.
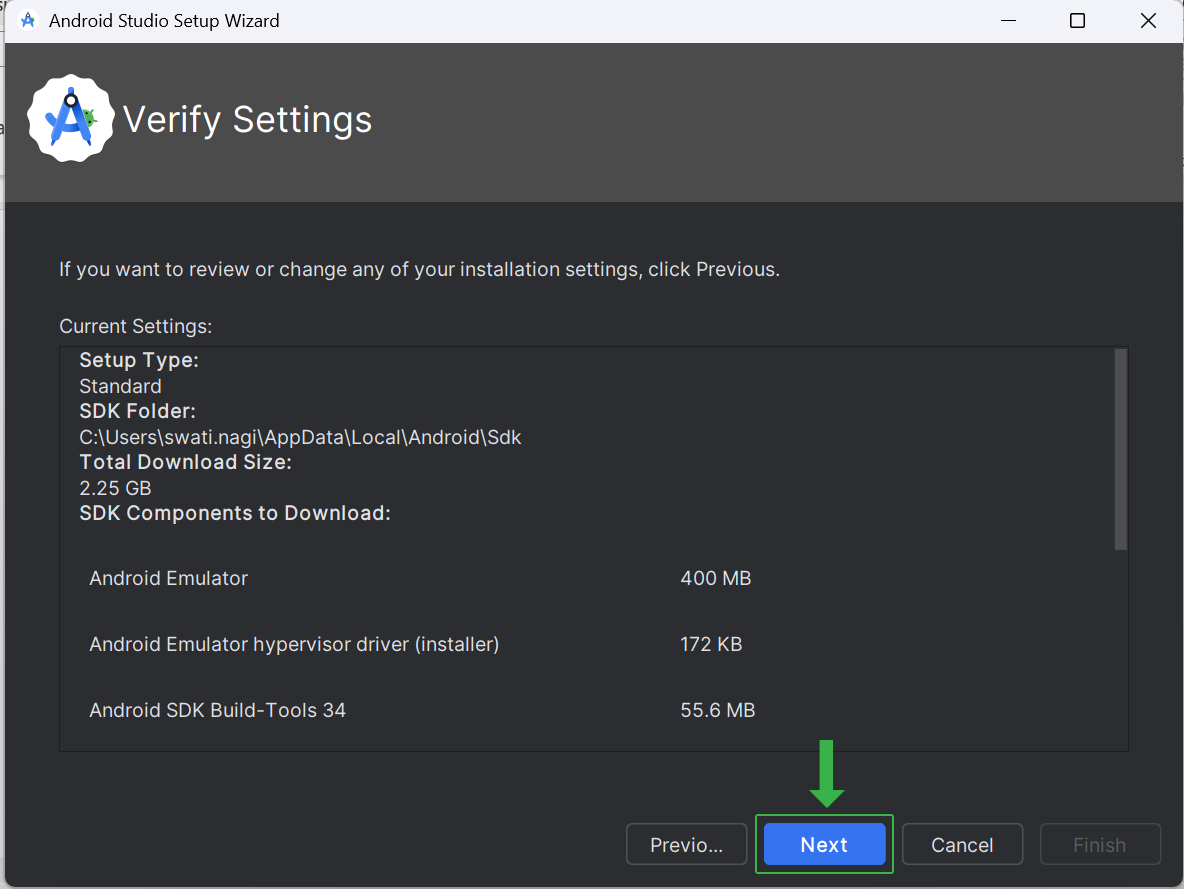
Click Previous to go to the previous screen to review or change any of your installation settings.
- Select a license from the left and click Accept button to accept the installation of components for each one.
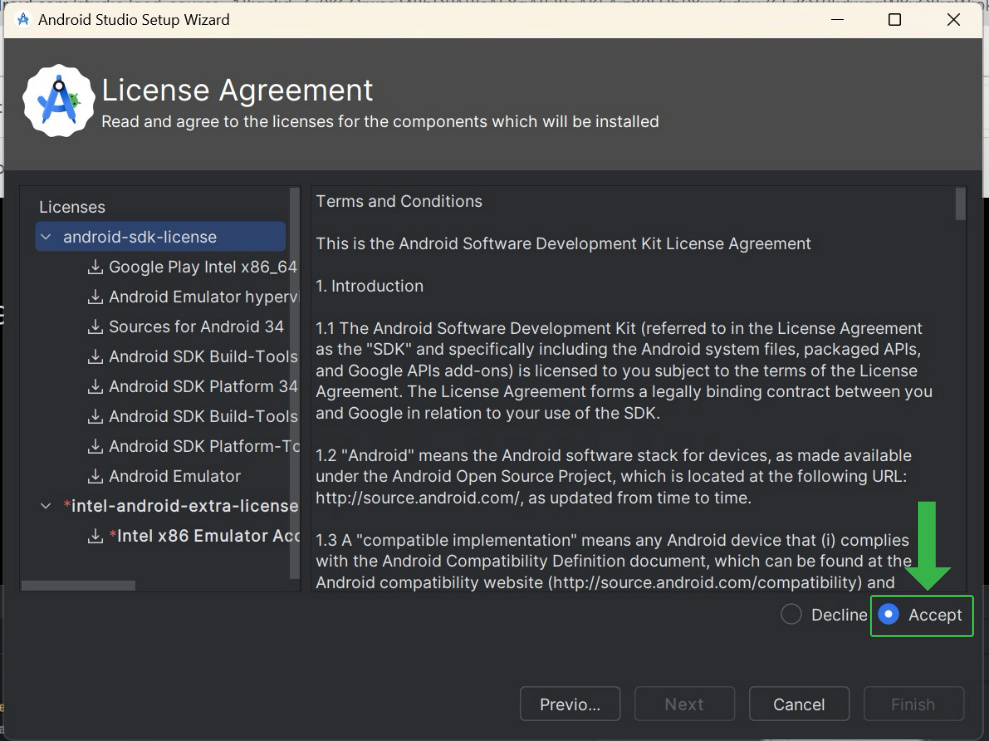
You can collapse the license components and view only the license name by clicking the ![]() icon next to the license name. To expand the license components, click the
icon next to the license name. To expand the license components, click the ![]() icon again.
icon again.
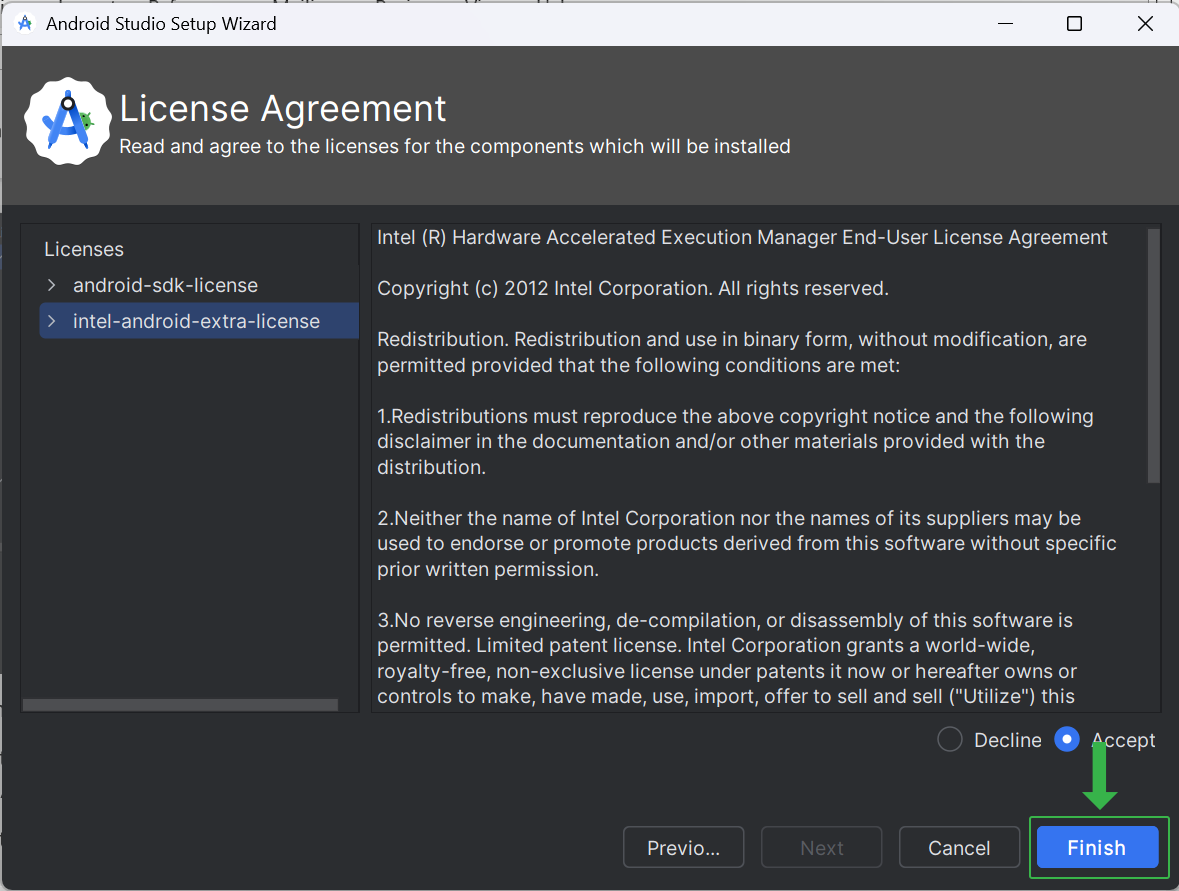
- After accepting all the licenses, click Finish.
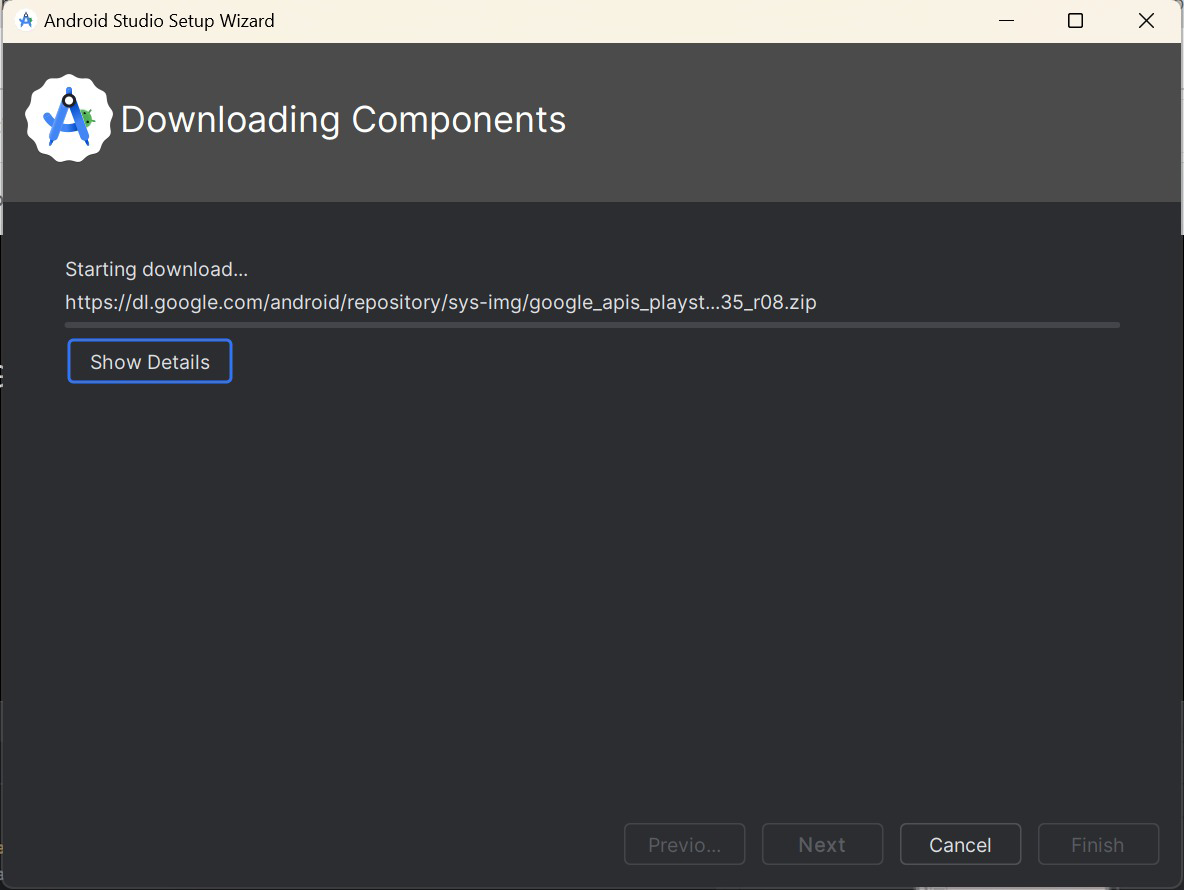
- The components will start downloading:
- You might see a pop-up asking for the Admin credentials. Ask your IT team for assistance if you don’t have these credentials.
- Click Finish.

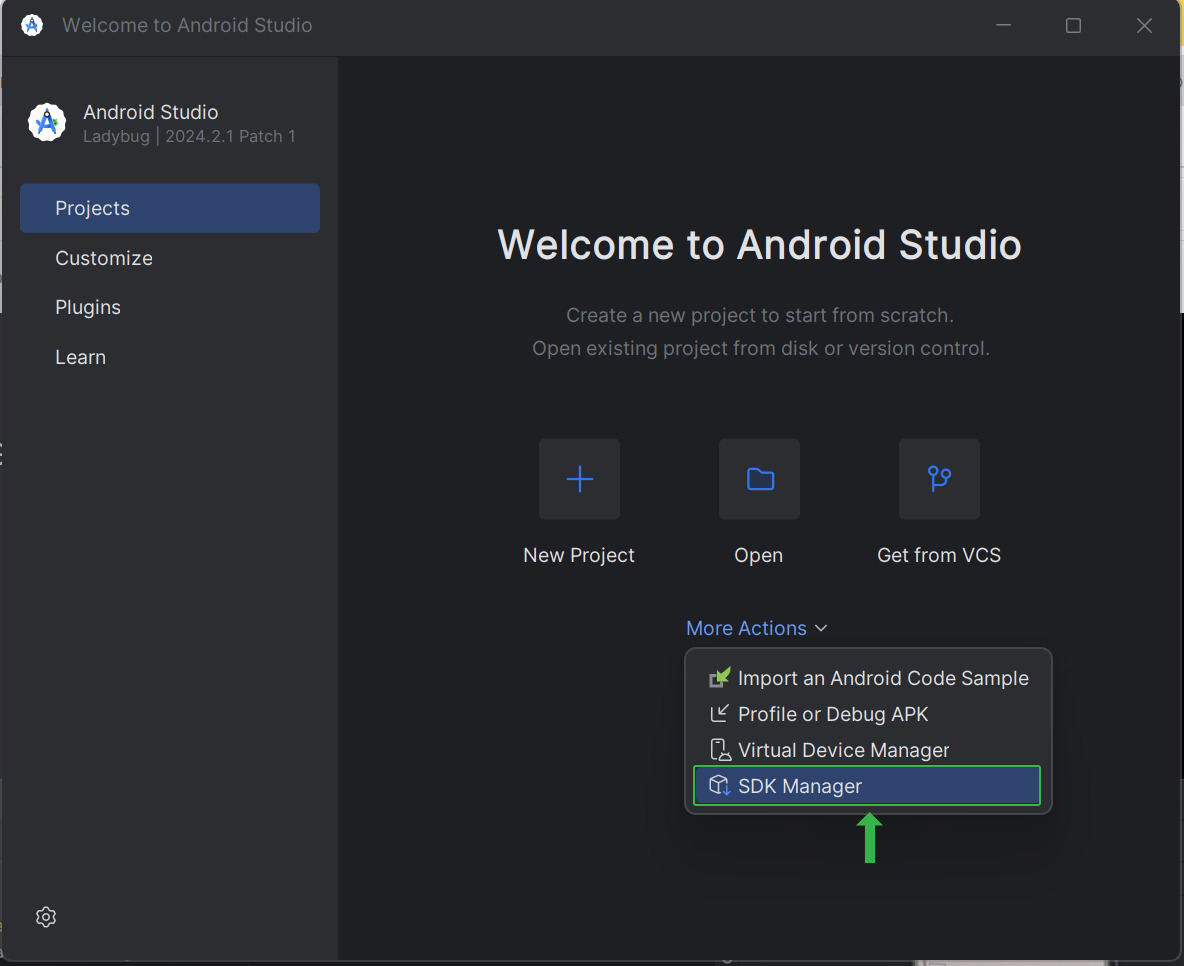
- You’ll see the following pop-up:
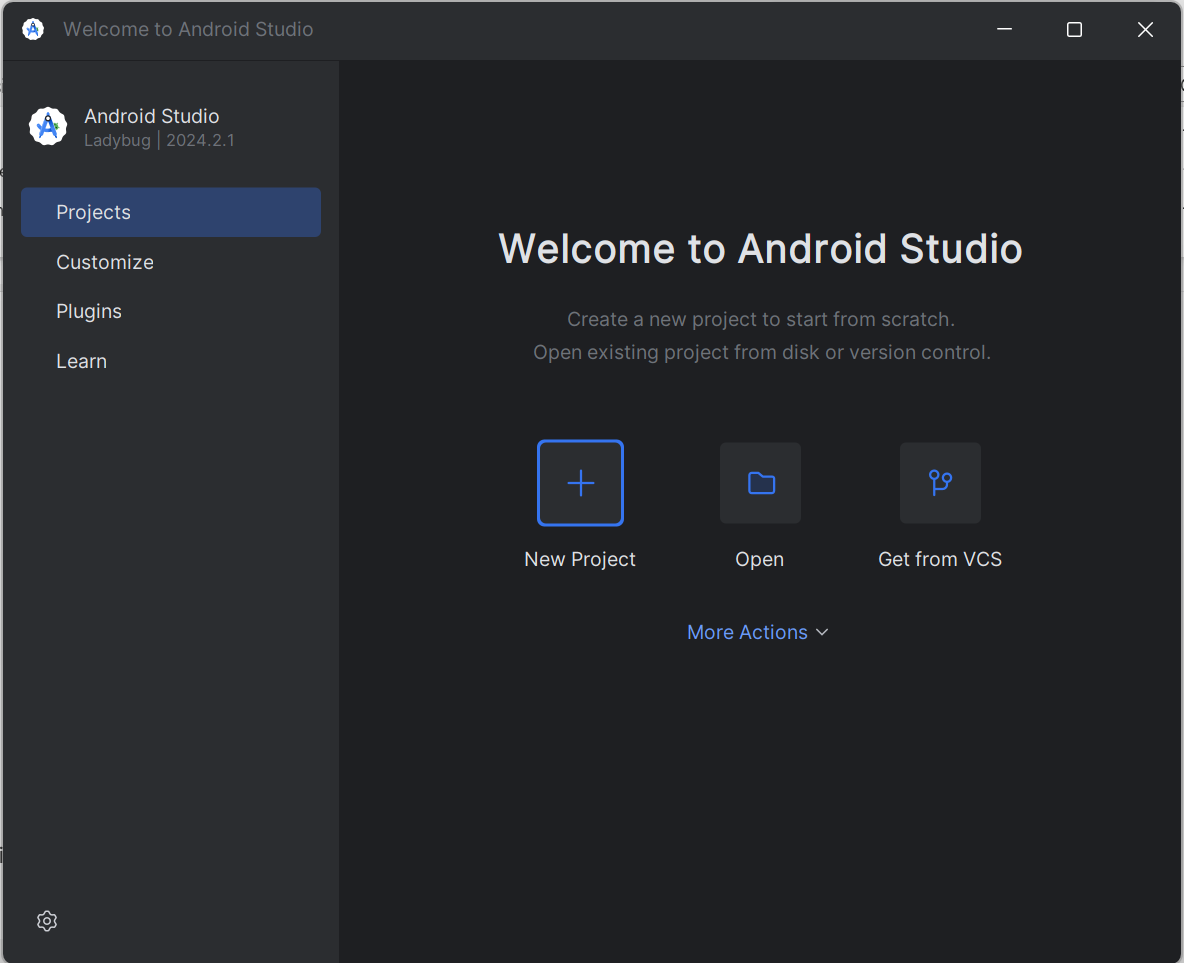
- Click More Actions and select SDK Manager from the drop-down menu:
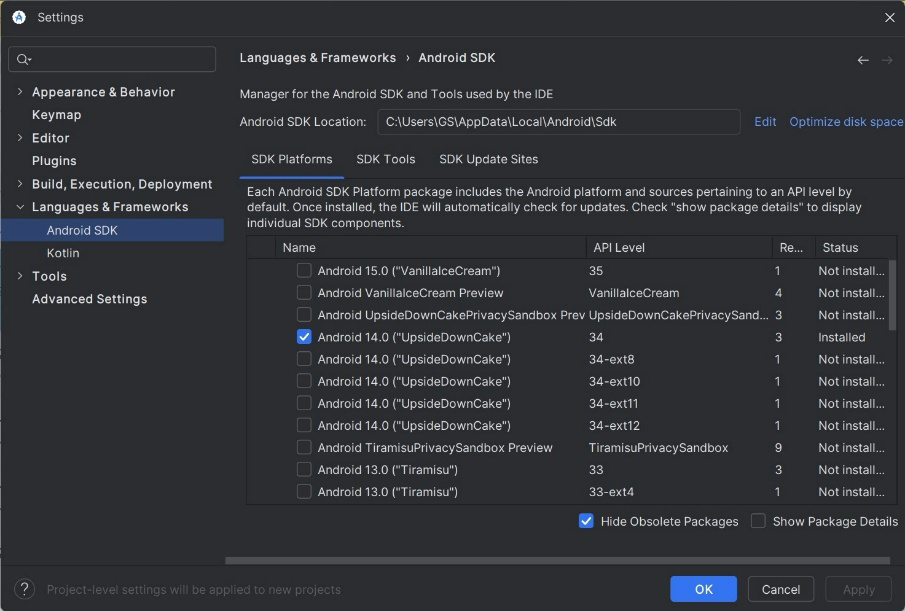
- Ensure that the Android SDK is installed:
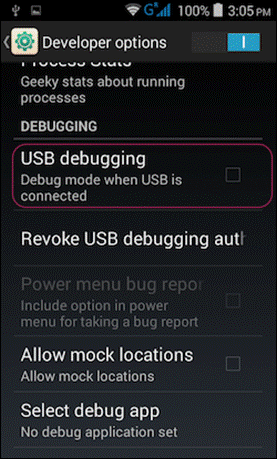
- Enable USB Debugging on Your Android Device:
- On your Android device, go to Settings > Developer Options > Enable USB Debugging.
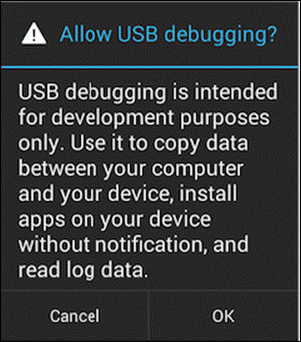
- A pop-up will appear. Click OK.
- If Developer Options is not visible:
- Go to Settings > About Phone and tap Build Number 7 times to enable Developer Options.
- If Developer Options is not visible:
Note: The steps may differ depending on your device brand and Android version. If needed, visit your device manufacturer’s website for specific instructions.
- Connect Your Android Device:
- Connect your Android device to your computer using a USB cable.
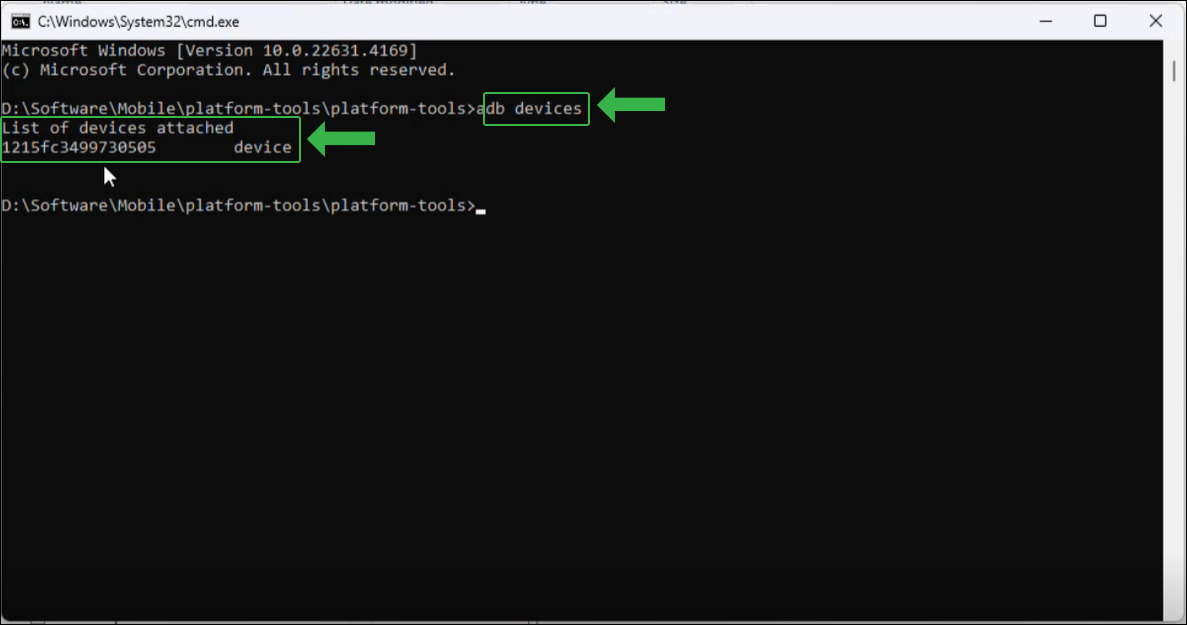
- Open the Command Prompt and type adb devices to confirm that your device is connected.
- Setting Up Environment Variables for ADB, JDK, and JRE:
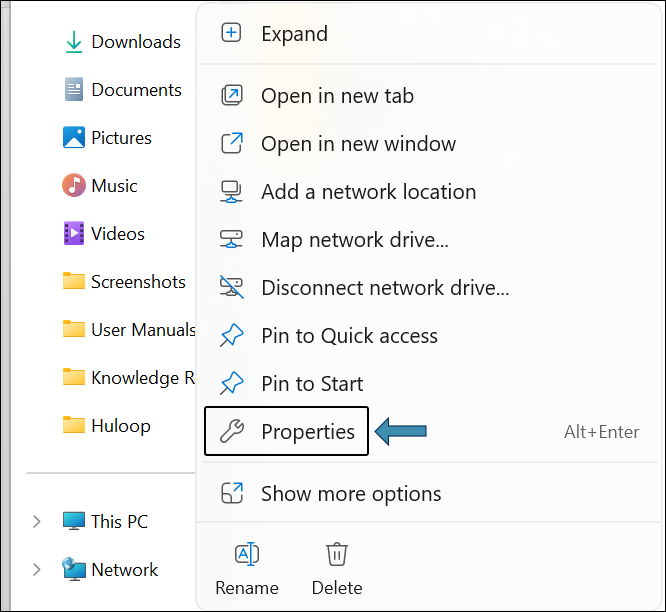
- Right-click This PC or My Computer and select Properties.
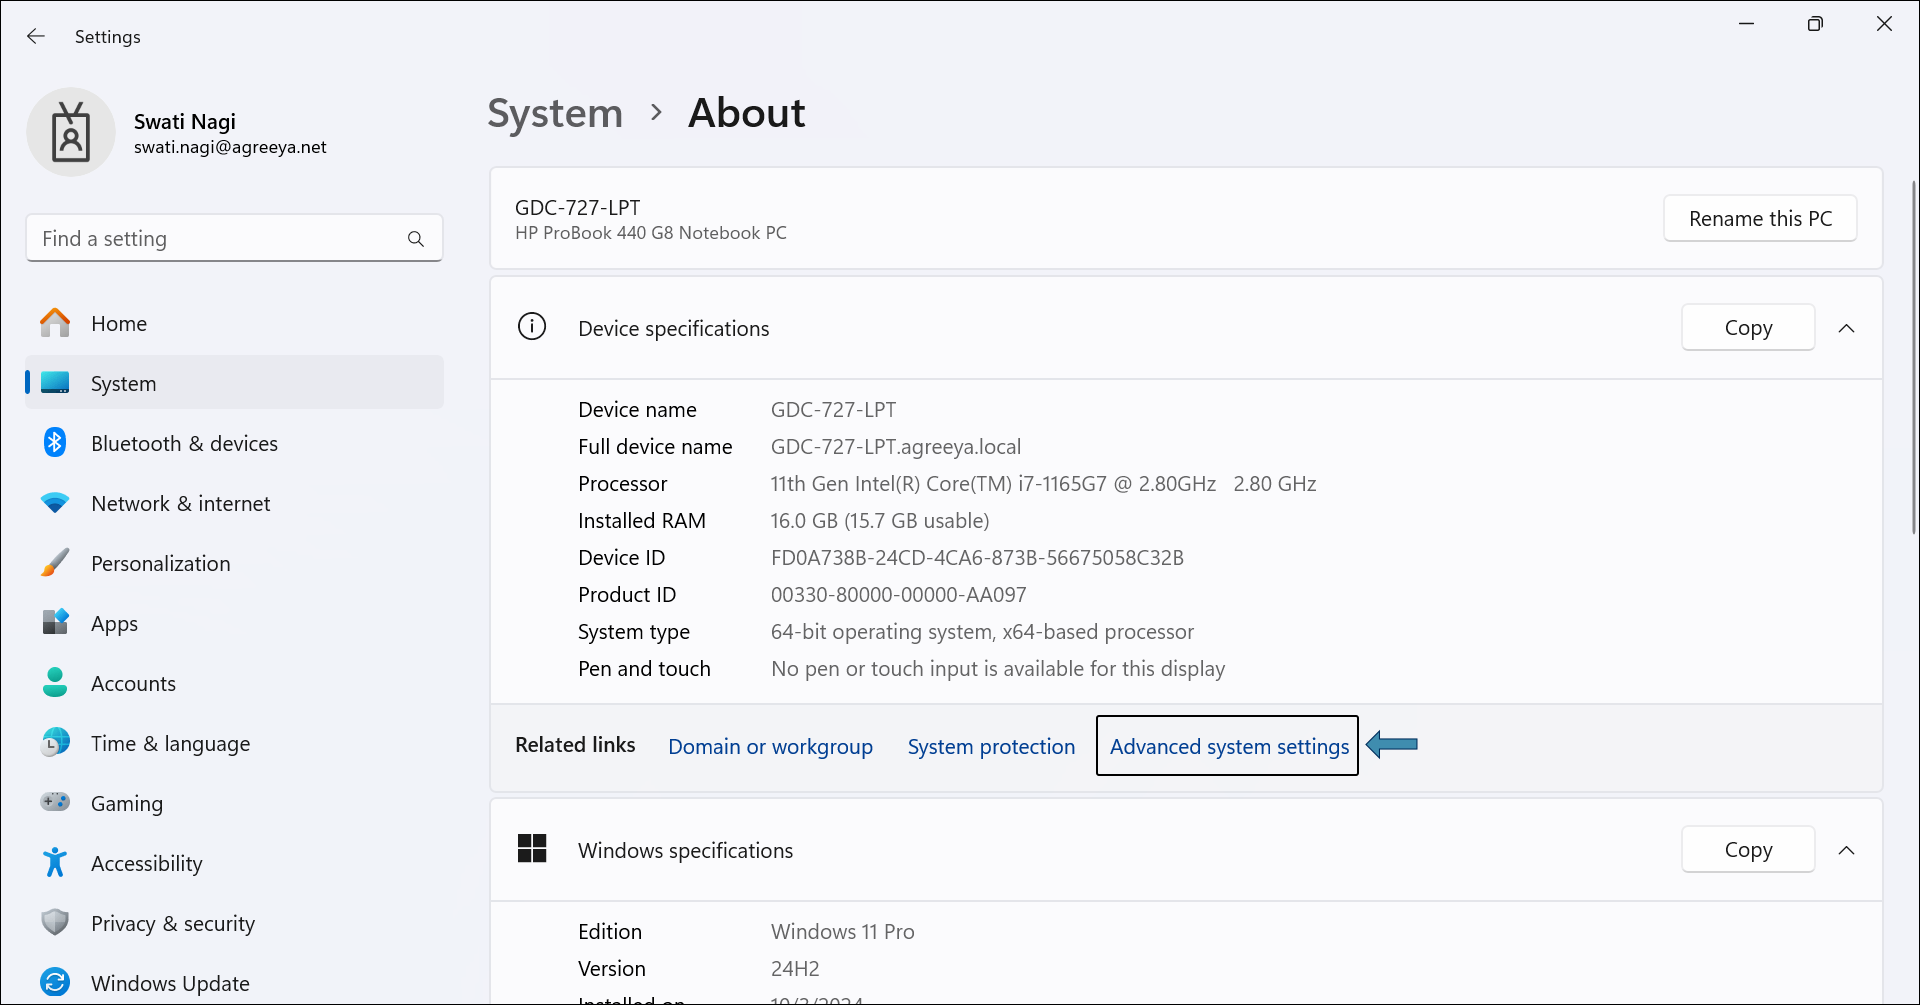
- Click Advanced system settings.
- You may be prompted to enter Admin credentials. If so, enter the credentials or ask your IT team for assistance.
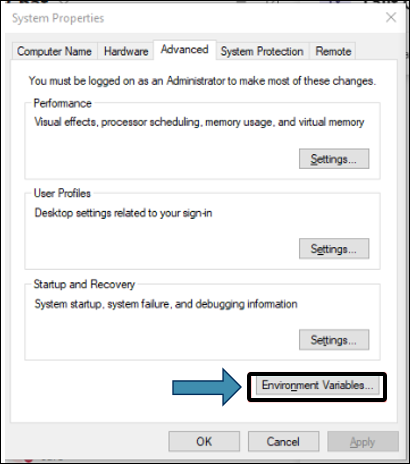
- In the pop-up window, click Environment Variables…
- In the User variables section, click New to create a new user variable.
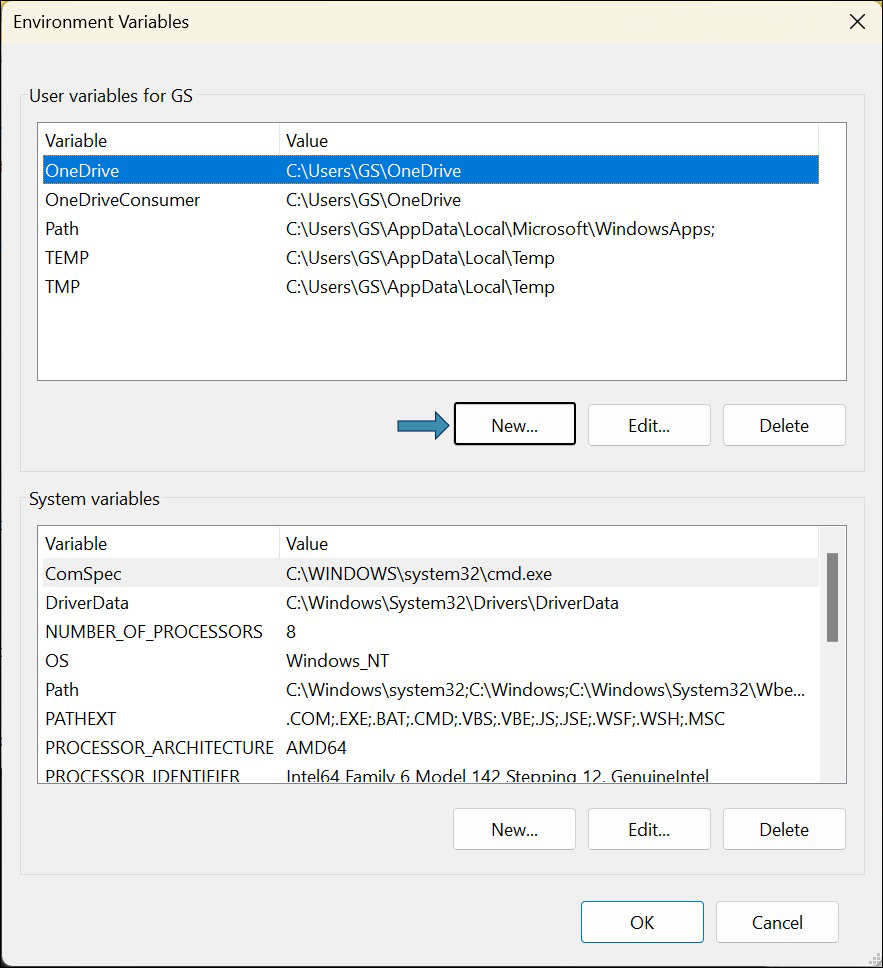
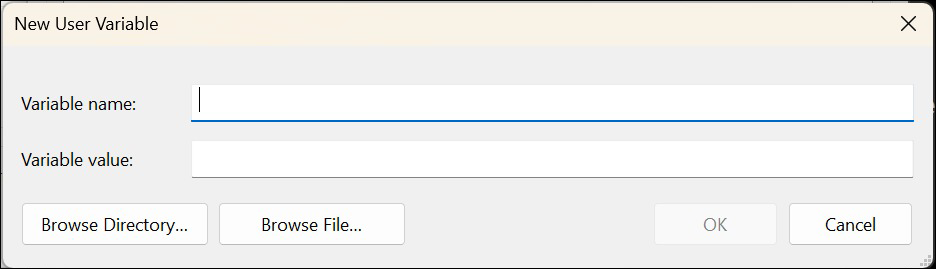
- You’ll see the following pop-up to define the system variables. Provide a variable name in the Variable name box and enter its path in the Variable value box:
- To set Android Debug Bridge (ADB) path:
- In the Variable name field, enter ANDROID_HOME.
- In the Variable value field, enter the file path to the ADB .exe
- To set Android Debug Bridge (ADB) path:
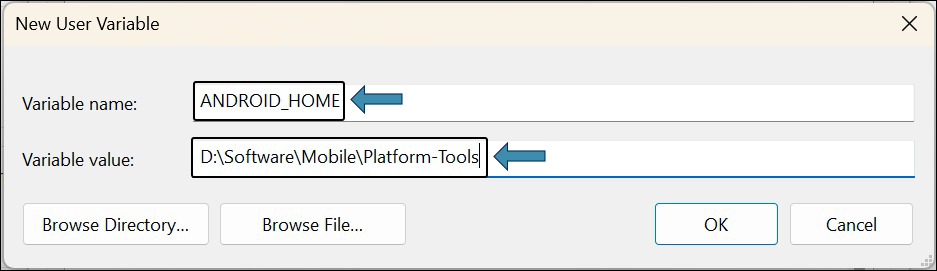
You can also browse the file path using the Browse File… button.
- Click OK.
To confirm, open cmd and type adb devices. It should respond with List of devices attached. If it does not, restart your PC.
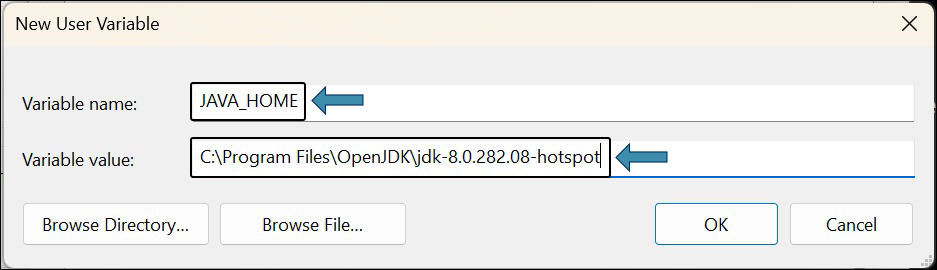
- To set JDK (Java Development Kit) path:
- Click New.
- In the Variable name field, enter JAVA_HOME.
- In the Variable Value field, enter the path to your JDK installation.
- Click OK.
- To set JDK (Java Development Kit) path:
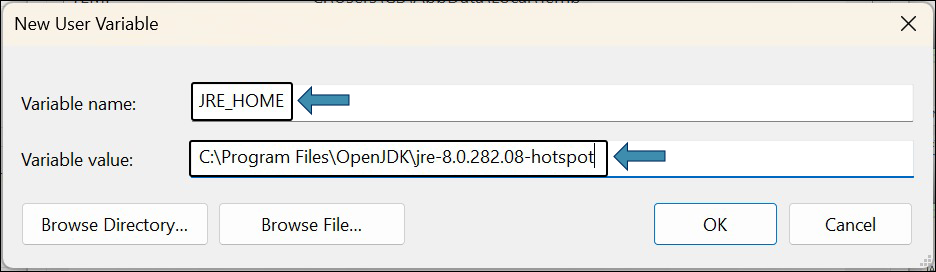
- To set JRE (Java Runtime Environment) path in your system’s environment variables:
- In the Variable name field, enter JRE_HOME.
- In the Variable Value field, enter the path to your JDK installation.
- Click OK.
- To set JRE (Java Runtime Environment) path in your system’s environment variables:
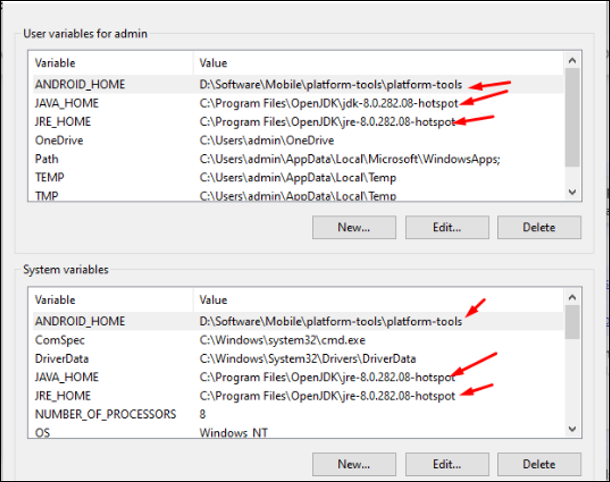
- Similarly, set these variables in the In the System variables
- Once all variables are defined in both User variables and System variables,
it should look like this:
- Restart your computer to apply the changes.
- Download the HuLoop Mobile Recorder.
- Sign in to your HuLoop account.
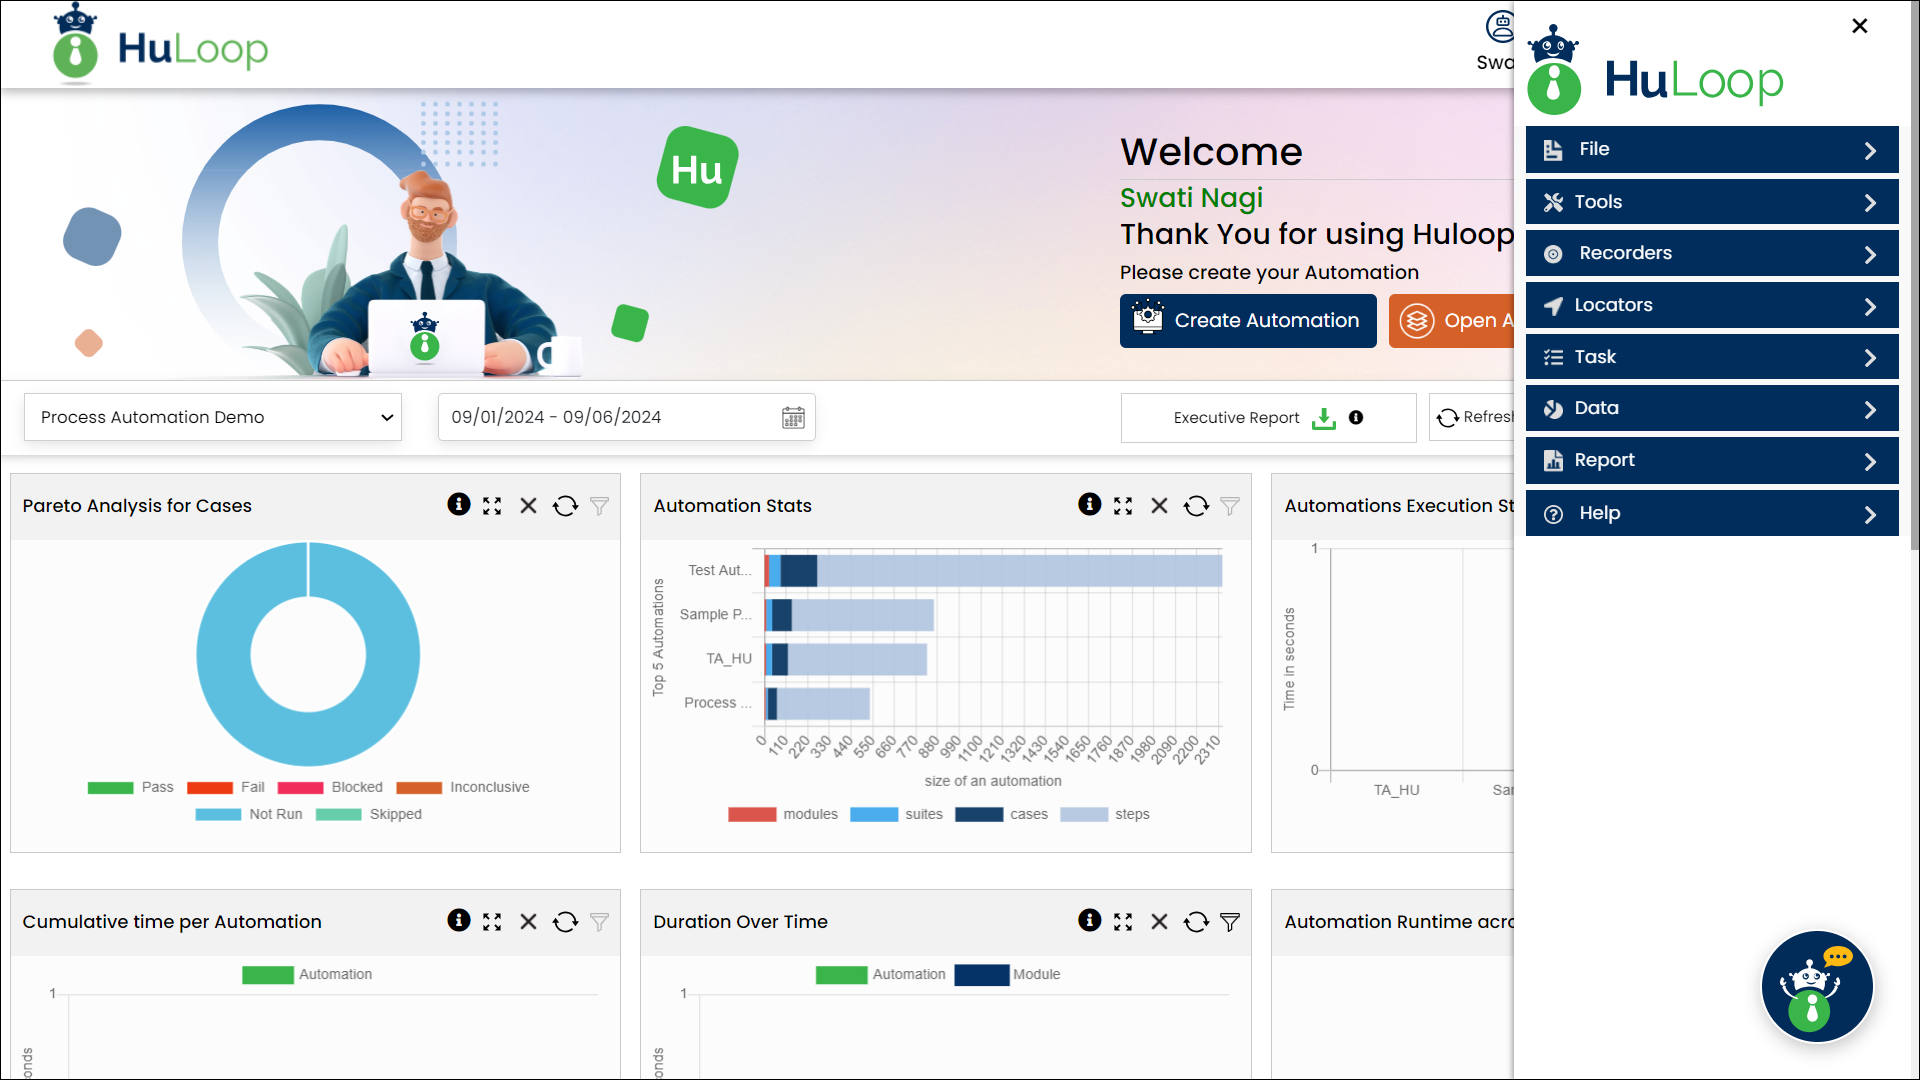
- Click on the Menu
 available on the top right of the screen and you will get the following options:
![]()
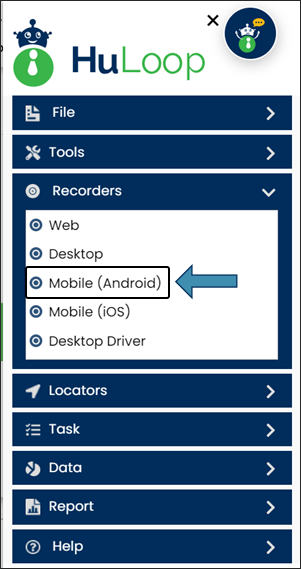
- Expand the Recorders option and select Mobile (Android).
- The Mobile Recorder will be downloaded as a Zip file (e.g., MobileRecorder_Android.zip).
- To save the zip file contents in your system, copy and paste this file to a desired location, and then extract files.
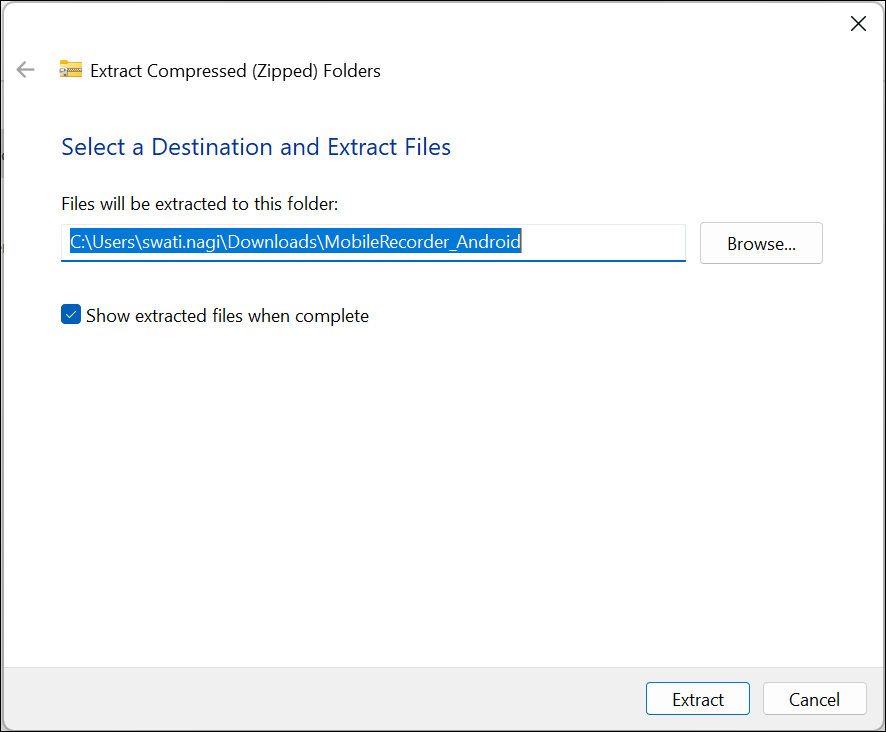
- To extract files right-click the zip file and select Extract All…
- You will see a pop-up window. You can either:
- Click Browse to select your desired location to save the contents or use the default location.
- Click Extract to unpack the folder contents.
- The Mobile Recorder will be downloaded as a Zip file (e.g., MobileRecorder_Android.zip).
- Launch the Recorder:
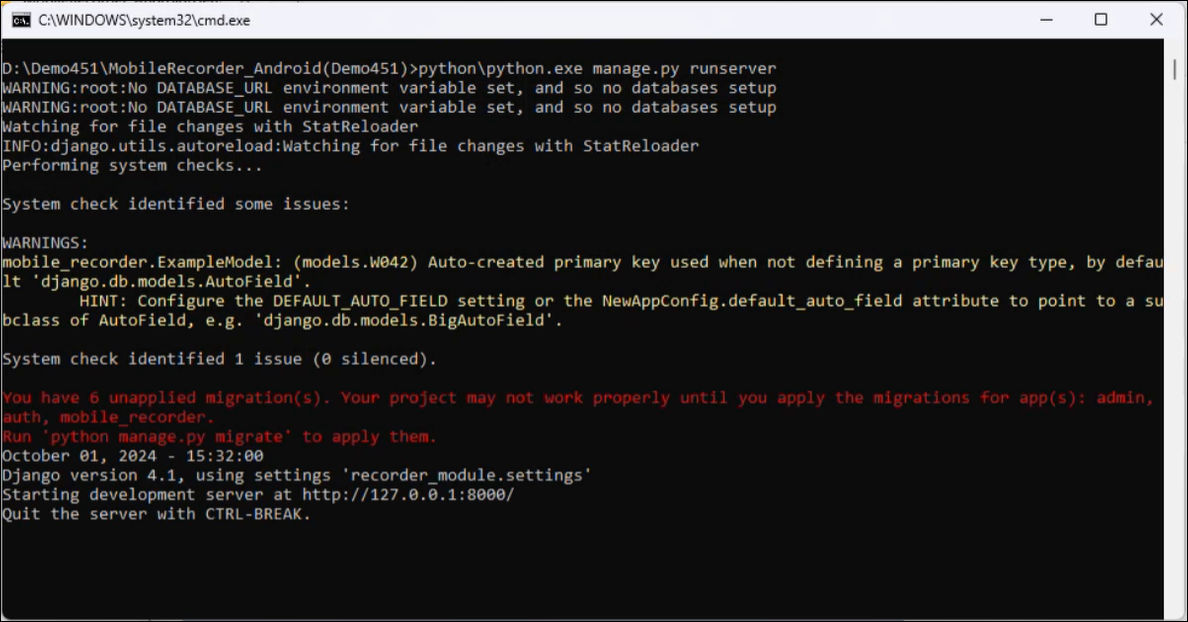
- Open the folder and double-click bat file.
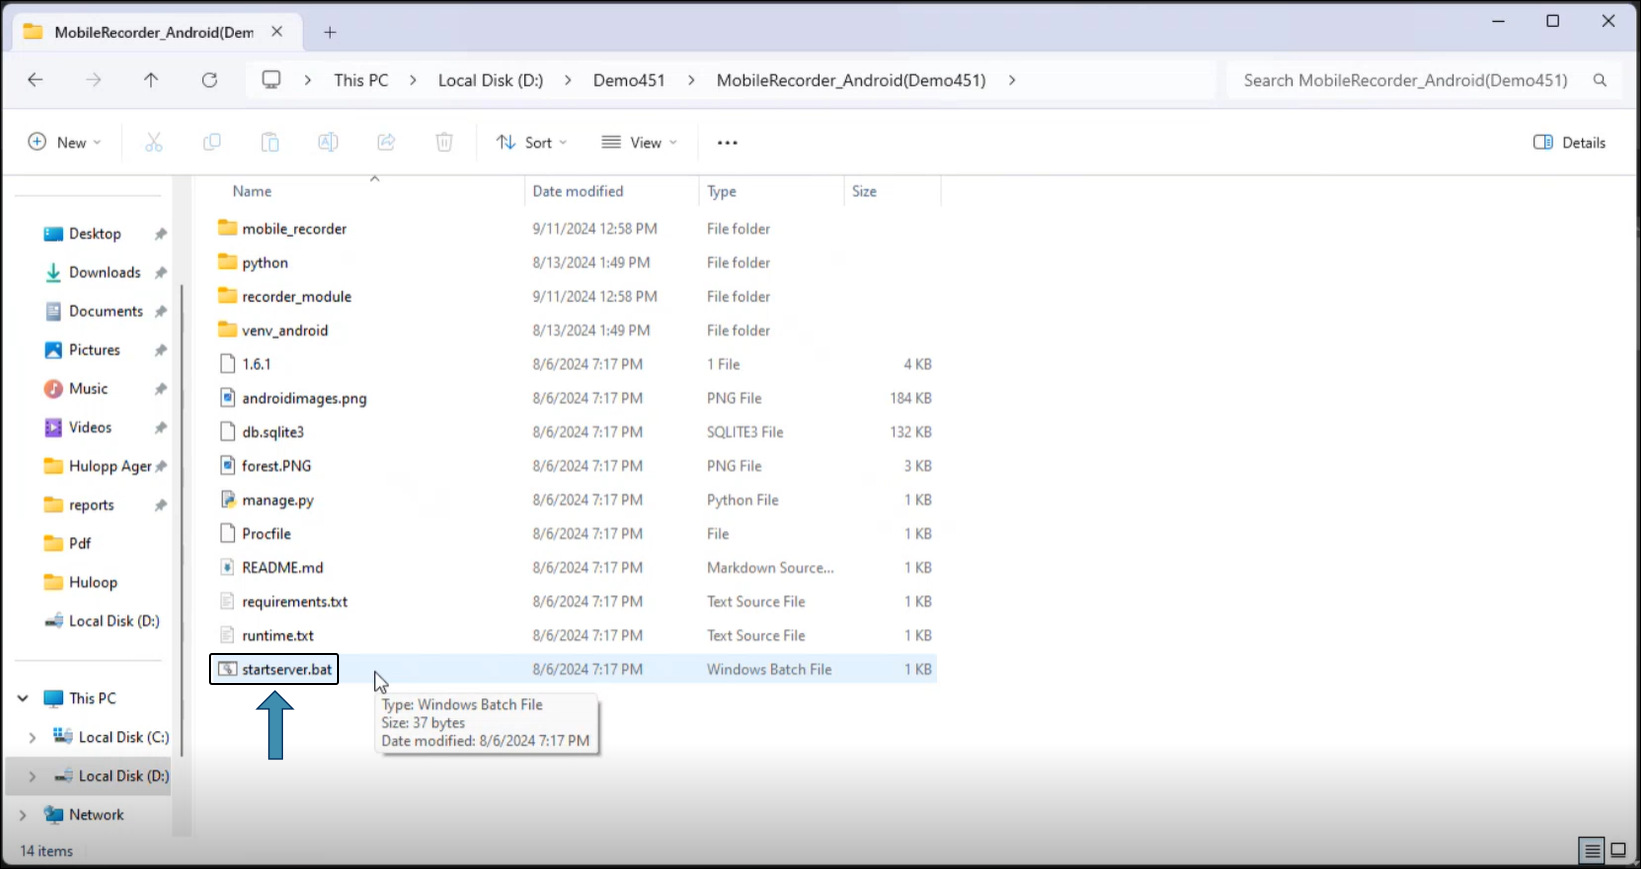
- This will launch the server for mobile recording.
- Using HuLoop Agent for Recording:
- Open the folder where you downloaded the HuLoop Agent and double click HuLoopAgent.exe file.
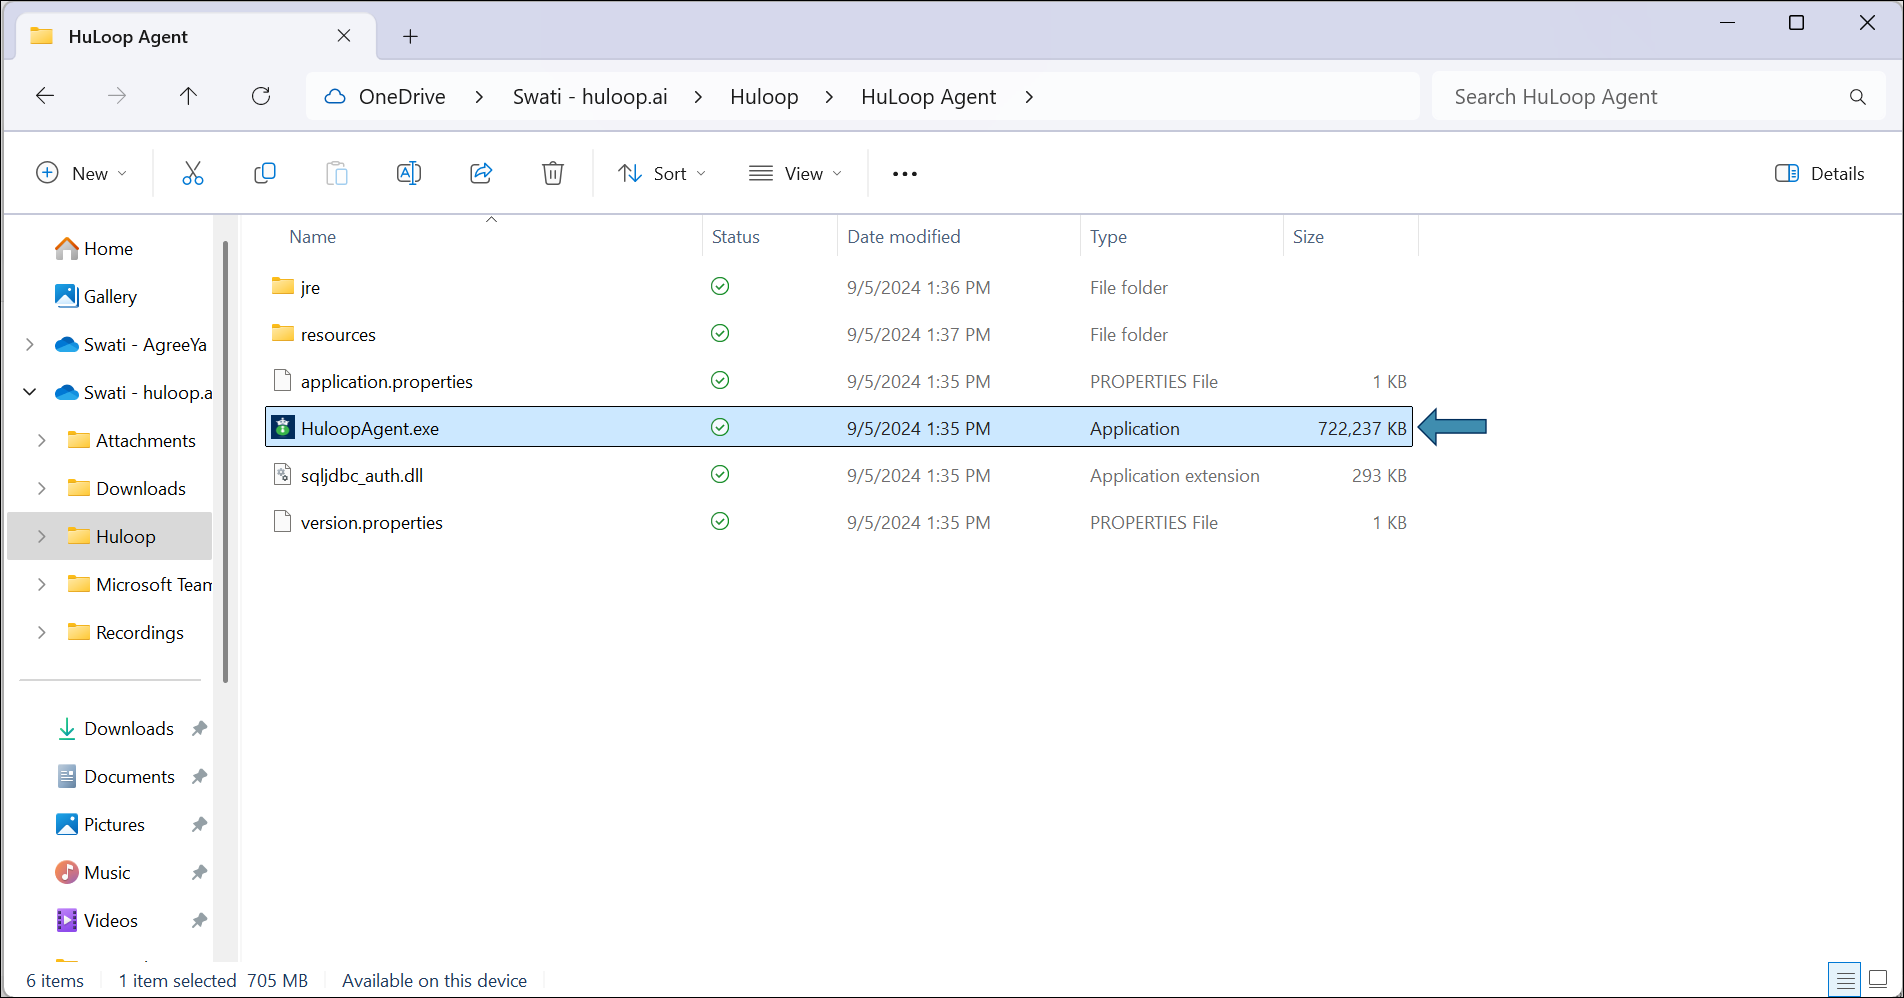
- This will launch the HuLoop Desktop Agent:
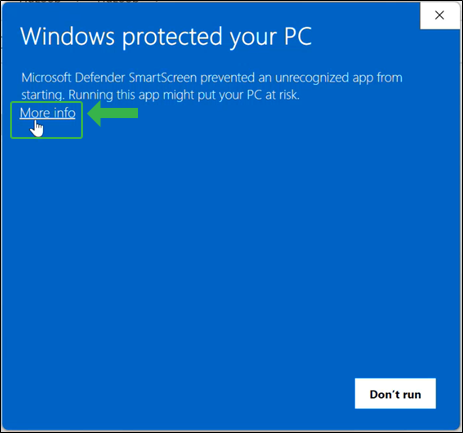
Note: If you are using the HuLoop Desktop Agent for the first time, you’ll see the following pop-up. Click More Info, as shown:
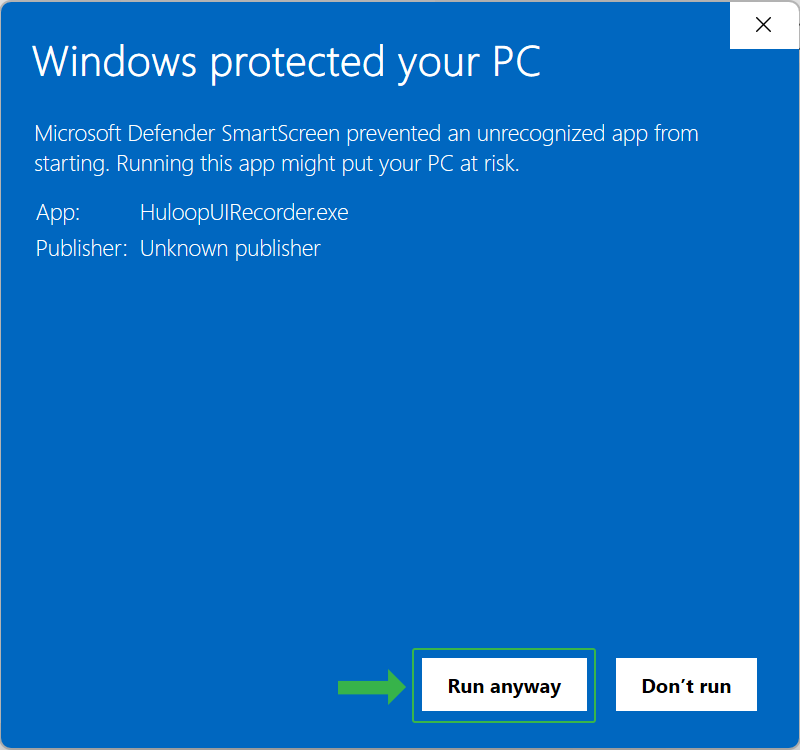
- You will get another pop-up, as shown. Click Run Anyway to run the downloaded application (HuLoop Agent).
- This will launch the HuLoop Desktop Agent.
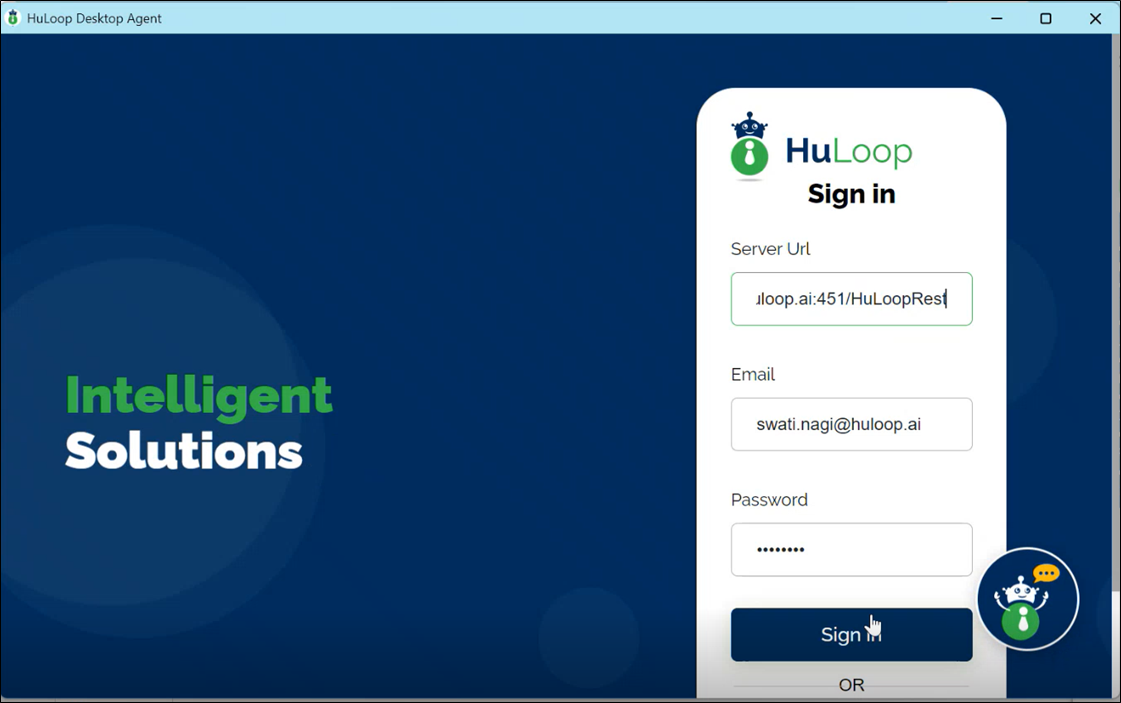
- Once the Agent is launched, the following screen will appear where you should enter your HuLoop server URL to be used in the Agent and sign in using your HuLoop credentials.
You can find the HuLoop server URL in the following ways:
Option 1: In the browser where you are logged into HuLoop, copy the URL till HuLoop as shown: https://demo.huloop.ai:451/HuLoop (this URL could appear differently depending on your specific server URL) and append Rest. The final URL will look like: https://demo.huloop.ai:451/HuLoopRest
Option 2: You can also find the HuLoop server URL to be used in the Agent in the email shared by the HuLoop team.
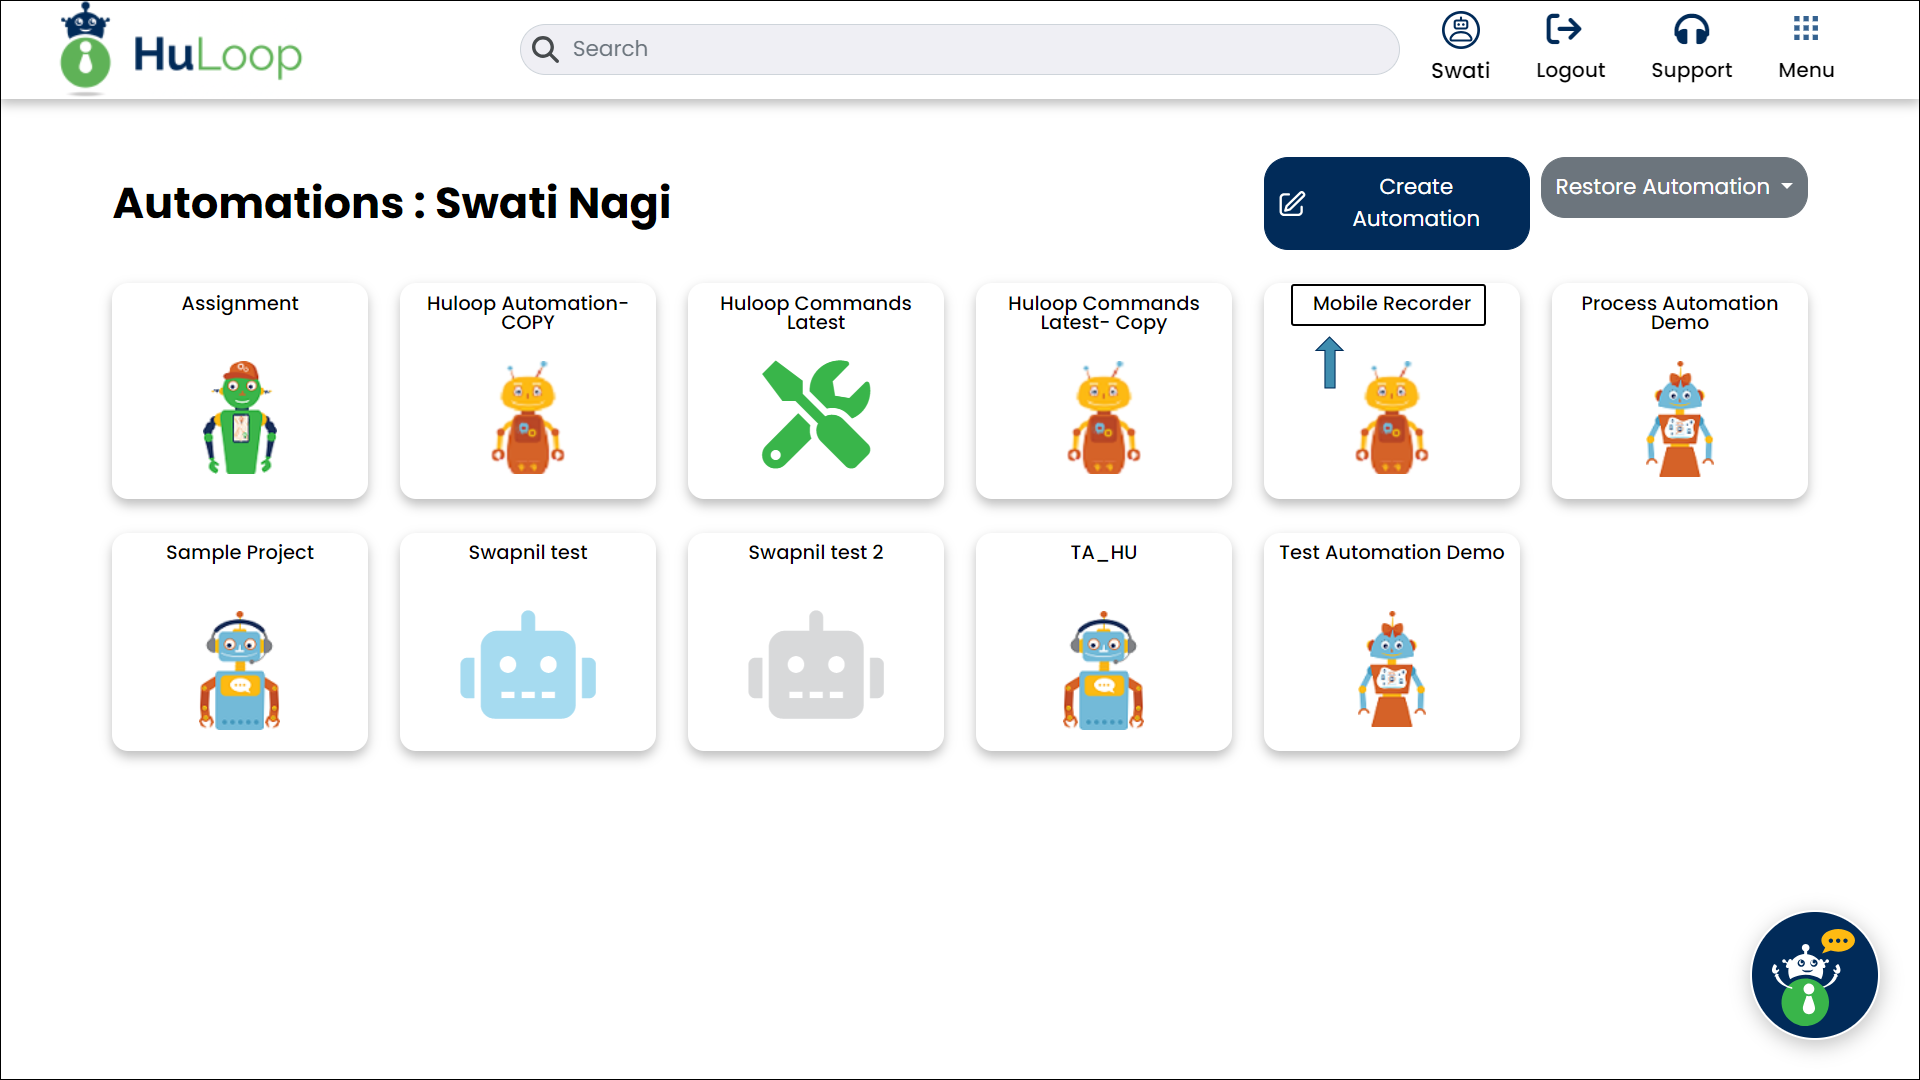
- You will see all the projects you have created in your account.
- Click on the project title to open the automation that contains the blank Case you created to store and manage the actions you record during your automation process.
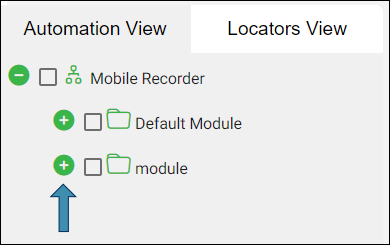
- To execute the automation, expand it by clicking the
 icon next to it:
- To execute the automation, expand it by clicking the
![]()
- A list of associated Modules will appear. Expand the corresponding Module to view the associated Suites:
- Similarly, expand a Suite to get a list of associated Cases:
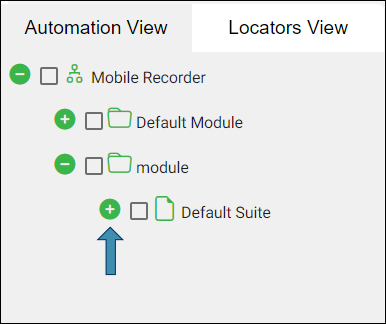
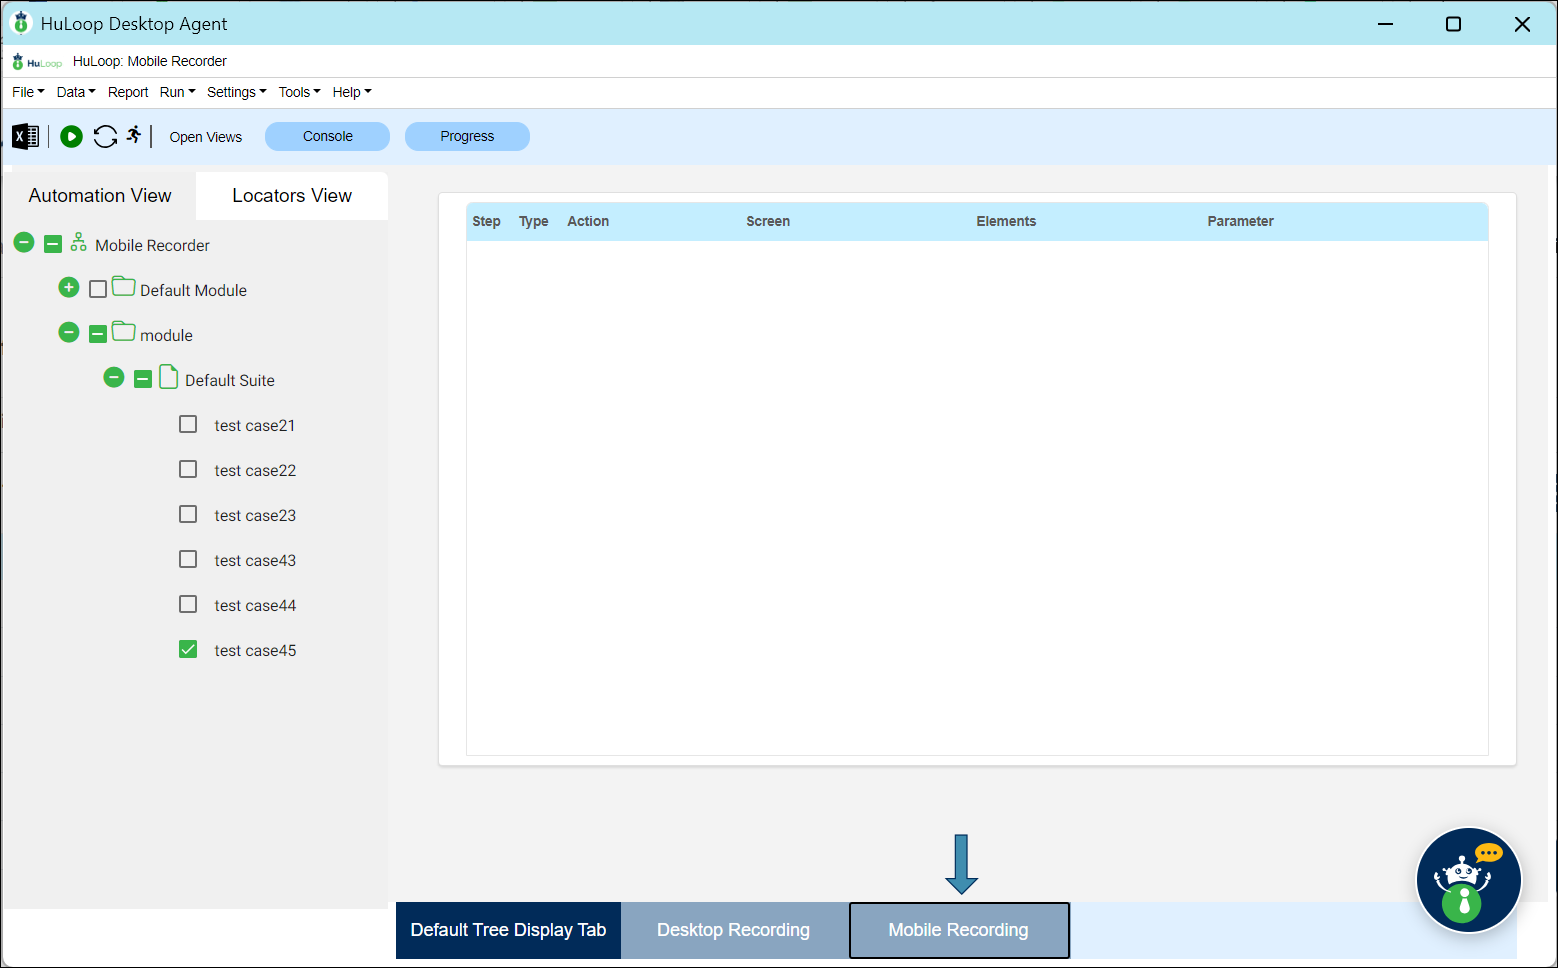
- Select the blank case you created earlier to store the steps you will perform.
- Click Mobile Recording.
- Select the blank case you created earlier to store the steps you will perform.
- You’ll see the Capabilities screen:
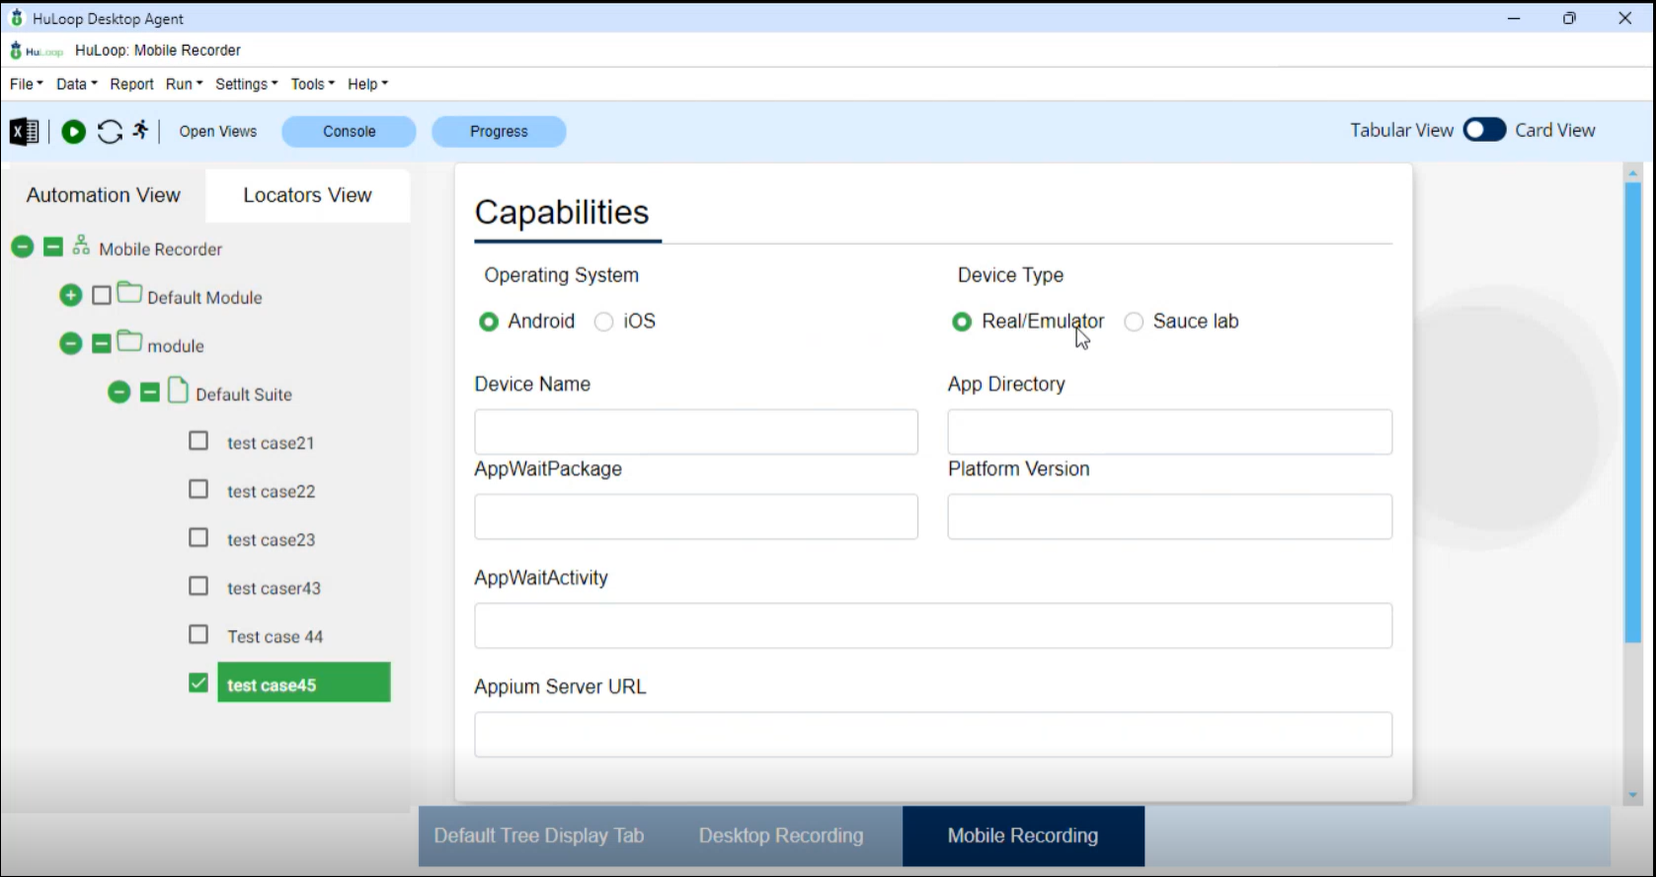
- Establish the Connection with Your Device: On the Capabilities screen, enter the
following details to help the server identify the app:- Operating System: Select Android (default selection).
- Device Type: Select Real/Emulator (default selection).
- Device Name: Enter the device name found earlier using the adb devices
command step 4. - App Directory: Provide the file path to the .apk file of the app.
- AppWaitPackage: This is a unique identifier for the android application we want to establish
the connection with. You can get this information from your developer. - Platform Version: This is the Android version of your device (e.g., 14.0). You can find it by going to Settings > About Phone.
- AppWaitActivity: This is also a unique identifier for the android application we want to establish the connection with. You can get this information from your developer.
Note: Make sure you provide the correct AppWaitPackage and AppWaitActivity; otherwise, Appium won’t recognize the app. You can also find this information here.
- Appium Server URL:
- Open Appium and click Start Server.
- Appium Server URL:
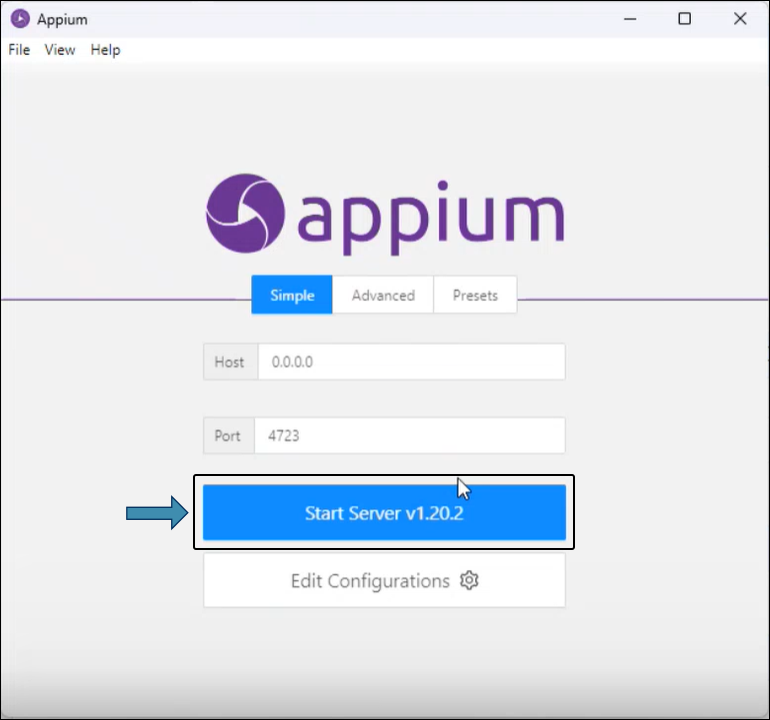
- You’ll see the following screen.
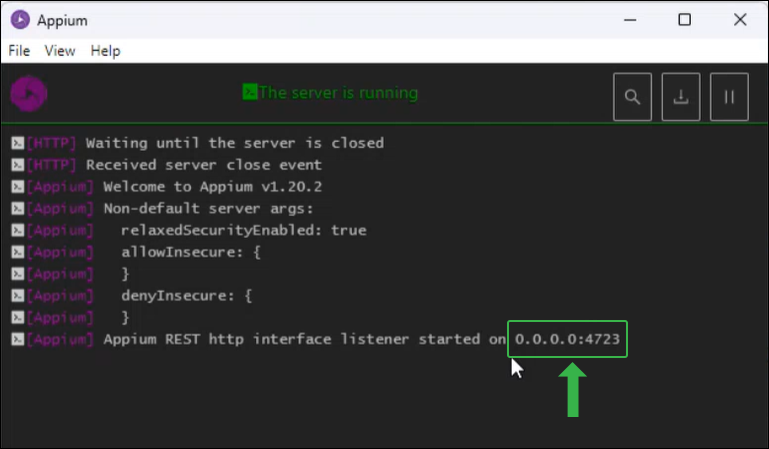
- Use the default port 4723 or change it if needed. Enter the Appium Server URL. E.g. http://127.0.0.1:4723/wd/hub
- Recording the Case:
- Click Start.
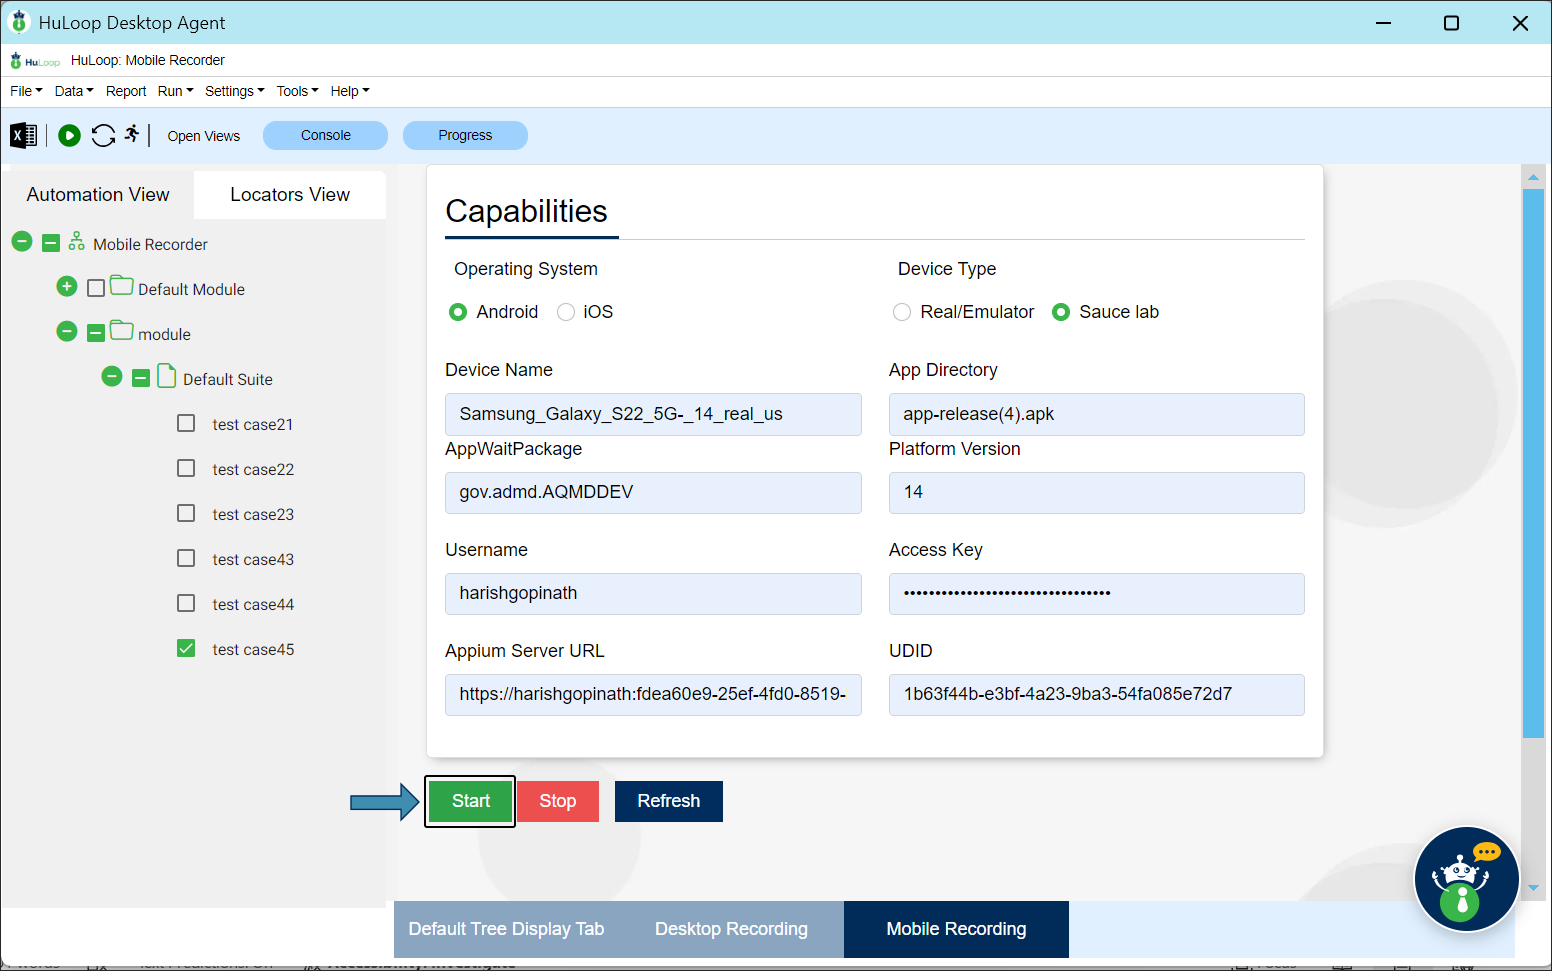
The app will now appear on the Agent Screen:
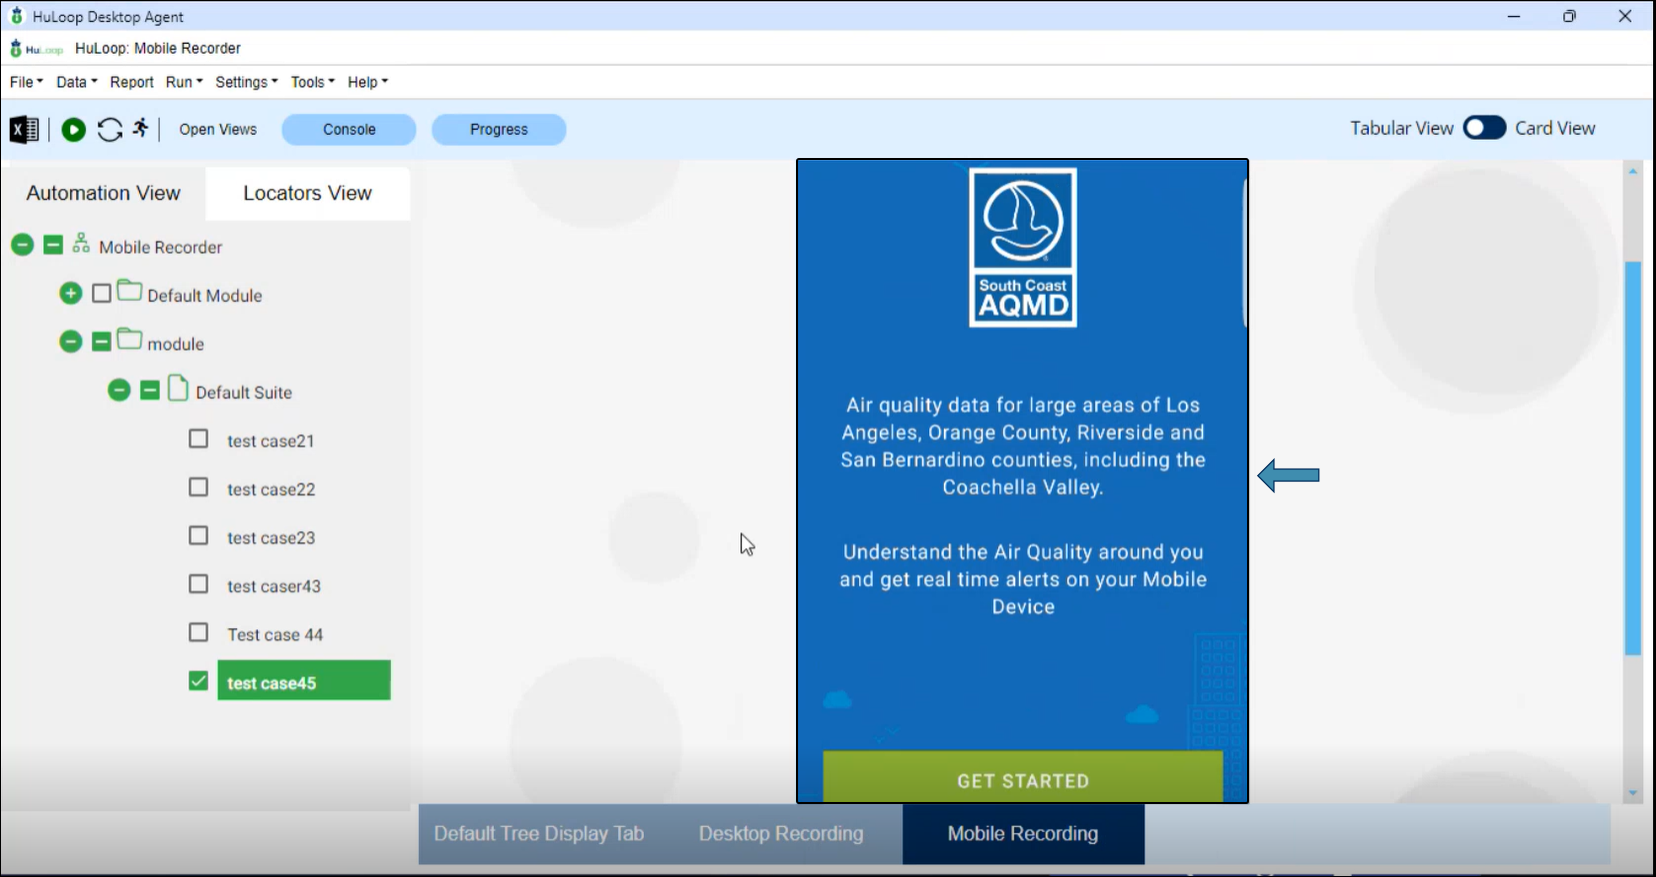
Note: Here, we are using the SCAQMD app.
- Perform Actions: Carry out the required actions on the app through the Agent. All the actions you perform will be recorded.
Note: If you perform a step and the screen changes on your device but remains frozen on the Agent, click the Refresh button. Avoid repeating the action, as this may result in recording a duplicate step.
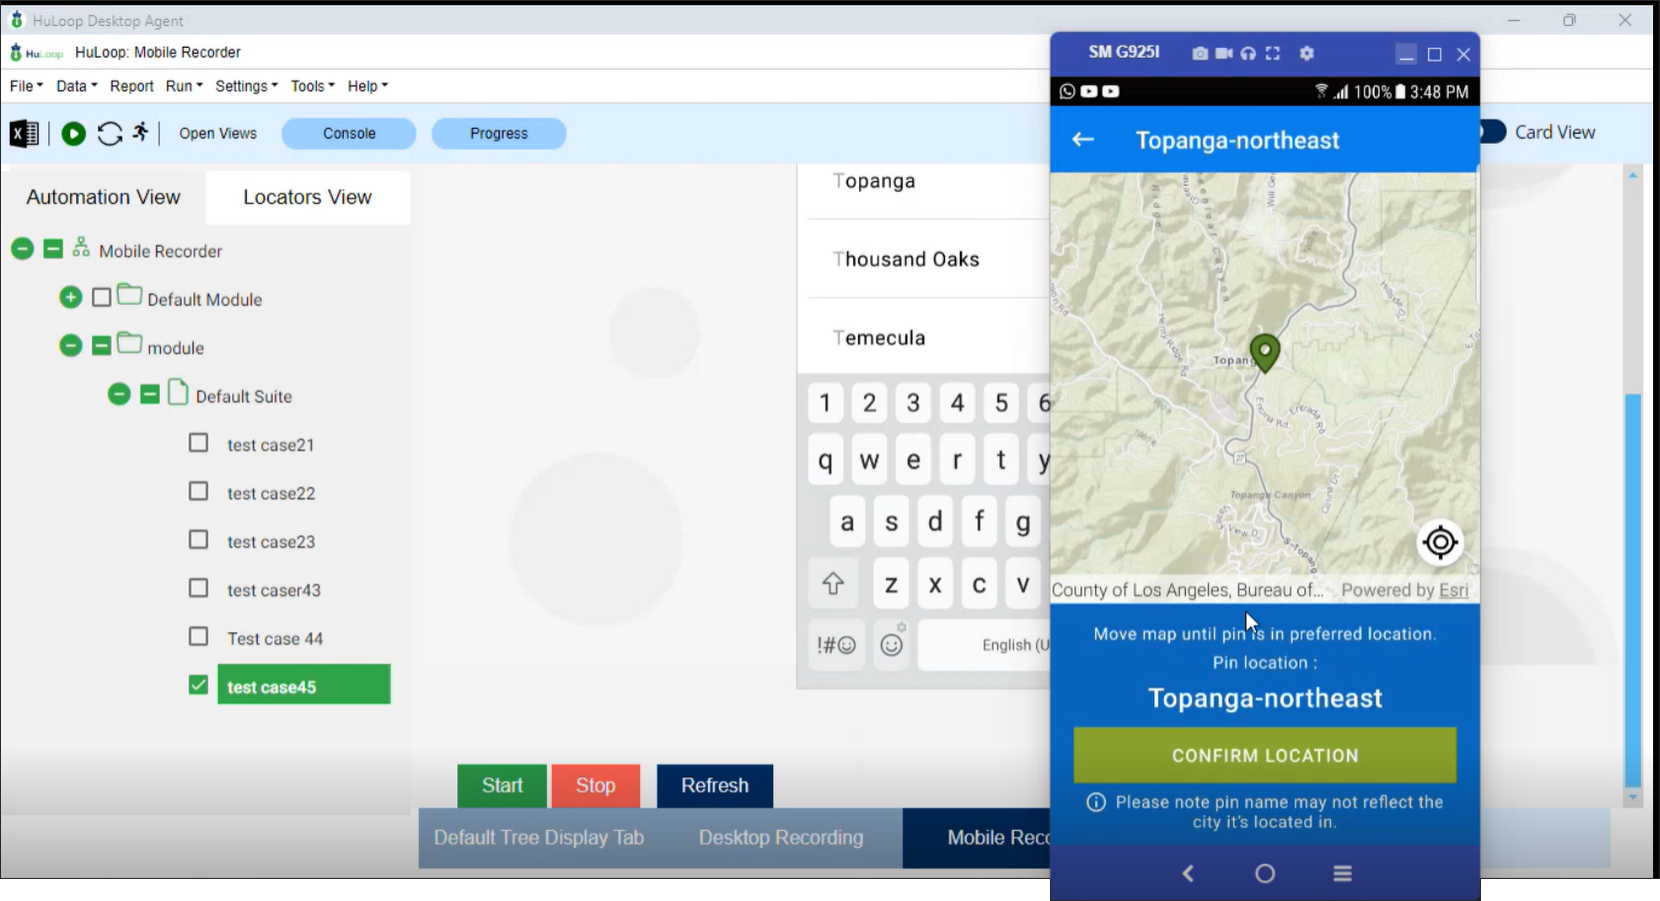
- Stop Recording: After you have performed all the steps, click Stop button.
- Sync the automation using
 icon. All the steps will get stored in the selected case.
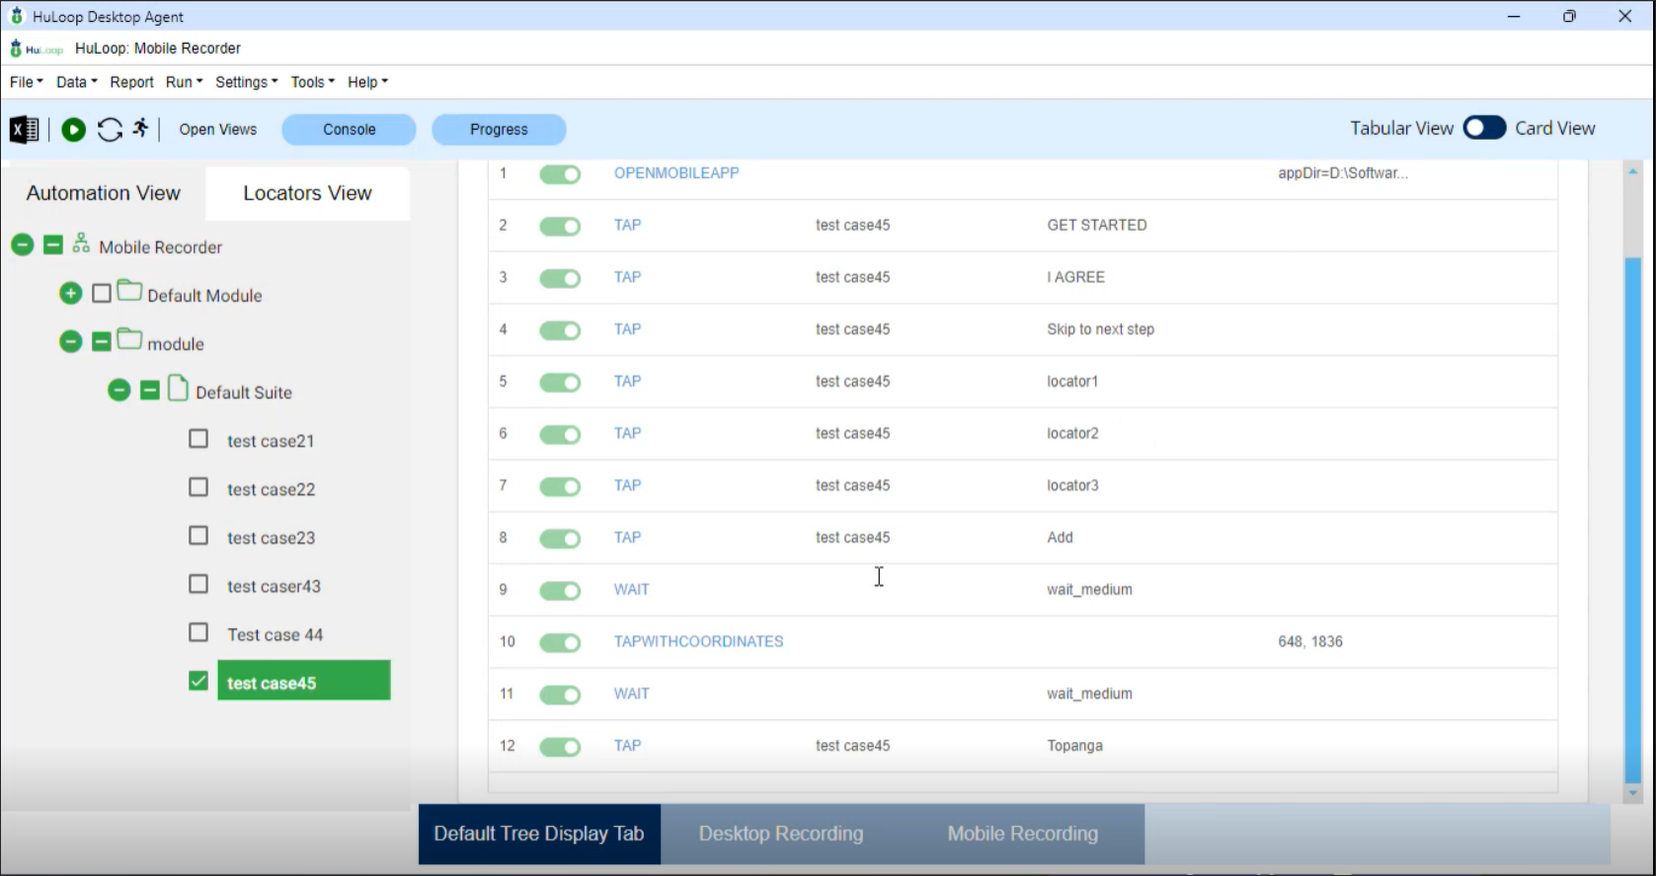
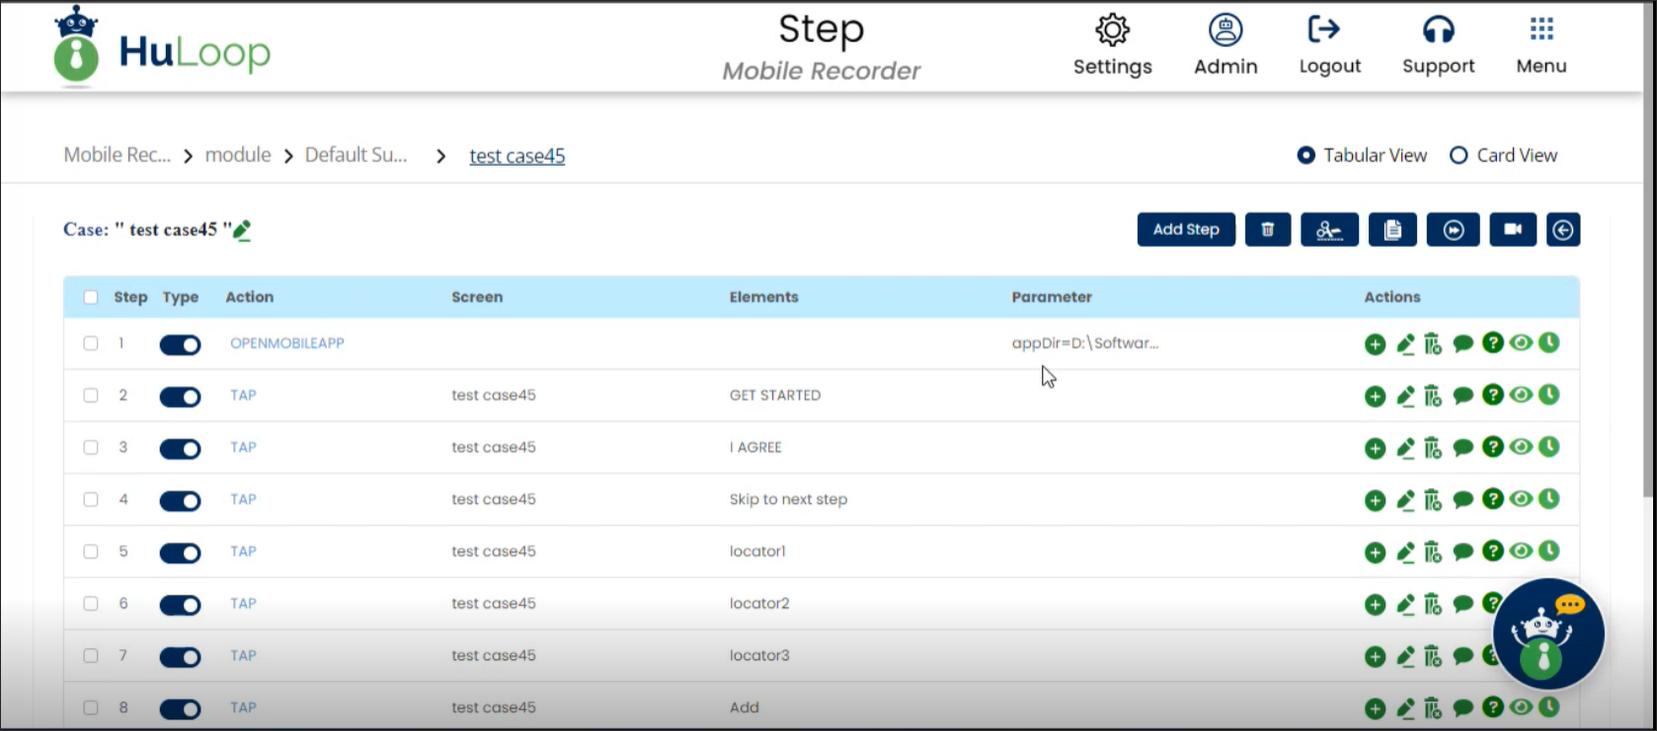
Review the Recorded Steps
- Go to the HuLoop web server.
- Make sure you are logged in using the same credentials you used for recording the case steps using Mobile Recorder.
- Navigate to the blank Case you created earlier, and you will see that all the recorded steps have been captured.
- The Screen name and Element (Locators) will be automatically filled in, but you can edit the screen name and locator name if needed.
- You can also manually add new steps or edit the existing ones if required.
Click here to see how to run Automation Using HuLoop Agent.
Last updated: Aug 25, 2025