Managing Groups in Workflow
The Groups tab allows users to create, edit, and disable user groups for workflow assignments.
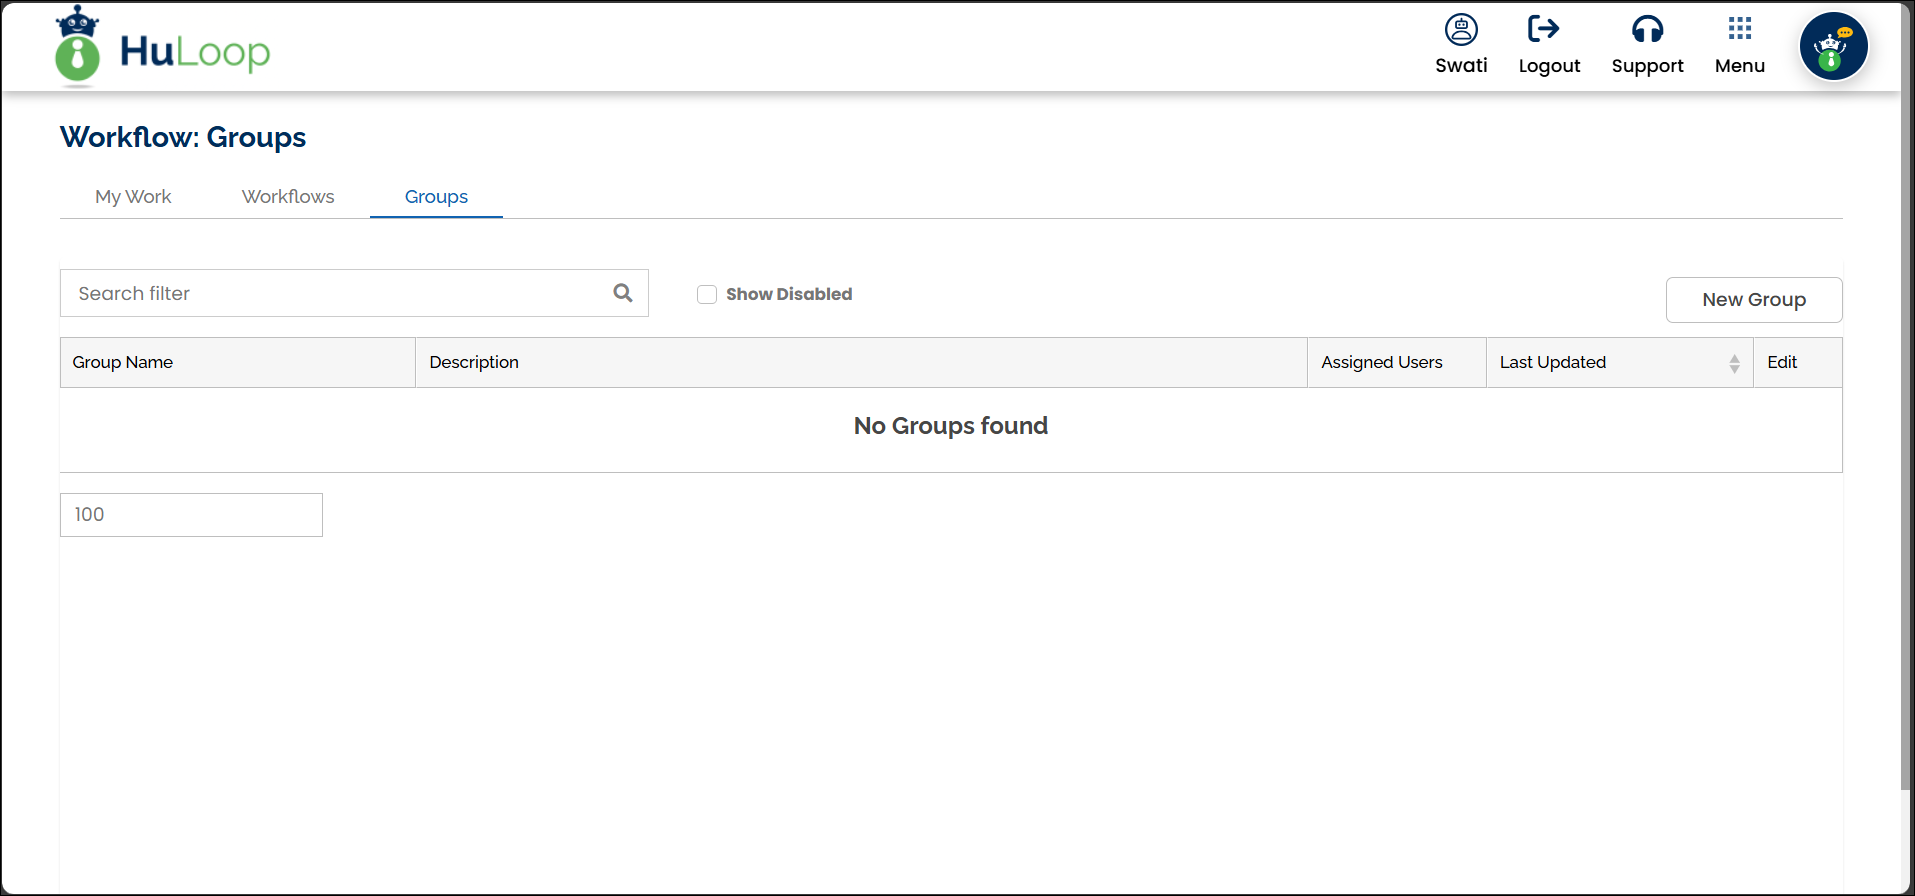
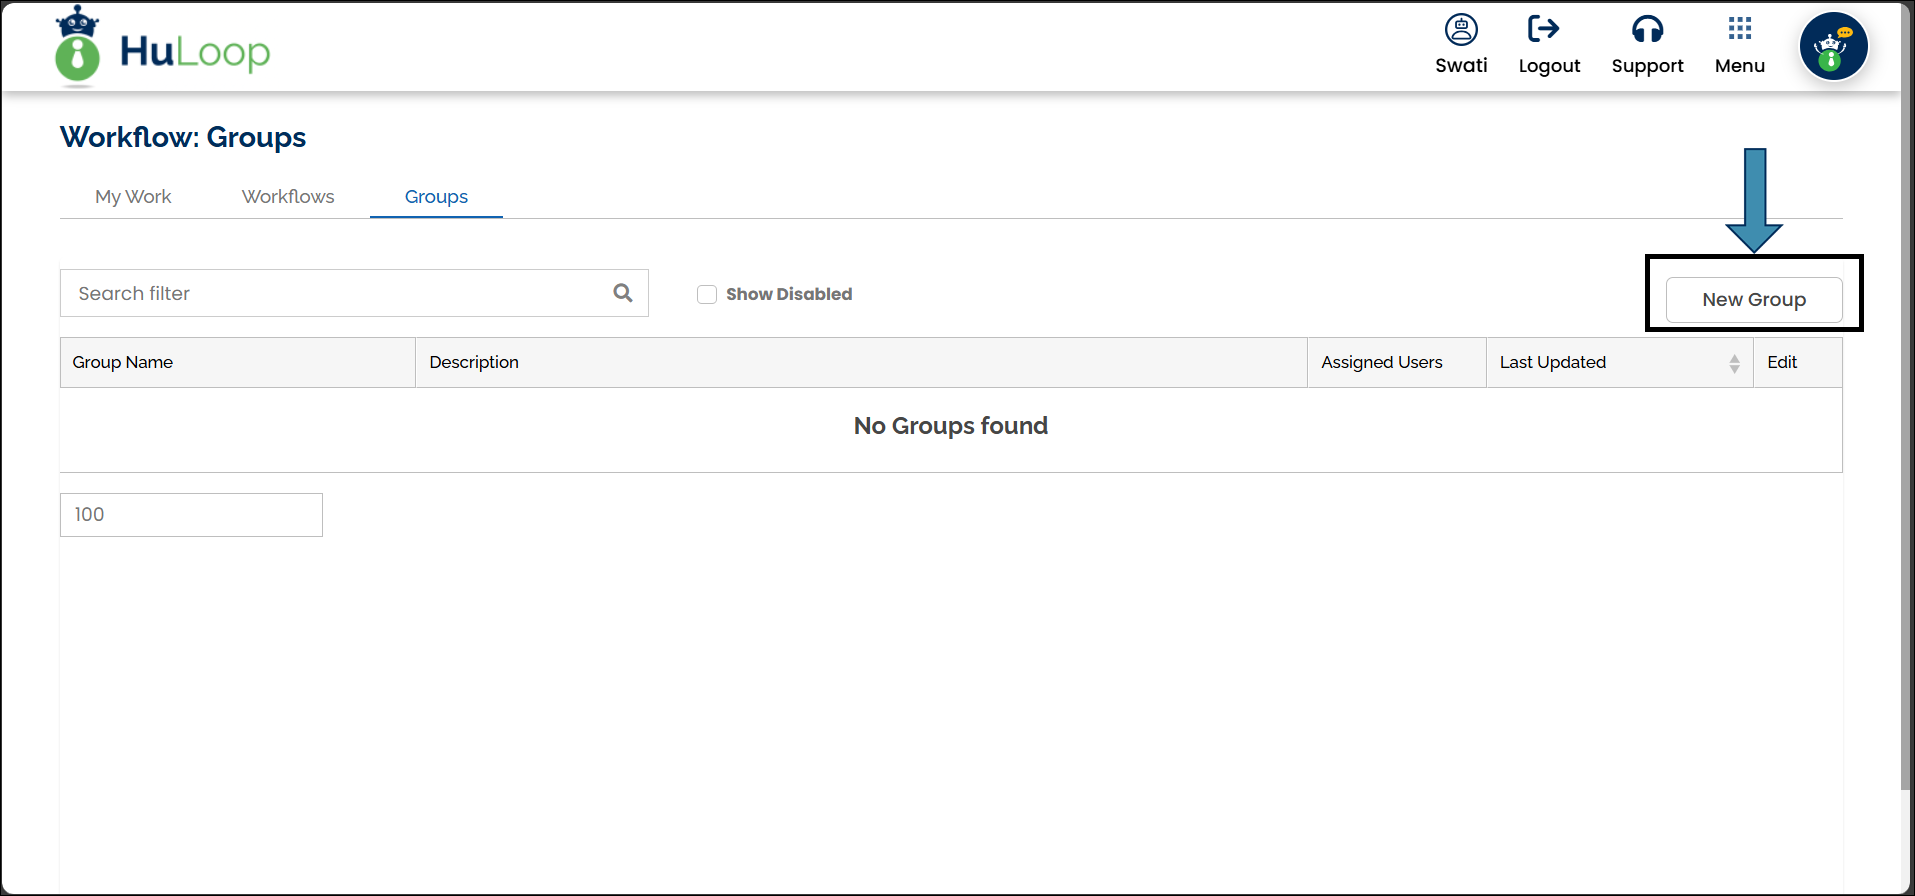
Creating a New Group
To create a new group:
- Go to Workflow: Groups page and click the New Group button.
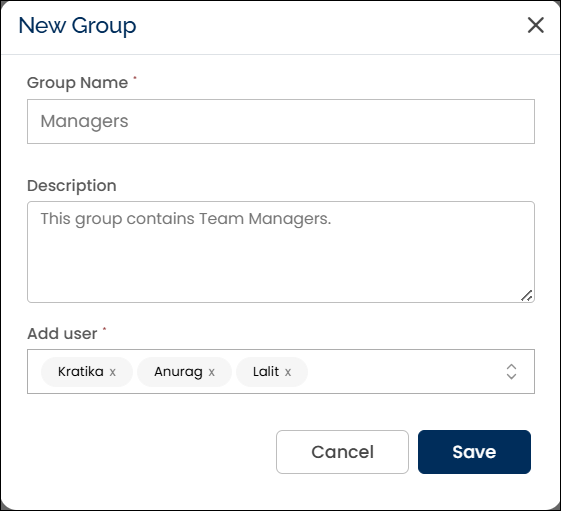
- In the New Group pop-up, enter a Group Name and an optional Group Description.
- Select members from the Add User drop-down.
- Click Save to create the group.
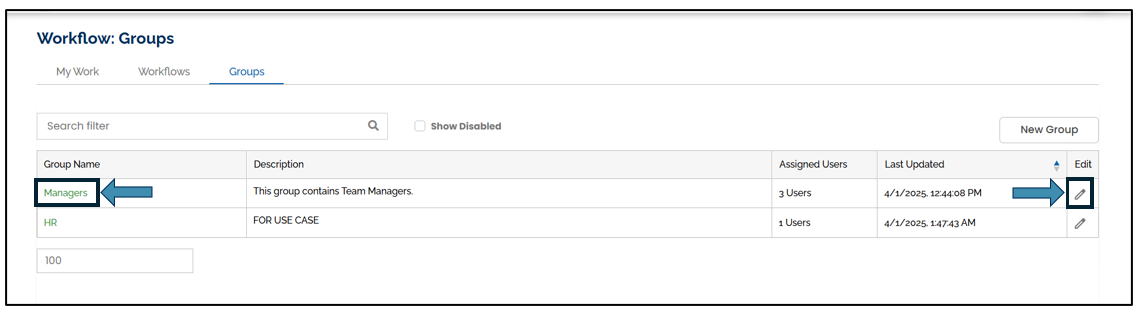
Editing a Group
You can edit a group by clicking the group name or the edit icon next to it.
To edit an existing group:
- Go to Workflow: Groups page.
- Locate the group you want to edit.
- Click the Group Name or the edit icon next to it.
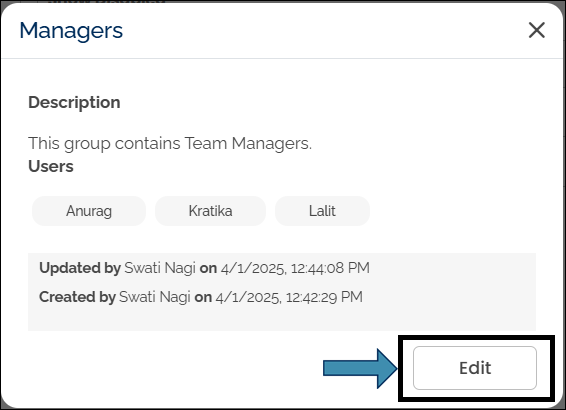
Note: Clicking the group name opens a pop-up displaying group details, including the creator and last update. Click Edit in this pop-up to make changes.
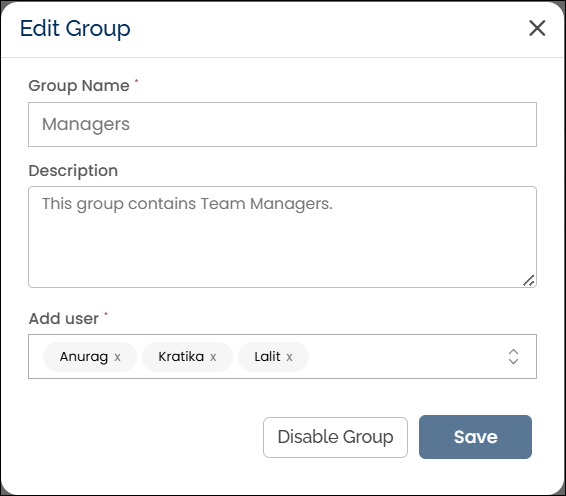
Note: Clicking the edit icon directly opens the Edit Group pop-up, where you can update the group name, description, or members.
- Click Save to update the group.
Disabling a Group
To disable a group:
- Open the Edit Group pop-up for the group you want to disable.
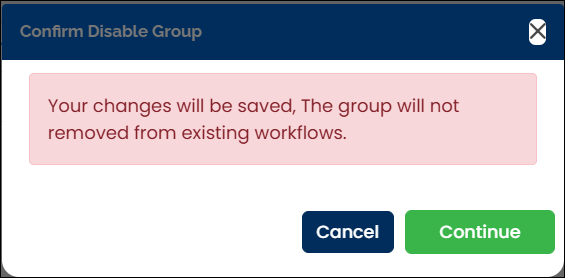
- Click the Disable Group button.
- A confirmation pop-up appears. Click Confirm to disable the group.
Note: Once a group is disabled, it no longer appears on the Workflow:Groups page. To view disabled groups, check the Show Disabled checkbox.
![]()
Enabling a Disabled Group
To enable a disabled group:
- On the Workflow:Groups page, select the Show Disabled checkbox to display disabled groups.
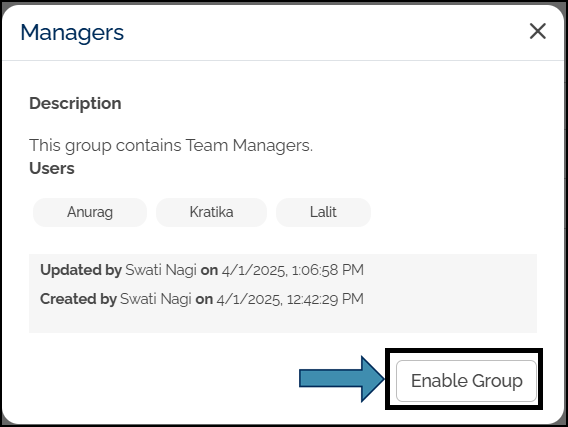
- Click the group name to open the group details pop-up.
![]()
- Click the group name to open the group details pop-up.
- Click Enable Group button.
- The group will now be visible again on the Workflow: Groups page.